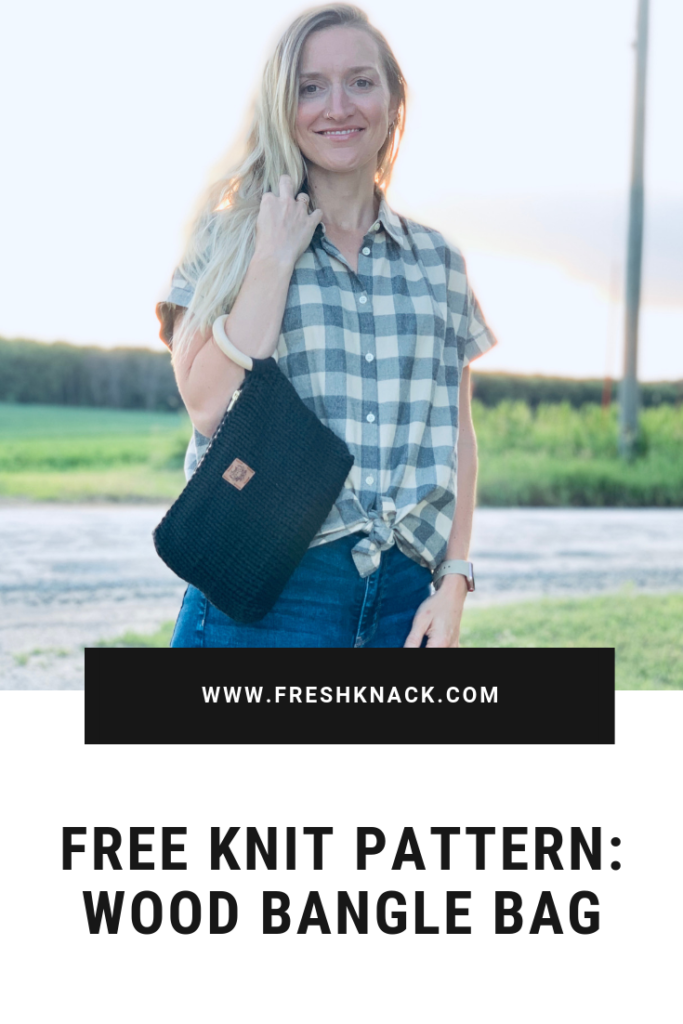
My first official released pattern a modern knit bag! Wow….it has been a long time coming that is for sure. Let me tell you a bit about why this bag was designed. I am a mom with 3 kids and one of them is still in diapers. So I am usually carrying a diaper bag. BUT when I am not in mom mode I don’t want to have to dig through my diaper bag to try and find all my stuff to transport to a regular purse that I might carry when it is just me or I am with my husband. This bag allows me to put all my essentials in it and I can just transport it from diaper bag to purse or just carry it all by itself! I was unsure how much I would use it on it’s own but I do….a lot. Running into the grocery store or a gas station….ALL.THE.TIME!
Let’s talk about what all fits in here:
1. Wallet
2. Cell phone
3. Checkbook (yes I still write checks)
4. AirPods
5. Small bottle of Ibuprofen
6. Lip gloss
7. Car Keys
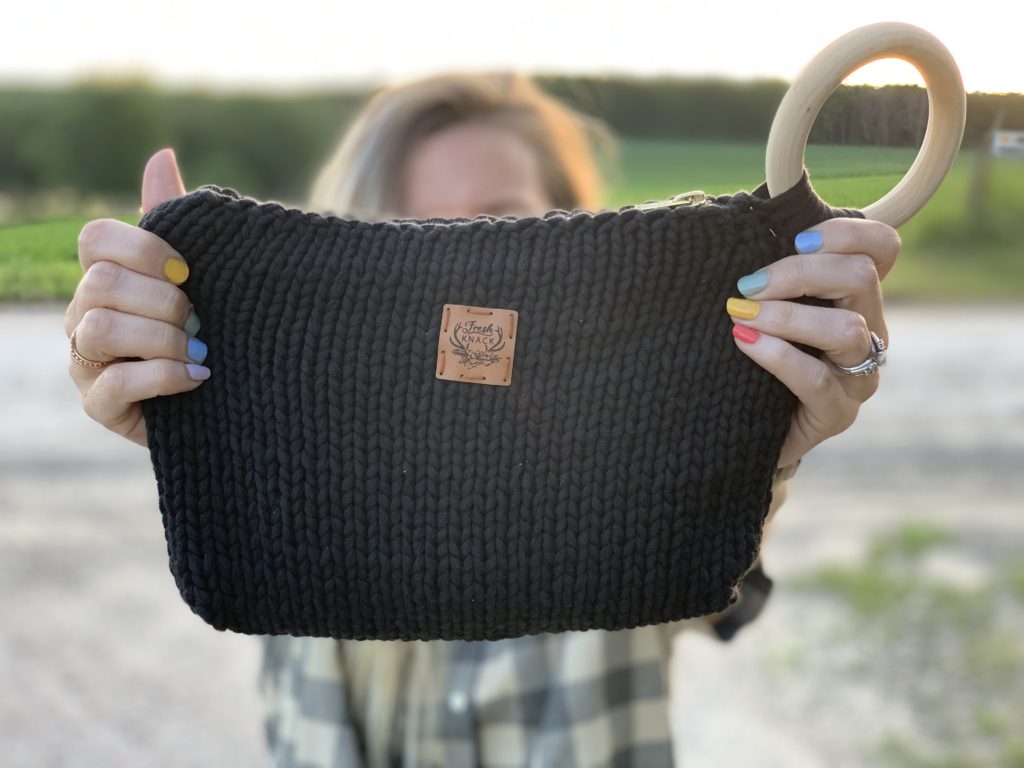
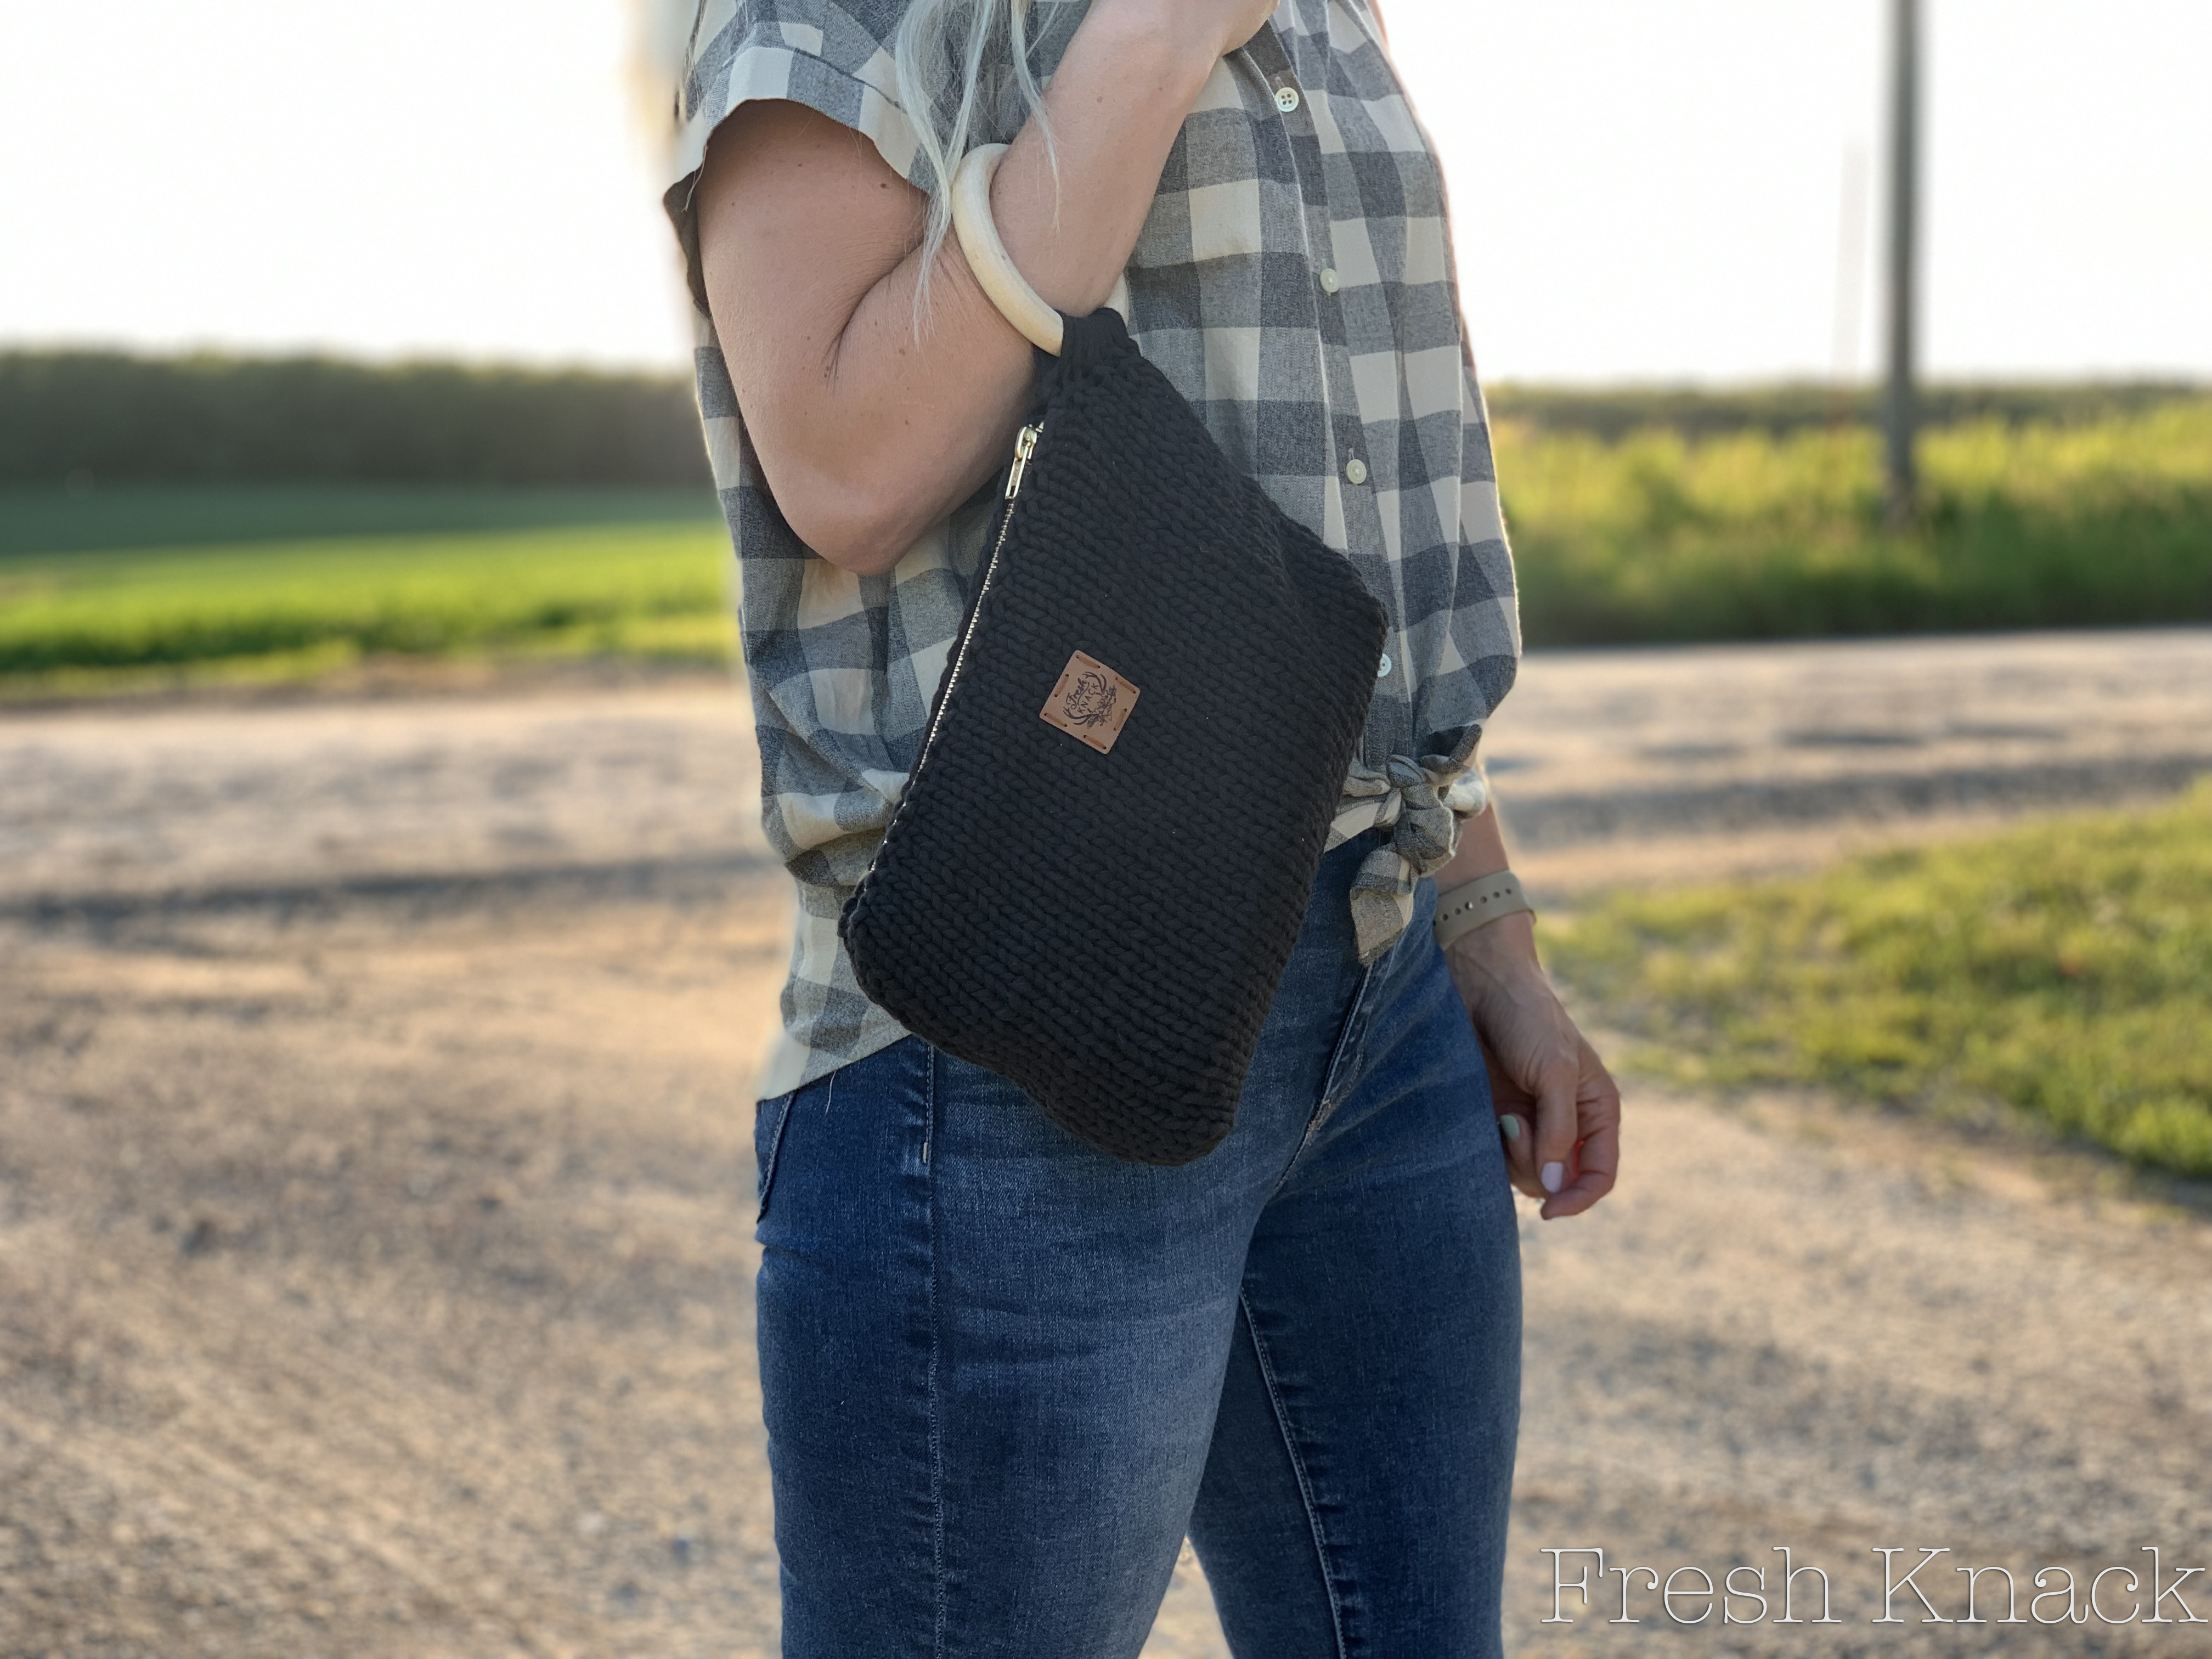
I scoured the internet looking for something that was just the right size and had a strap to wear around my wrist but I just couldn’t find it so here it is the Wooden Bangle Bag!
***You can purchase an AD-FREE PDF of this pattern here. This formatted PDF includes the pattern, materials, and step-by-step pictures of how to put together the Wooden Bangle Bag.
Materials:
- 1 Skein Bernat Home Dec Yarn (Black)
- Size 10 (6mm) Knitting Needles (16″ circular or long straight needles)
- Zipper
- Bag Lining (cotton fabric works best) a Fabric Quarter from Joann’s works really well. 2 pieces 11in wide x 8.75in tall
- Sewing Needle and/or Sewing Machine
- Black Sewing Thread
- Wooden Bangle
- Yarn Needle
- Scissors
- Clover Wonder Clips (Optional but very helpful)
- Hem Tape (Optional)
Gauge:
- 10.5sts x 16 rows = 4in x 4in
Finished Dimensions:
- 10 3/4″ W x 8 1/4″ H
Abbreviations:
- Stitches (st(s))
- Knit (K)
- Purl (P)
- Purl 1 front & back (P1FB)
- Knit 1 front & back (K1FB)
- Purl 2 together (P2TOG)
Pattern Notes:
- The bag is worked with 2 strands held together through out. I pulled my yarn from the center and outside of the skein at the same time. You could also make two separate cakes to work from.
- You will need some basic sewing knowledge to add the zipper and lining to the bag. If you don’t have a sewing machine you can stitch by hand.
- For the cast on and bind off you will leave 35″ long tails for seaming.
- Blocking will help the bag edges uncurl which will make seaming easier.
- This bag is easily customizable to make smaller or larger by either adding additional rows/stitches or subtracting rows/stitches.
Video Support:
I also have put together a video tutorial that walks you through putting your bag together. Be gentle this is not only my first pattern but also my first attempt at putting a video together as well……
Pattern Instructions:
Cast On: Holding 2 strands together and using the long tail cast on method and leaving an additional 35″ for seaming, cast on 25sts
Row 1: K all sts (25)
Row 2: P1FB, P remaining sts (26)
Row 3: K all sts (26)
Row 4: P1FB in first 2 sts, P remaining sts (28)
Row 5: K all sts (28)
Row 6: P1FB, P remaining sts (29)
Row 7: K all sts (29)
Row 8: P1FB in first 2 sts, P remaining sts (31)
Row 9: K all sts (31)
Row 10: P all sts (31)
Row 11-28: Repeat rows 9 and 10
Row 29: Bind off first 3 sts, K remaining sts (28)
Row 30: Bind off first 3 sts purlwise, P remaining sts (25)
Row 31: K all sts (25)
Row 32: P all sts (25)
Row 33-36: repeat rows 31 and 32
Row 37: K1FB in first 3 sts, K to last 3 sts, K1FB in last 3 sts (31)
Row 38: P all sts (31)
Row 39: K all sts (31)
Row 40-57: Repeat rows 38 and 39
Row 58: P2TOG two times, P remaining sts (29)
Row 59: K all sts (29)
Row 60: P2TOG, P remaining sts (28)
Row 61: K all sts (28)
Row 62: P2TOG two times, P remianing sts (26)
Row 63: K all sts (26)
Row 64: P2TOG, P remaining sts (25)
Bind off all sts, leave a 35″ tail for seaming
While it is not completely necessary to block your finished piece it will help it to lay flat for seaming.

Seaming Bag
To seam the bag start with the long side of the bag (without the slant). You will need your Yarn Needle and thread both yarn tails though it. You will use the mattress stitch for seaming so the seam is invisible. Here is a good tutorial on the mattress stitch if you are unfamiliar. Seam down the bag until you reach the decrease rows, don’t tie off or cut the yarn.
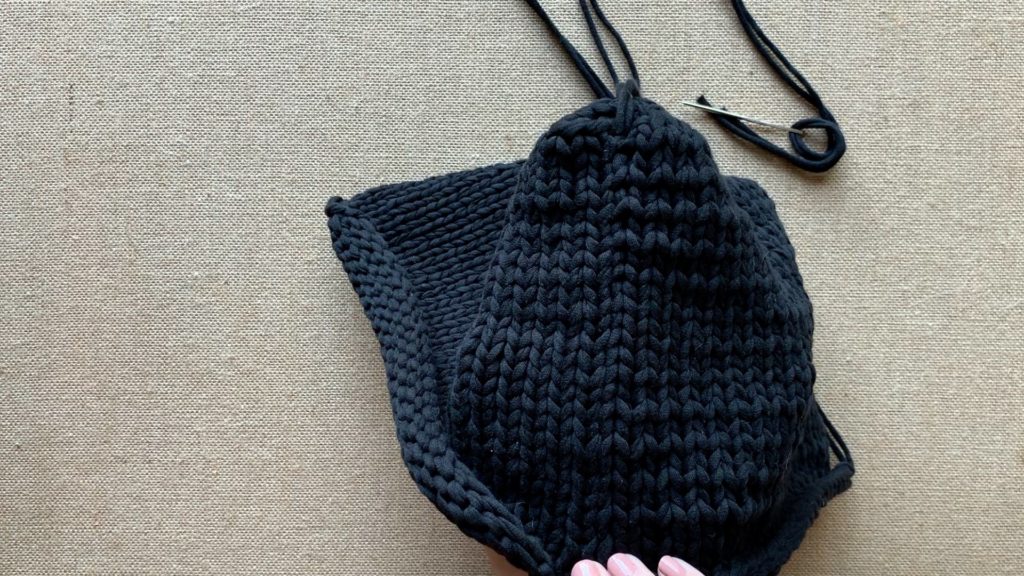
Next we need to seam that corner that we left. Turn your bag inside out and take your needle and yarn through the hole once your bag is inside out. Now you will pinch the corner having that seam we just completed, centered. Now you will whipstitch the corner closed. You can tie off your yarn and weave in your ends.
Pinch corner, whipstitch closed 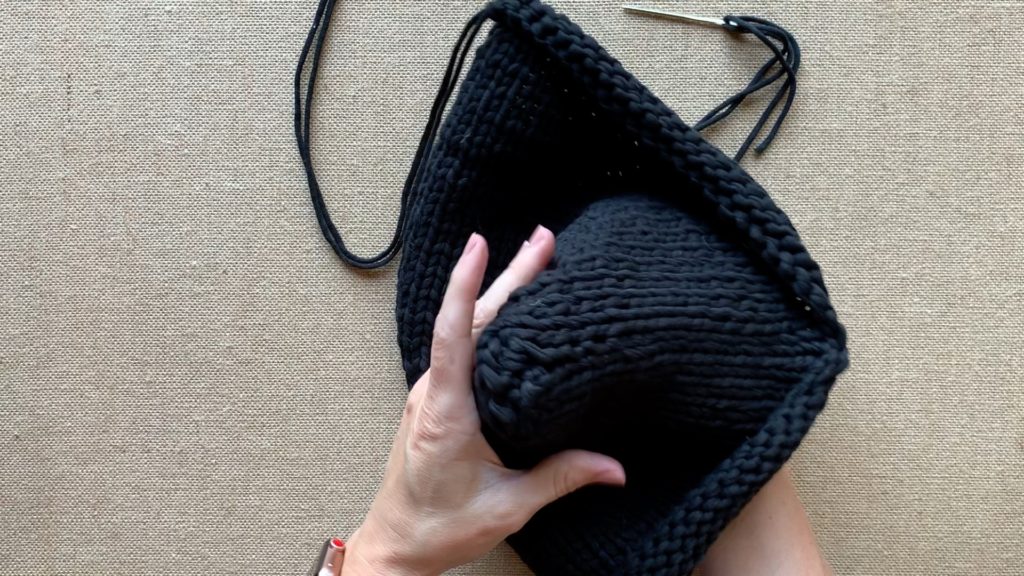
Finished corner
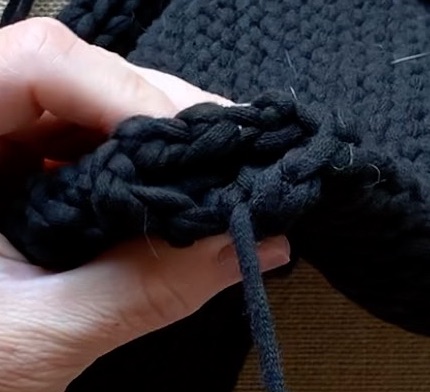
Adding the Wooden Bangle
Now we will attach the wooden bangle to our bag. You will need your bangle and your yarn needle. Place needle through bangle and whipstitch back to front of bag. Complete this process 8 or 9 times until bangle is secure. You will then continue down the straight side of the bag using the mattress stitch as done on the other side until you reach the decrease rows. Once to the decrease rows you will whipstitch the corner as done before turning bag inside out and pinching the corners together.
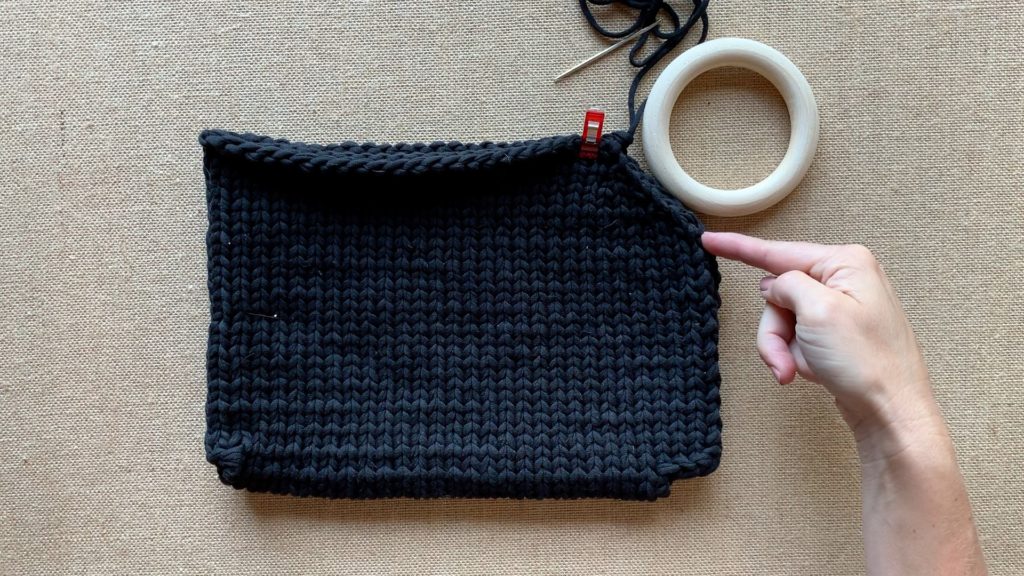
Line up bangle to edge 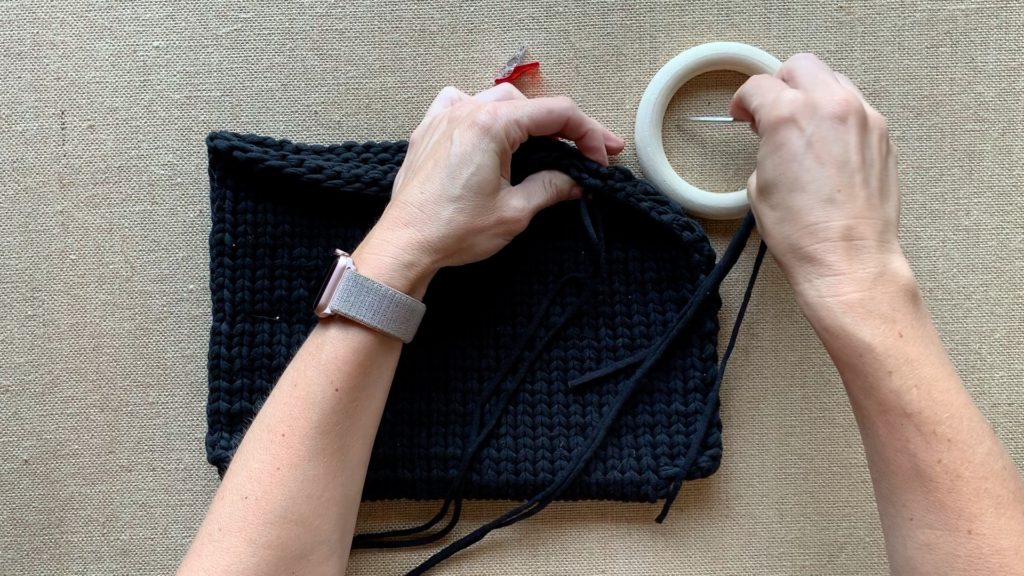
Take needle through bangle 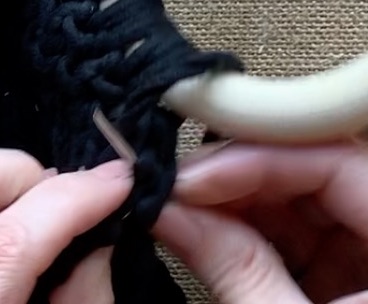
Whipstitch back to front 
Complete 8 or 9 times until bangle is secure, then mattress stitch down the remainder until reaching decrease rows.
Bag Lining/Zipper
You will need your chosen fabric, zipper, Sewing Needle and/or Sewing Machine, matching thread, and optional Hem Tape .
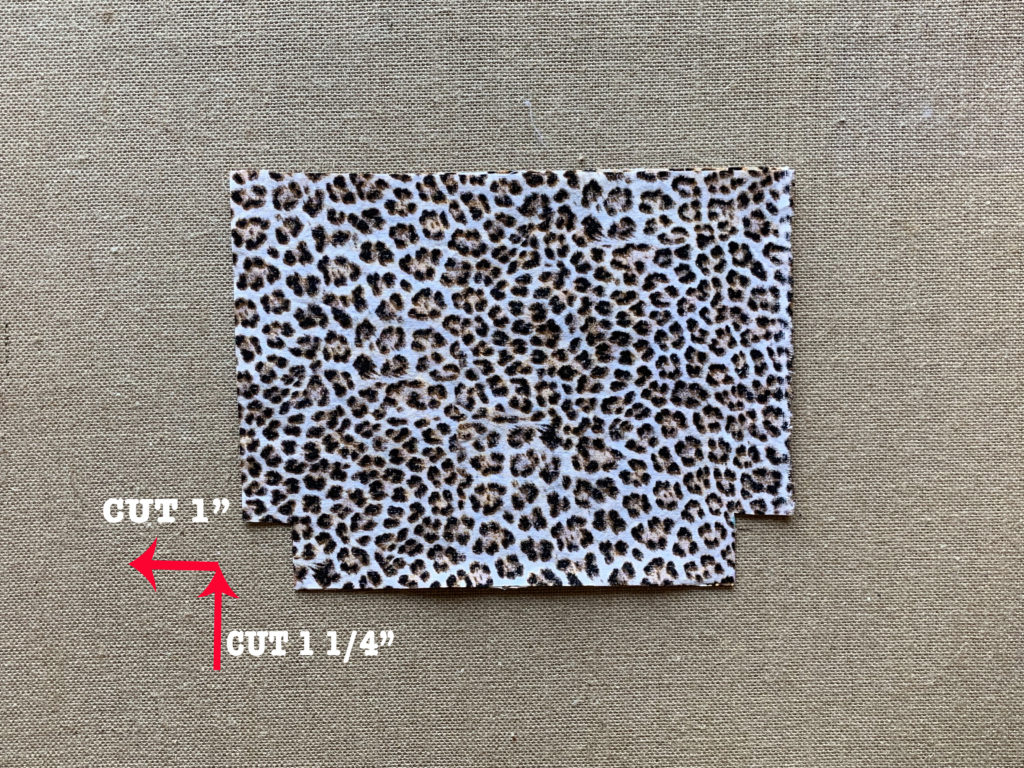
First you will need to place your fabric pieces, right sides together, and clip the bottom corners. You will measure 1″ from the side and 1 1/4″ from the bottom.
Now we need to prep our lining for our zipper. Here you have a couple options. 1) You can use an iron and press down 1/4″ at the top or 2) Use fabric tape and place across the top and press down. Whichever method you choose you will repeat for the other piece of fabric.
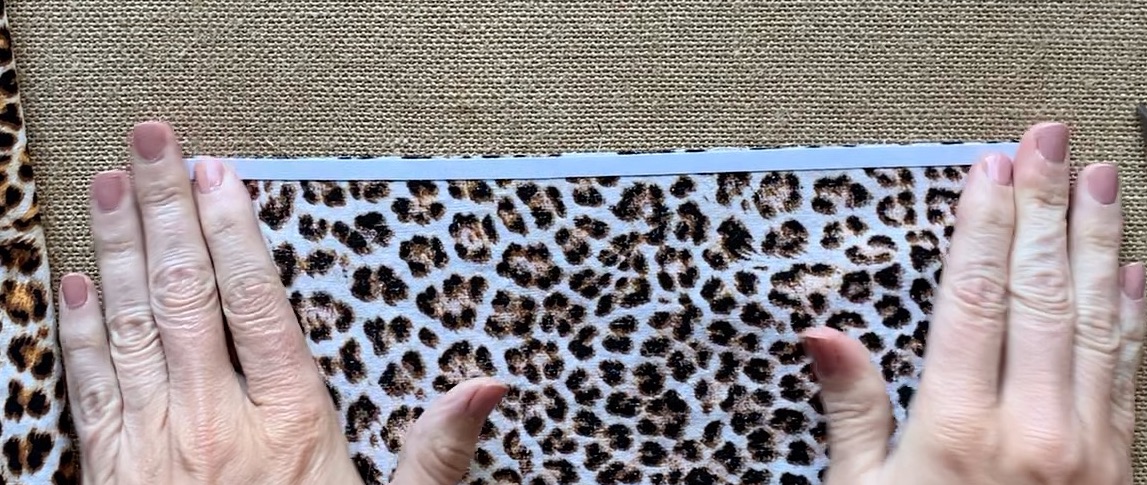
Place fabric tape across top 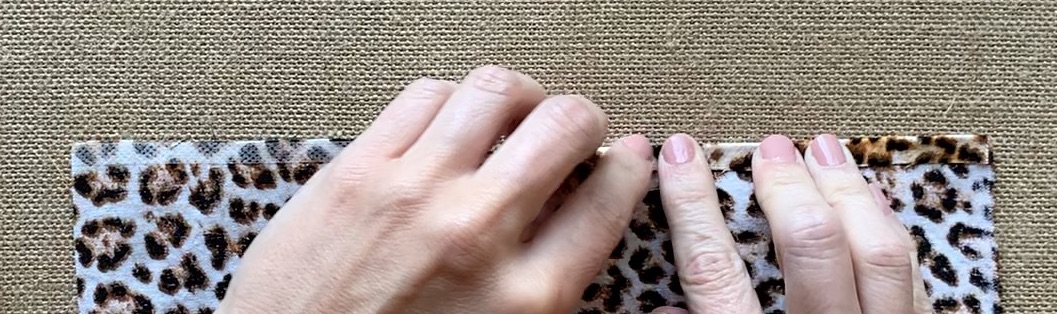
Peel back off and press down 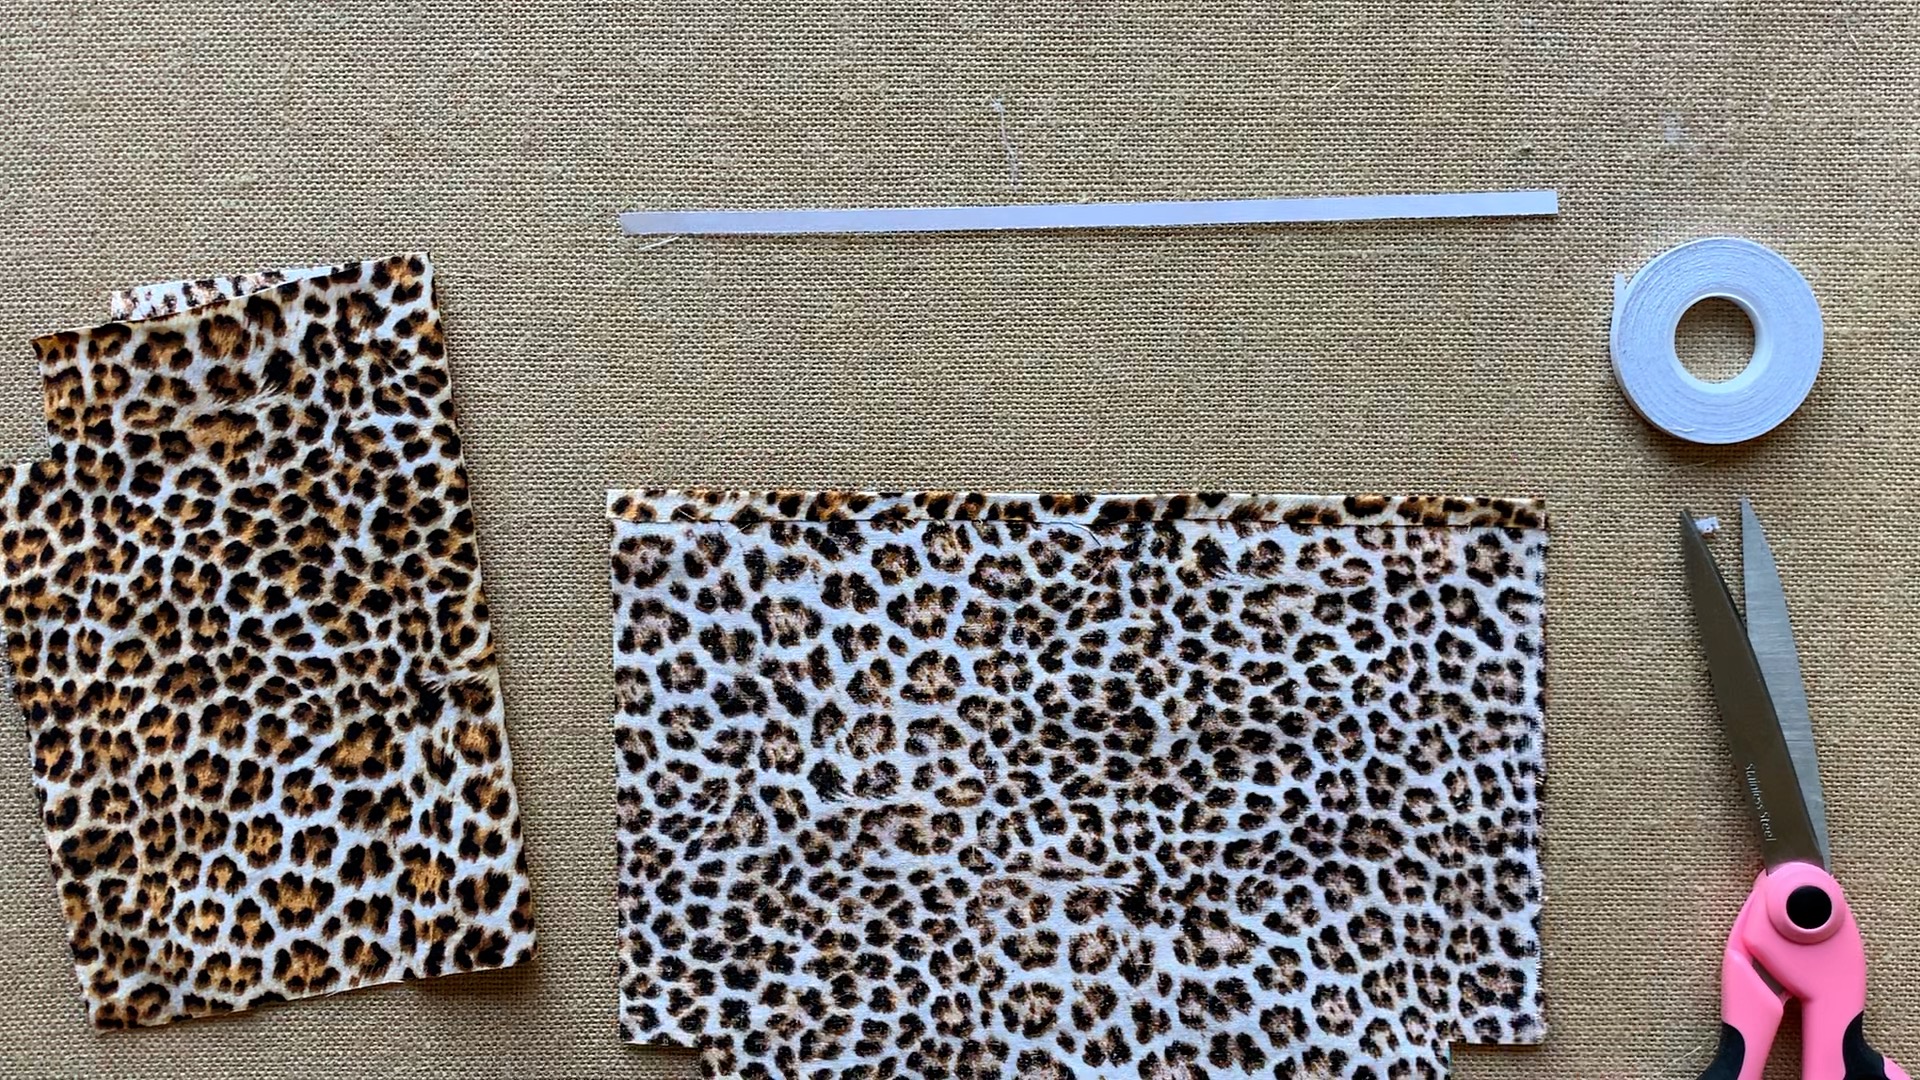
Finished piece, repeat for other piece of lining
Next you will want to trim your zipper. Unfortunately these heavy duty zippers only come in longer lengths so we need to customize it. Place the zipper along side your seamed bag and then add an inch to the length, cut remainder of zipper off and discard.
Thread a needle with matching thread and whipstitch around zipper teeth several times. This will help create a “stop” to replace the one we had to trim off.
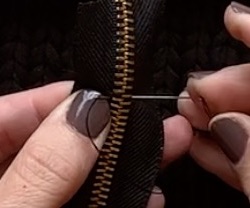
Whipstitch around zipper teeth to create a “stop” 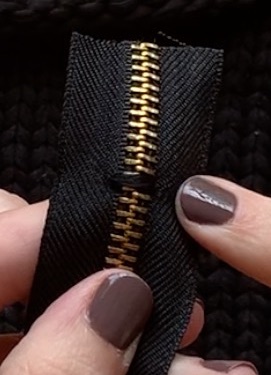
Finished zipper with “stop”
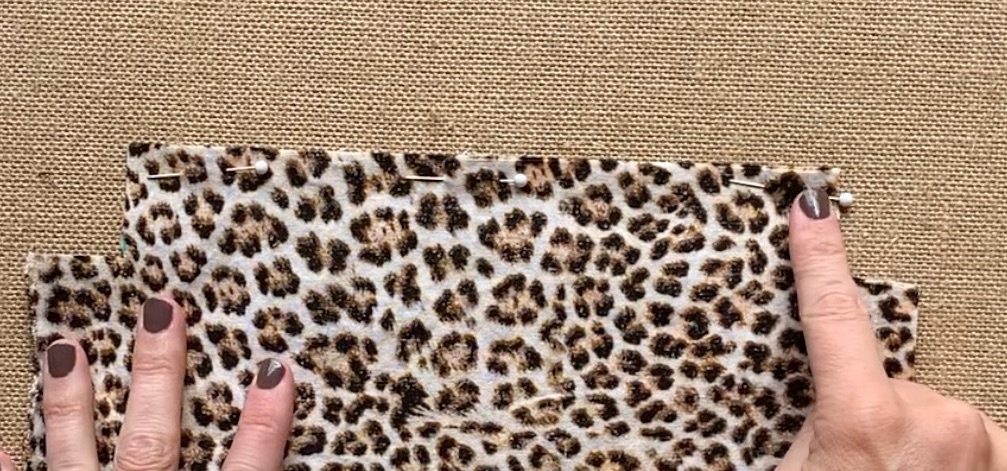
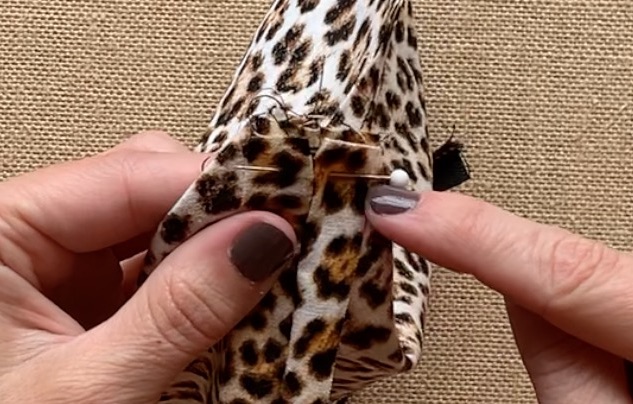
Next you will pin your zipper to your lining. Pin the right side of your fabric to the backside of your zipper as shown below. You can either hand sew or use your sewing machine to attach the zipper. Make sure you leave enough clearance so that your zipper teeth does not catch on your fabric (TRUST ME!) Once you have done one side of the lining repeat the process for the other piece of lining on the other side of the zipper.
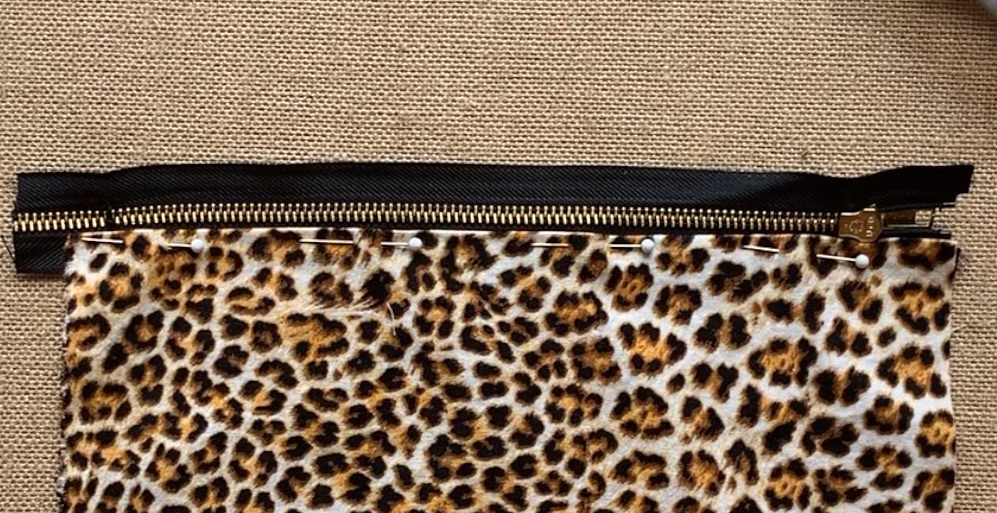
Pin zipper to lining by placing the lining right side up and pinning to wrong side of zipper 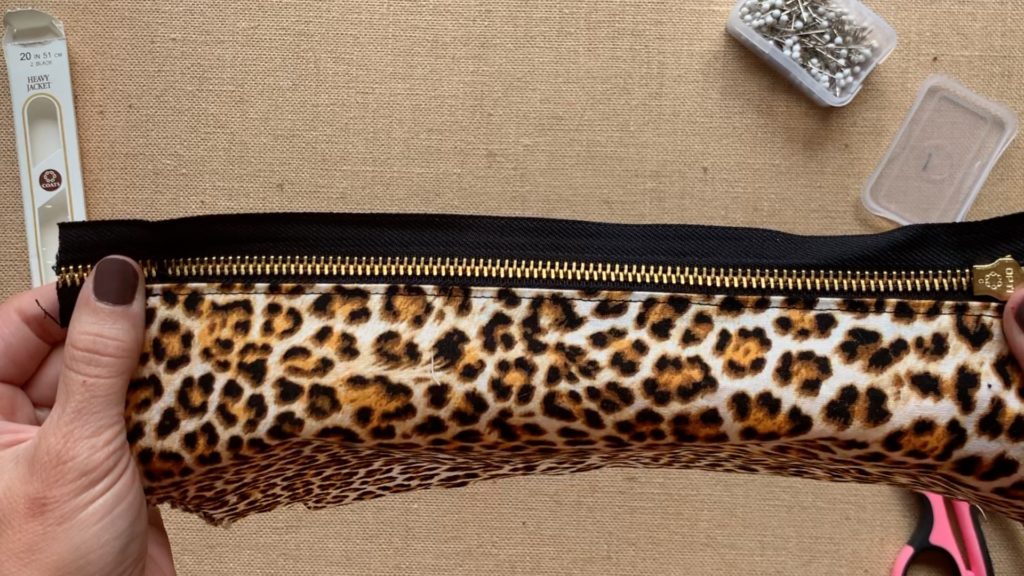
Either sew using a sewing machine or hand sew, this should be what it looks like, complete the same process for other side of lining
Once you are done attaching the lining test out your zipper to ensure that the zipper teeth do not catch the lining of your fabric.

Now we need to sew up the bottom and sides of our lining. First line up the bottom edges of your lining, right sides together. Stitch 1/4″ from the bottom edge.
Pin lining together, sew 1/4″ from edge 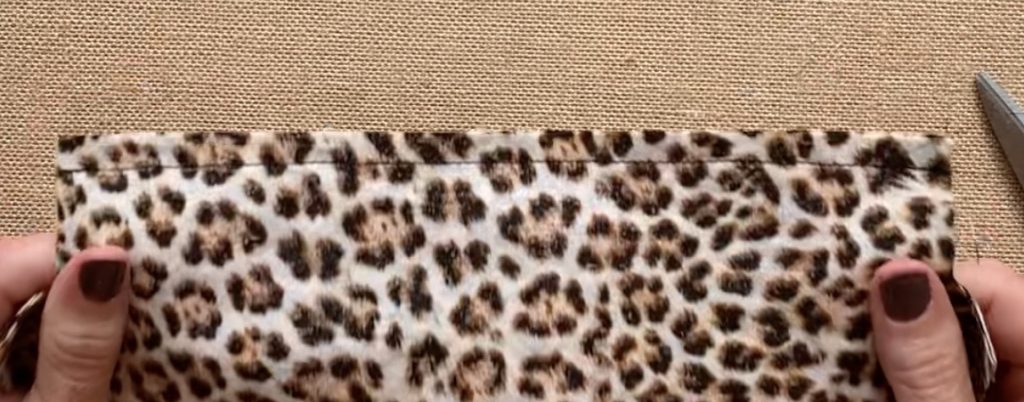
Sewn lining
Next you will line up the sides of your lining, again with right sides together. If using a sewing machine do not sew over the zipper teeth as you will likely snap a needle and be in danger of losing an eye.
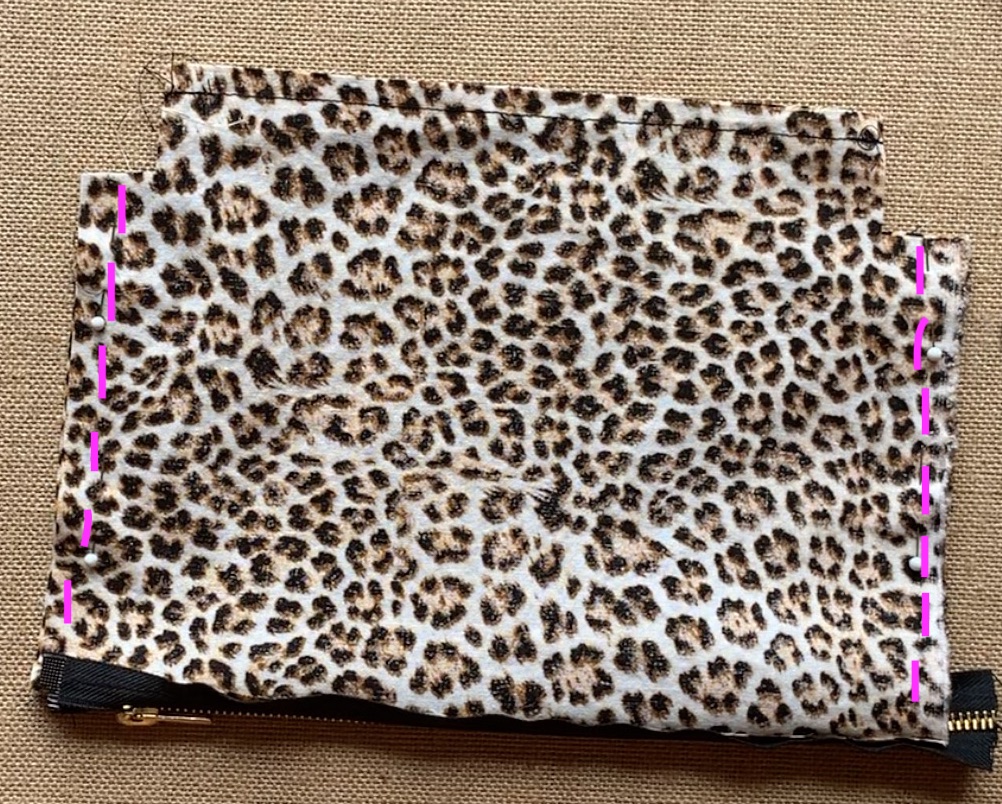
Stitch up the sides with 5/8″ seam allowance 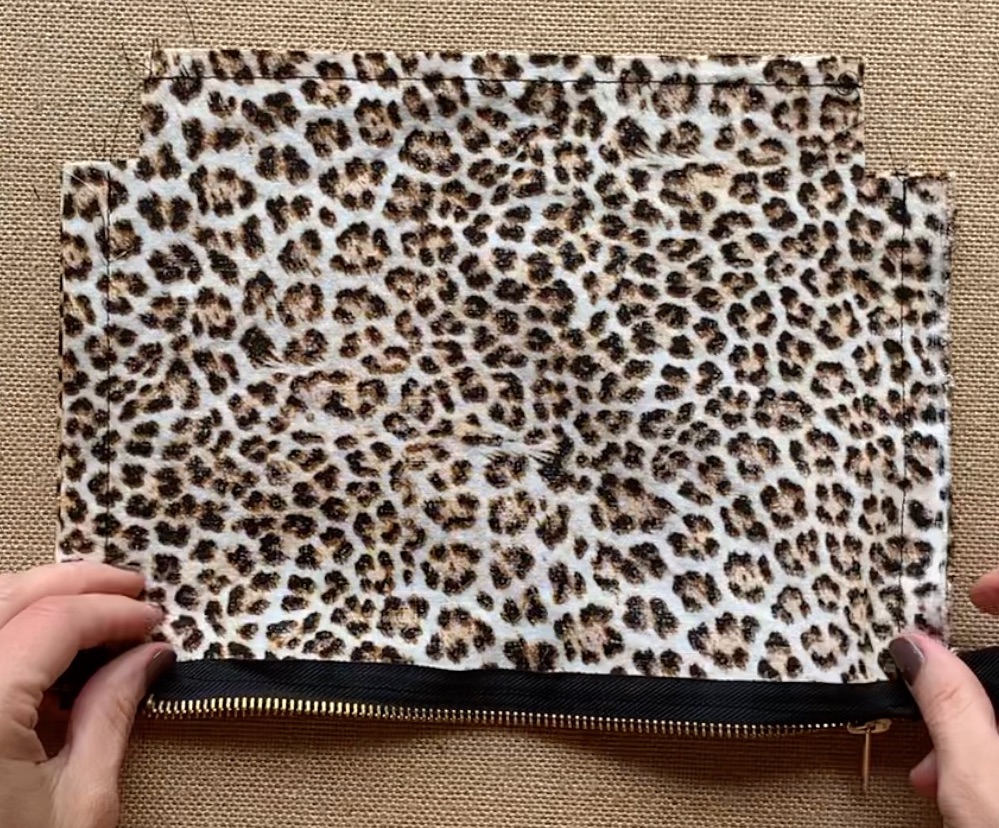
Finished
Similar to the knit portion of the bag we need to close up the corners of our lining. We will do it the same exact way we did the knit bag by pinching the corners and aligning the seam. You will want to open up the seams you created on the sides and bottom of the bag. Pin them in place and stitch 1/4″ from the edge.
Pin with bottom and side seams open 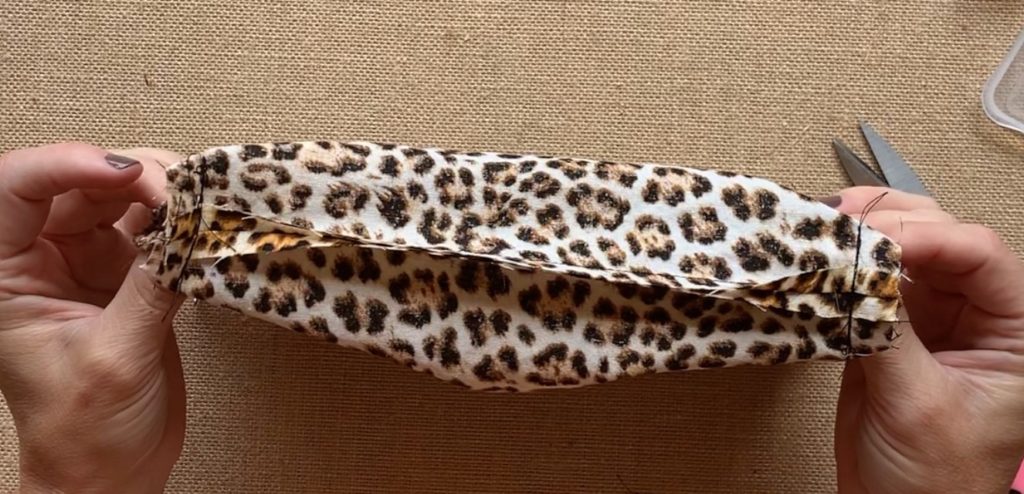
Corners completed 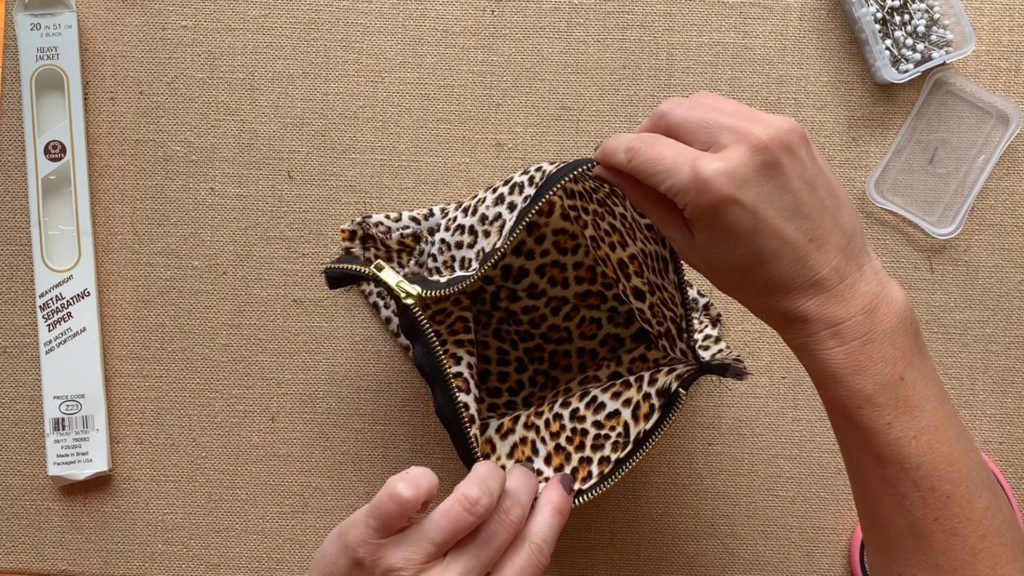
Lining is now complete! Time for the final step!
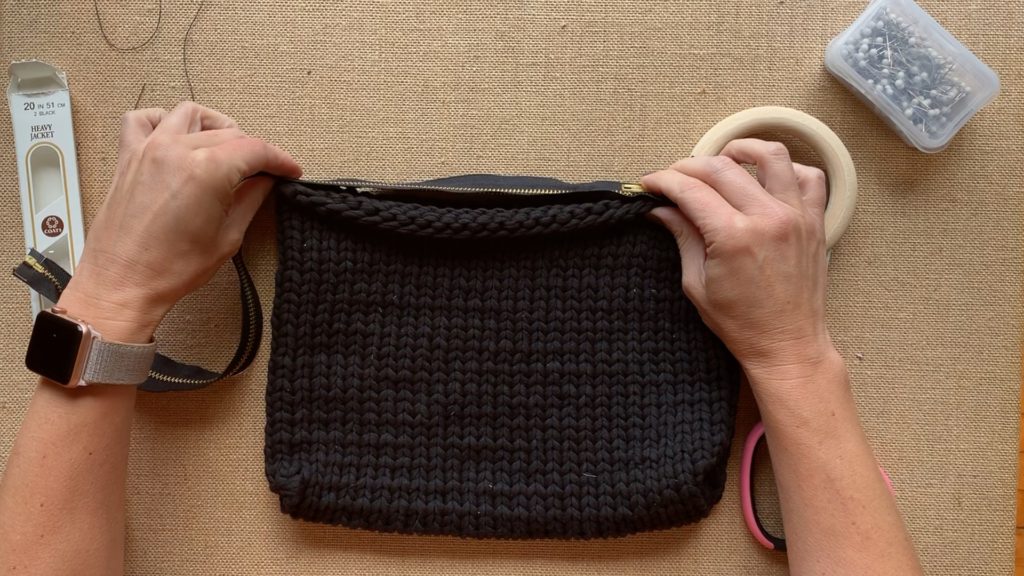
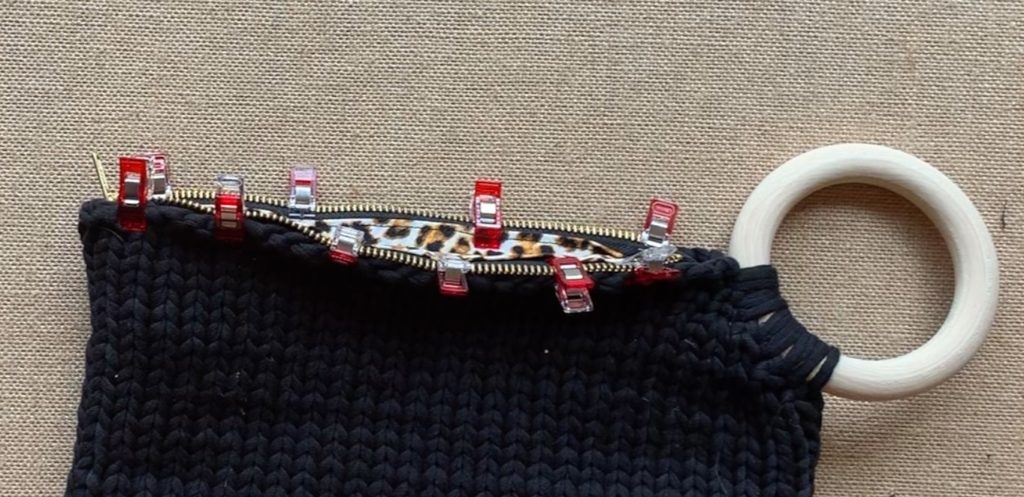
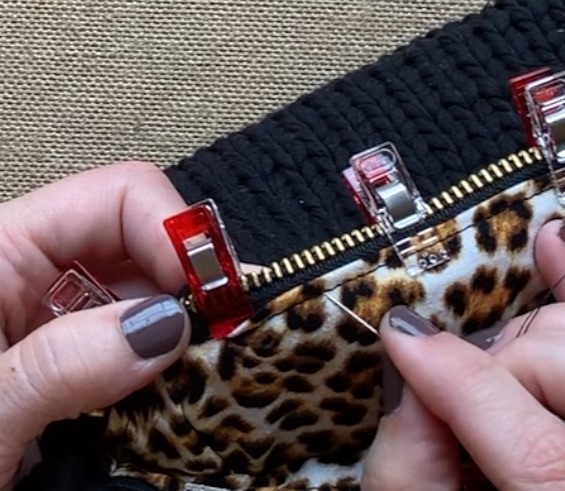
Now for the grand daddy finale! Time to sew your lining into your bag. This is where the wonder clips come in handy. If you don’t have any no worries, just use regular pins to pin in place. I hand sewed the lining to the knit bag, I wasn’t willing to chance running it through the machine and get caught.
You will want to open your lining and place the zipper pull on the opposite end of your wooden bangle. Evenly distribute the lining around the bag and clip or pin in place.
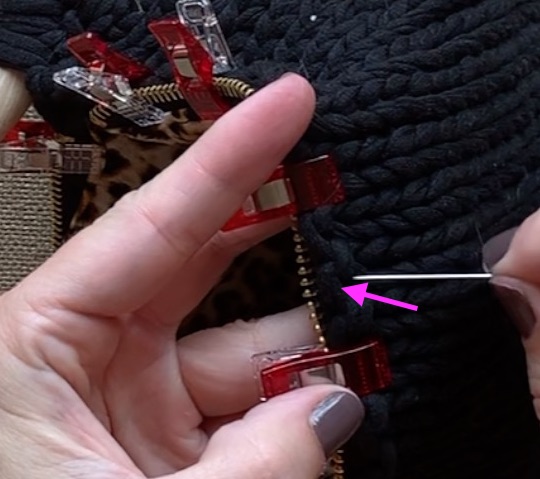
Now that we have the lining aligned in the bag, you will want to grab a needle and matching thread. I doubled up the thread and it ended up being 60″ long so 120″ total. That way I knew I could make it all the way around without any issues. When sewing I followed the same stitch line that was created when we attached the zipper so that it was nice and clean.
Now I kept my stitches right under that first “bump” you see in the picture below. So I entered there and came out along the stitch line already created from attaching the zipper to the lining (2nd pic). I started my hand stitching where the zipper pull is, opposite of the wooden bangle and stitched all the way around until I reached the other side. You will want to tie off your thread similar to how you tie off yarn, pull up a loop and take your needle through the loop to create a knot, do that a couple times then cut your thread.
THERE YOU HAVE IT! I hope you enjoyed this pattern/tutorial. Like I mentioned it is my first pattern……well first that I have shared. If you have any questions at all feel free to leave them in the comments below. I will do my best to answer any you have!