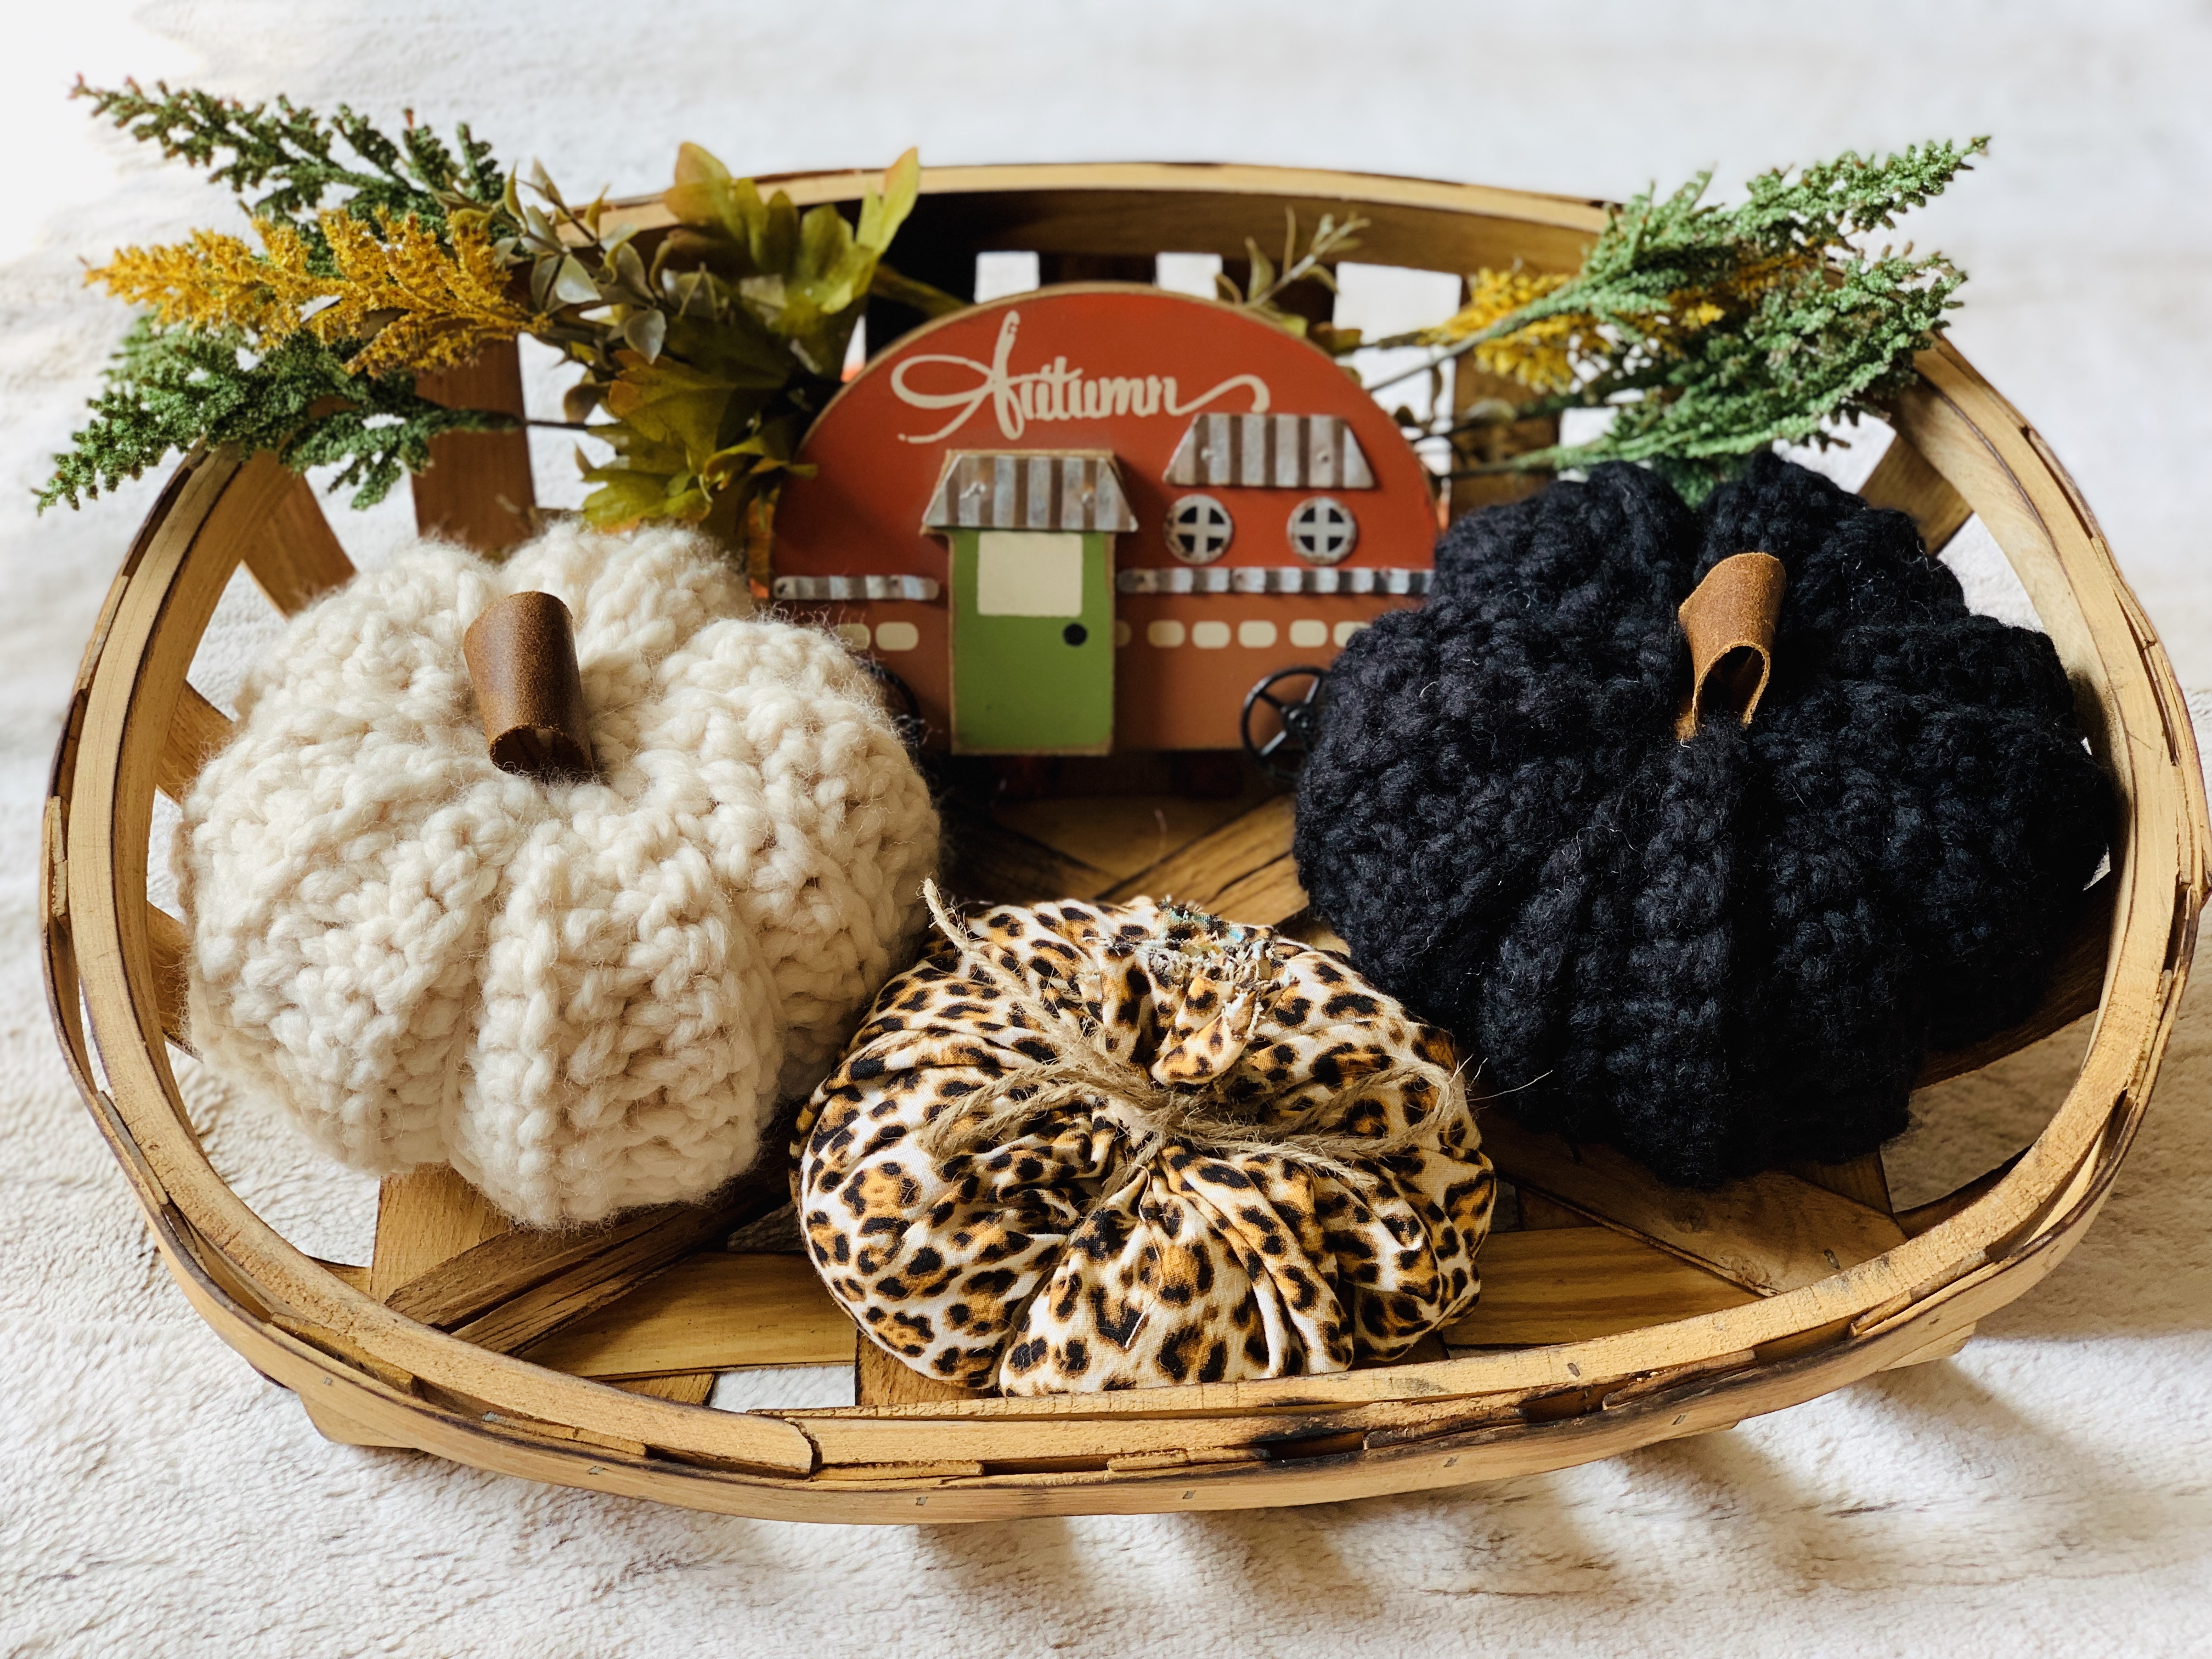
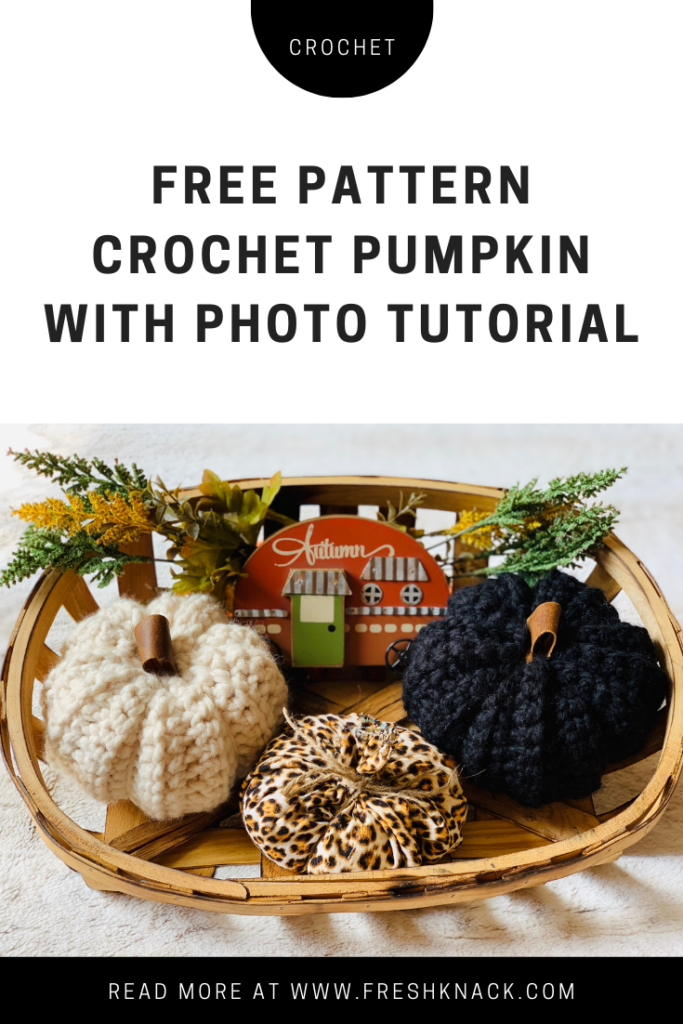
It’s fall ya’ll and time to make some easy crochet pumpkins……actually it is not but the amount of PSL flooding the internet would tell me differently. Fall is my favorite season for clothes but I actually like the weather in summer. Does that make sense…because I feel like it doesn’t. I also like football, I am not a die hard football fanatic but I do like to watch it and especially have it on in the background with some yarn in my lap on the couch. You don’t ever really miss anything because they replay anything that is too good to miss so there’s that.
Anyhow onto my reason for posting. I’ll admit there are TONS of pumpkin patterns out there on the internet. Depending on what you are looking for I am sure there is one out there for it. I am not going to say mine is anything special but it is simple and you can get two cute little pumpkins from 1 skein of yarn. I tried to make up some fancy pattern work to make it more interesting but man just keeping it simple keeps it interesting too, why make life more complicated. You can knock one of these out in about an hour.
Also if you aren’t up for making one yourself take yourself on over to my Etsy shop, I’ll hook you up!
Materials:
- 1 Skein Lion Brand Wool Ease Thick and Quick
- Yarn Needle
- Poly-fil
- Scissors
- Some sort of stem (a stick, piece of scrap leather, cinnamon stick, ets)
Finished Dimensions:
- 4″ H x 7″ W
Abbreviations:
- ch = chain
- sc = single crochet
- blo = back loop only
- st(s) = stitches
Pattern Notes:
- 1 skein of yarn will make 2 pumpkins
- this pattern is easily customizable for bigger or smaller pumpkins by simply decreasing/increasing stitches and rows
- You will want to leave longer yarn tails to cinch pumpkin closed when completed
- Ch. 1 at begging of each row does not count as a stitch
Pattern Instructions:
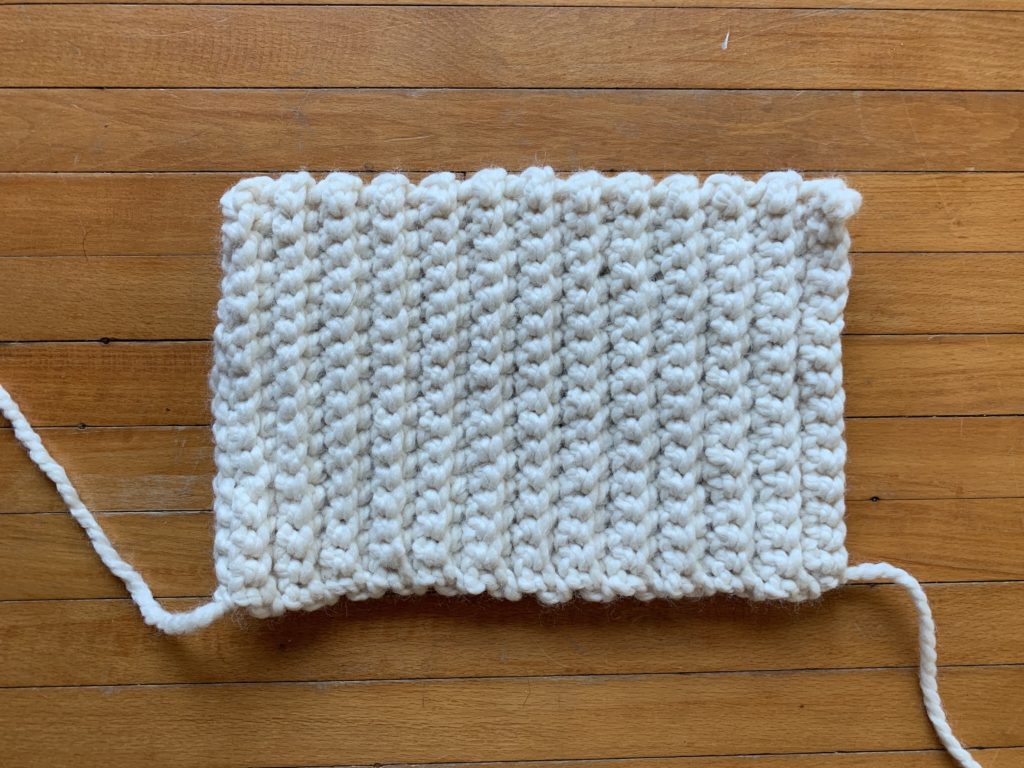
Ch 17
Row 1: Sc 2nd chain from hook to end (16), ch1, turn
Row 2: Sc blo in all stitches (16)
Row 3 – 25: repeat row 2, cut yarn with 60″ tail, pull through last loop to secure
Assembly:
Now it is time to assemble your pumpkin. First you will want to whip stitch your ends together to make a tube. Use your 60″ yarn tail for this part.
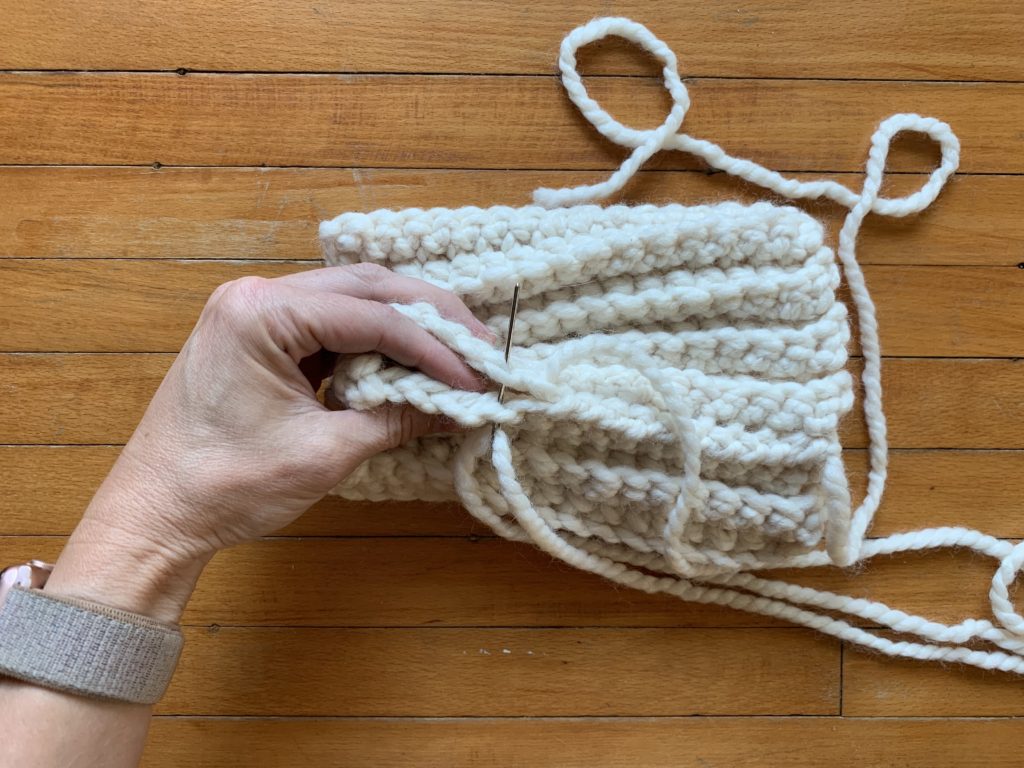
Weave your shorter yarn tail in and out all the way around the edge, pull yarn tail tight to cinch top of pumpkin. Stand up your pumpkin and stuff it with your poly fil. Don’t over stuff but give it a nice squish.

Weave through top 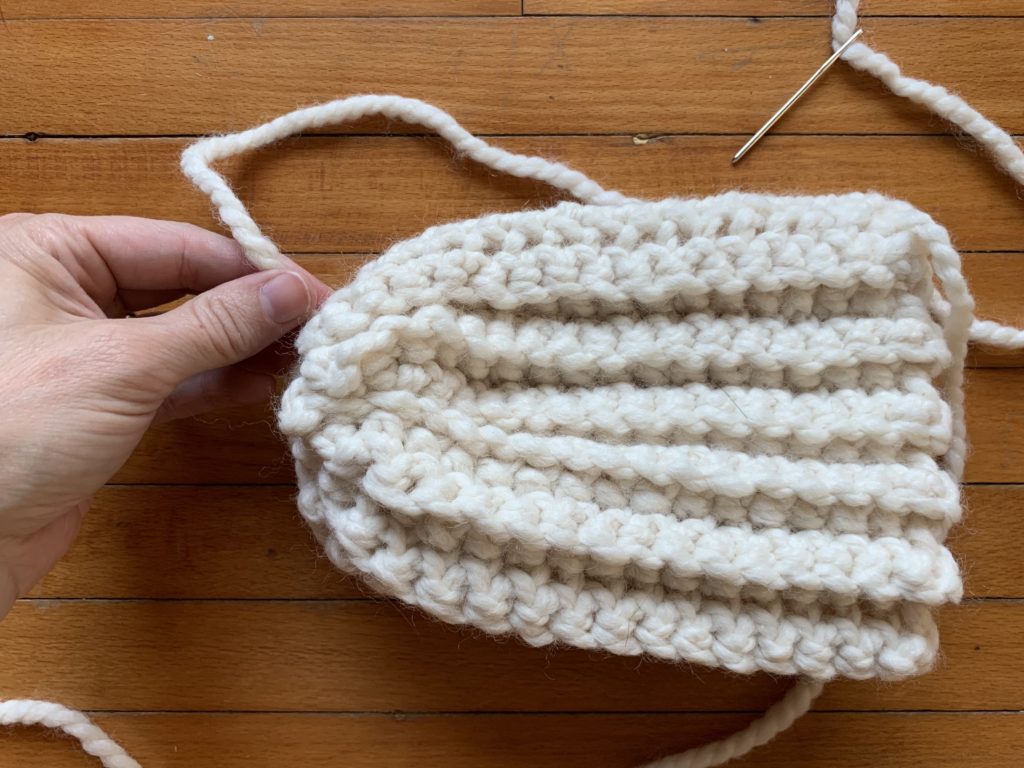
Pull yarn tail to cinch 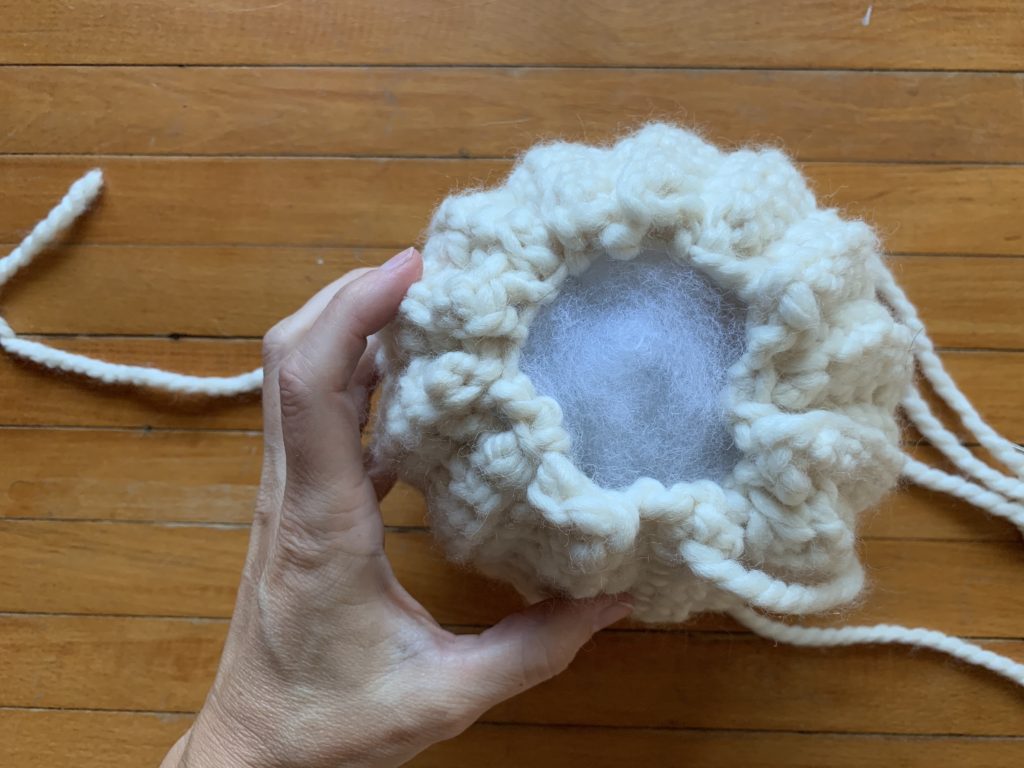
Stuff!
Weave long yarn tail in and out around the top in the same manner as done before to cinch the bottom of pumpkin. Once pulled tight, take the yarn needle and stuff it through the middle of pumpkin. Push it through until the yarn needle comes out the other side through the middle to give it a little indention.
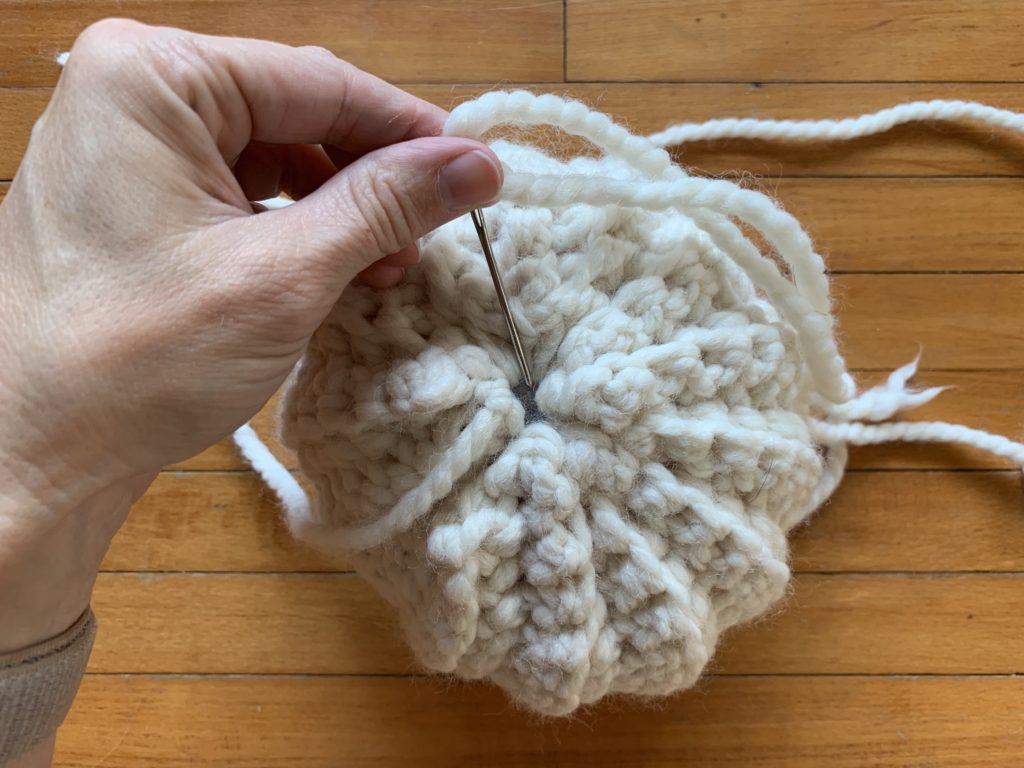
Push yarn needle through center of pumpkin 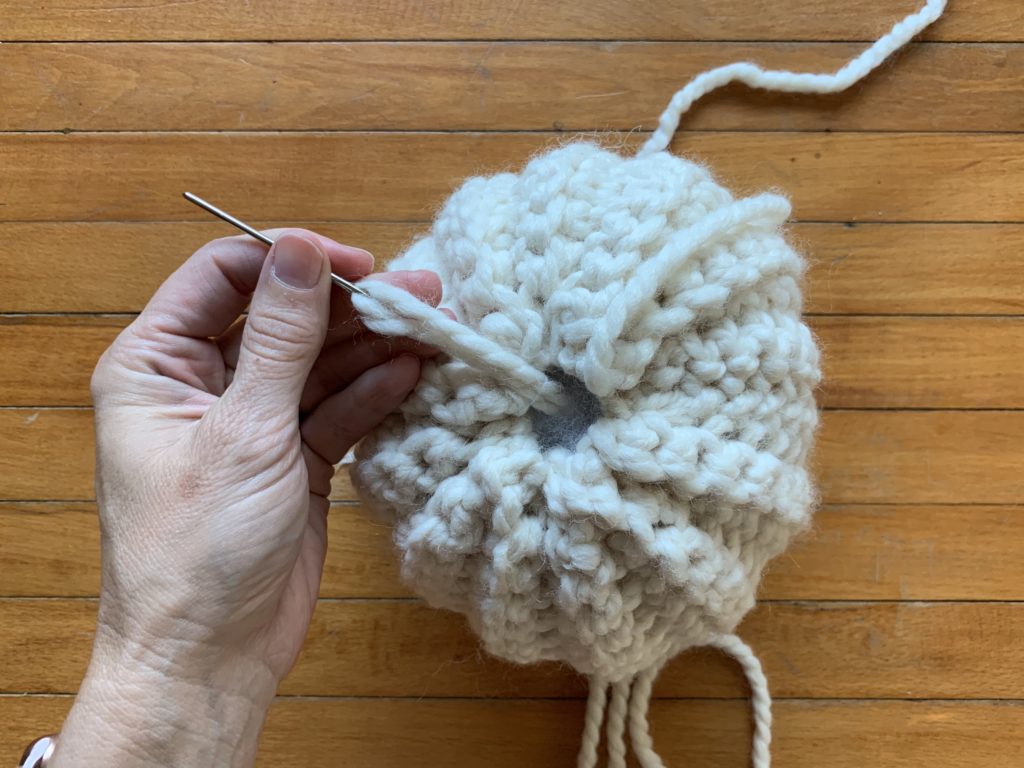
Flip pumpkin over and pull out the yarn needle, pull tight to shape pumpkin
Take your same yarn tail and needle and wrap the yarn around the outside of pumpkin to create the indentions that pumpkins typically have. Then push yarn needle through the center as done previously and flip pumpkin over and pull it out from the center, repeat this process until you are happy with the shape of your pumpkin. I did it about 5 times. Secure your yarn and cut off any loose ends.

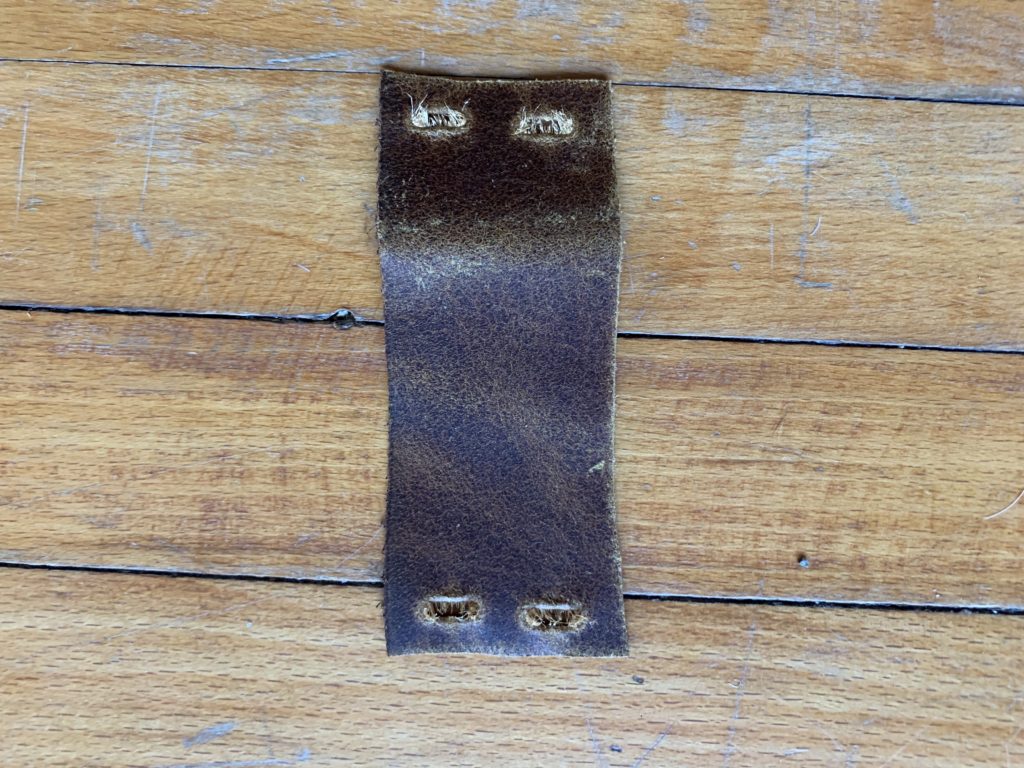
Time to add your stem. I have seen people use cut sticks and cinnamon sticks so let your imagination run wild here. My choice was to use some scrap leather I had on hand. Cut a piece 1.5″ wide by 4.5″ tall. I then used a hole punch and punched two holes on each end.
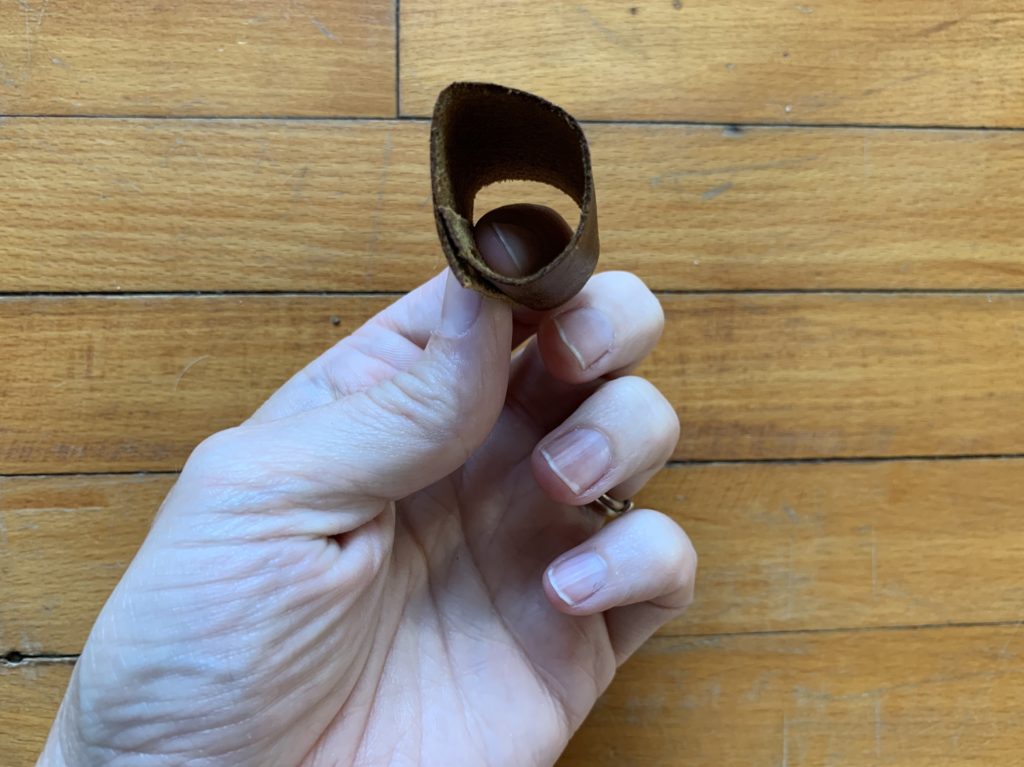
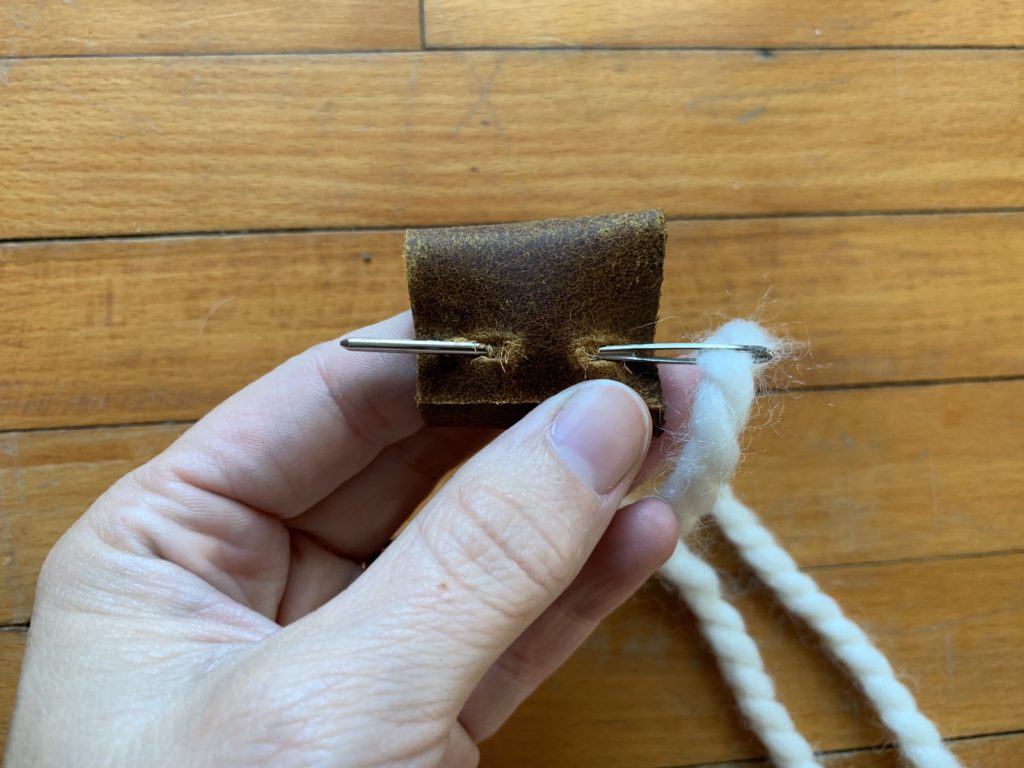
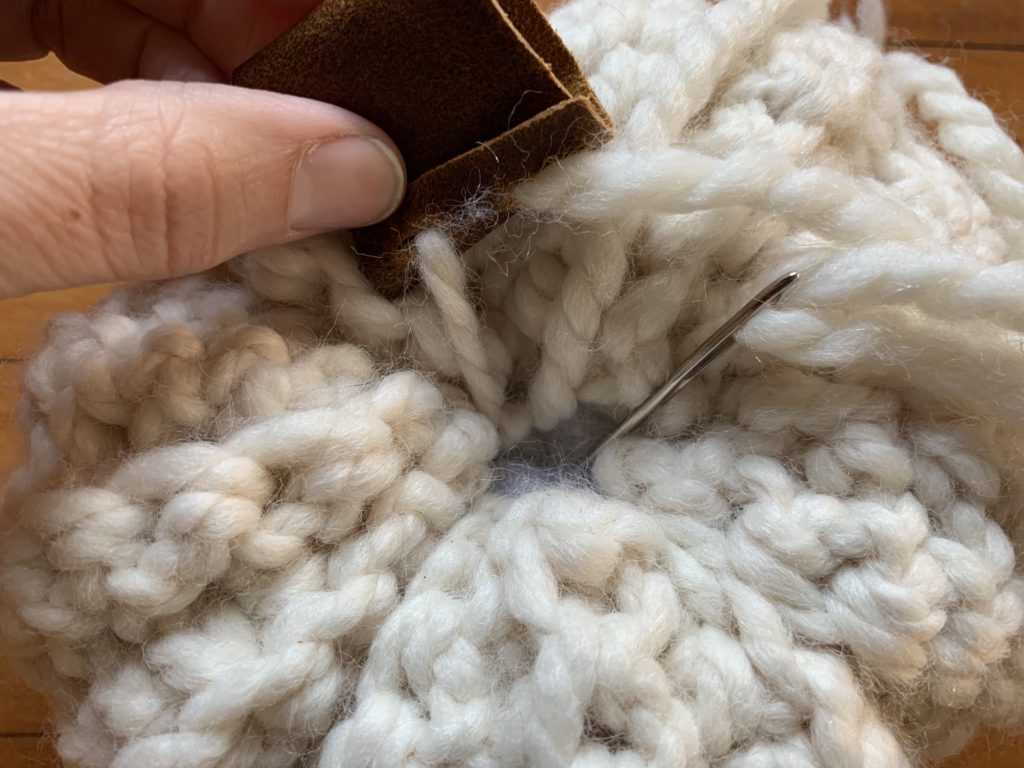
I overlapped the holes to create a circle with my leather and weaved my remaining yarn needle through it. I then stuffed my yarn needle through the center of my pumpkin to the bottom and secured it at the bottom of my pumpkin by tying a knot. Cut off remaining ends.