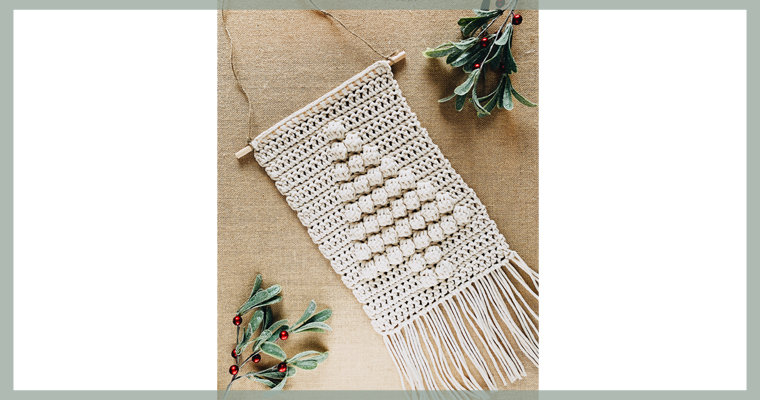
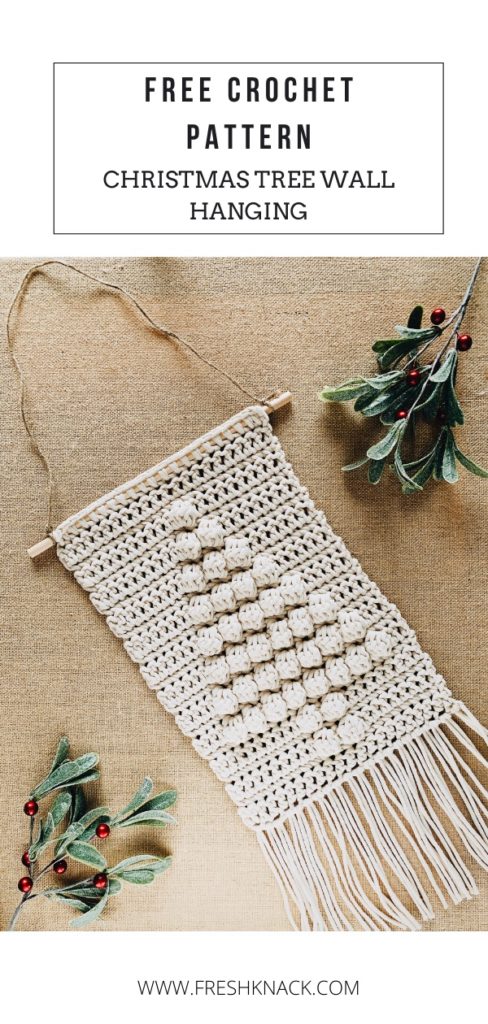
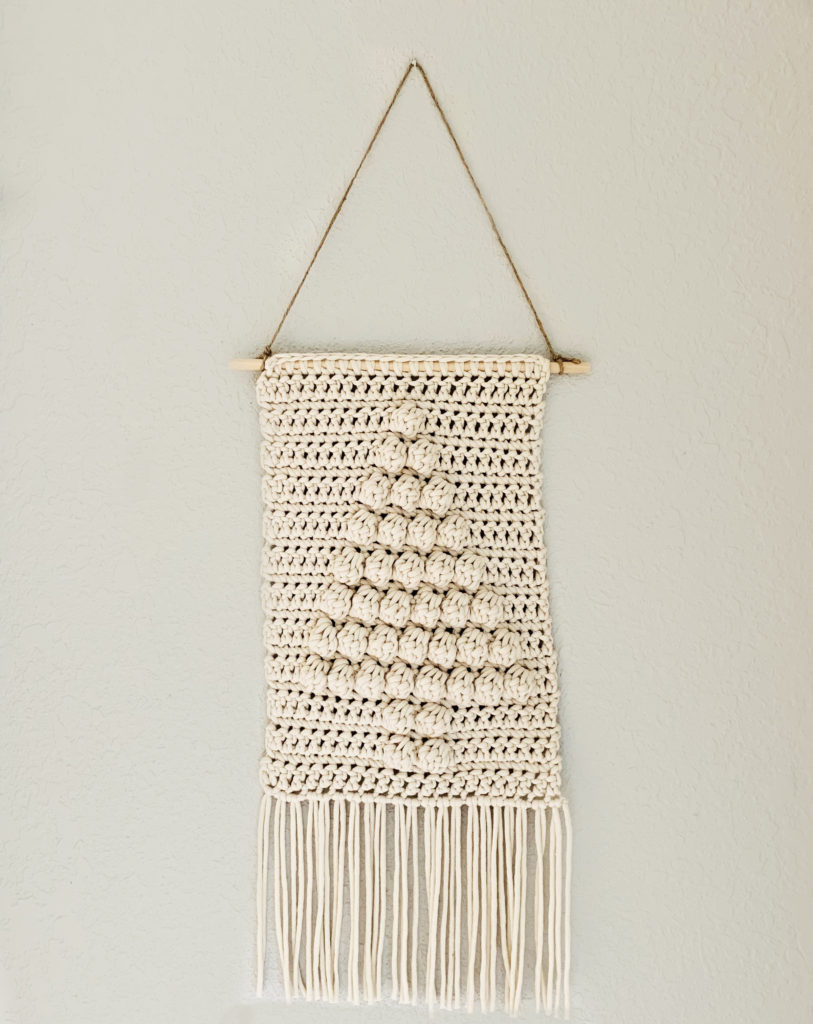
Hey there! I’m back with probably my last design for this year, the easy crochet Christmas tree wall hanging, unless a miracle happens and I inherit super speed with my hook and needles…..I bought my first Christmas present today for one of my kids so I am feeling real accomplished……have you started shopping yet? If you are done shopping I don’t want to hear it, okay?
What can I say, I think designing around Christmas trees are my jam! While I don’t do much with macrame I do love the look of it and that is where this design concept came from. I always see these beautiful macrame hangings all over the place and I decided to create one using crochet stitches instead. AND I AM HERE FOR IT!!!! It turned out so good if I do say so myself. And the fact that it only took 2 attempts to get it right was a bonus.
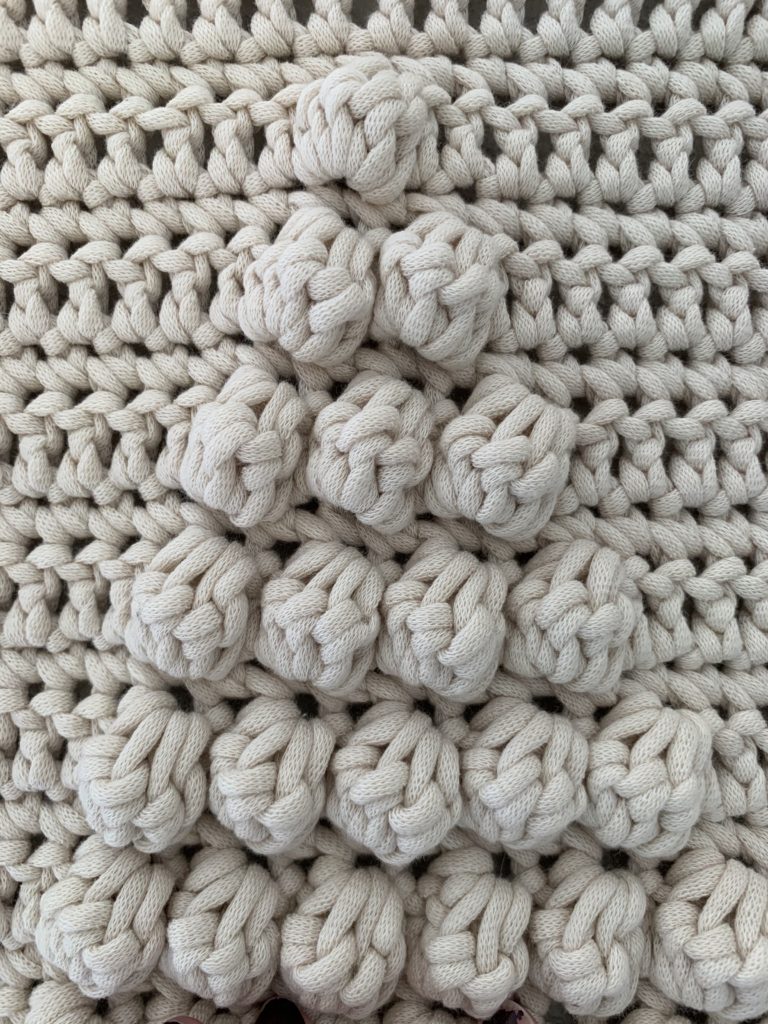
I chose to use Bernat Make Home Dec yarn because well it is great for “home” related designs, hence the name. It worked up beautifully and provided great stitch definition and texture. I do find that steaming the project after it is done helps smooth out the yarn quite a bit. Sometimes it can look a bit wrinkled especially when adding fringe.
Materials
- 3.3oz Bernat Maker Home Dec (cream)
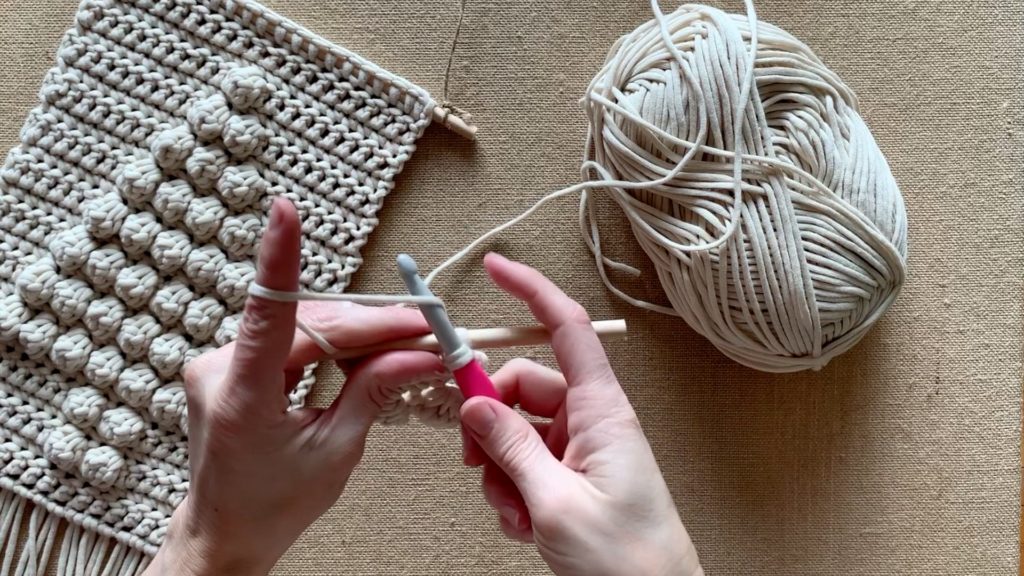
- Size L/8mm Crochet Hook
- Yarn Needle
- Scissors
- 10 inch wooden dowel
- Jute Twine (optional)
Pattern Notes
This pattern is worked from the bottom up. The turning chains at the beginning of each row DOES NOT count as a stitch. I used Jute Twine to hang my piece but you could sub anything here even a piece of the yarn itself.
Abbreviations
- ch – Chain
- st(s) – Stitch(es)
- dc – Double Crochet
- sc – Single Crochet
- bo – Bobble
Gauge
10 sts x 8 rows (4 rows of dc, 4 rows of sc, alternating rows starting with dc) = 4in x 4in
Pattern
- You can purchase the ad-free printable pdf here
- Pin this pattern for later to your Pinterest board here
- Add this pattern to your Ravelry queue here
Ch. 23
Row 1: Starting in 3rd ch from hook dc in each st across, ch1, turn (21)
Row 2: sc in each st across, ch2, turn (21)
Row 3: dc in first 9 sts, bo, dc, bo, dc in remaining 9 sts, ch1, turn (21)
Row 4: sc in each st across, ch2, turn (21)
Row 5: dc in first 9 sts, bo, dc, bo, dc in remaining 9 sts, ch1, turn (21)
Row 6: sc in each st across, ch2, turn (21)
Row 7: dc in first 3 sts, (bo, dc, 8 times) dc in remaining 2 sts, ch1, turn (21)
Row 8: sc in each st across, ch2, turn (21)
Row 9: dc in first 4 sts, (bo, dc, 7 times) dc in remaining 3 sts, ch1, turn (21)
Row 10: sc in each st across, ch2, turn (21)
Row 11: dc in first 5 sts, (bo, dc, 6 times) dc in remaining 4 sts, ch1, turn (21)
Row 12: sc in each st across, ch2, turn (21)
Row 13: dc in first 6 sts, (bo, dc, 5 times) dc in remaining 5 sts, ch1, turn (21)
Row 14: sc in each st across, ch2, turn (21)
Row 15: dc in first 7 sts, (bo, dc, 4 times) dc in remaining 6 sts, ch1, turn (21)
Row 16: sc in each st across, ch2, turn (21)
Row 17: dc in first 8 sts, (bo, dc, 3 times) dc in remaining 7 sts, ch1, turn (21)
Row 18: sc in each st across, ch2, turn (21)
Row 19: dc in first 9 sts, (bo, dc, 2 times) dc in remaining 8 sts, ch1, turn (21)
Row 20: sc in each st across, ch2, turn (21)
Row 21: dc in first 10 sts, bo, dc, dc in remaining 9 sts, ch1, turn (21)
Row 22: sc in each st across, ch2, turn (21)
Row 23: dc in each st across, ch1, turn (21)
Row 24: Grab your wooden dowel and sc around the dowel (21)

Finish
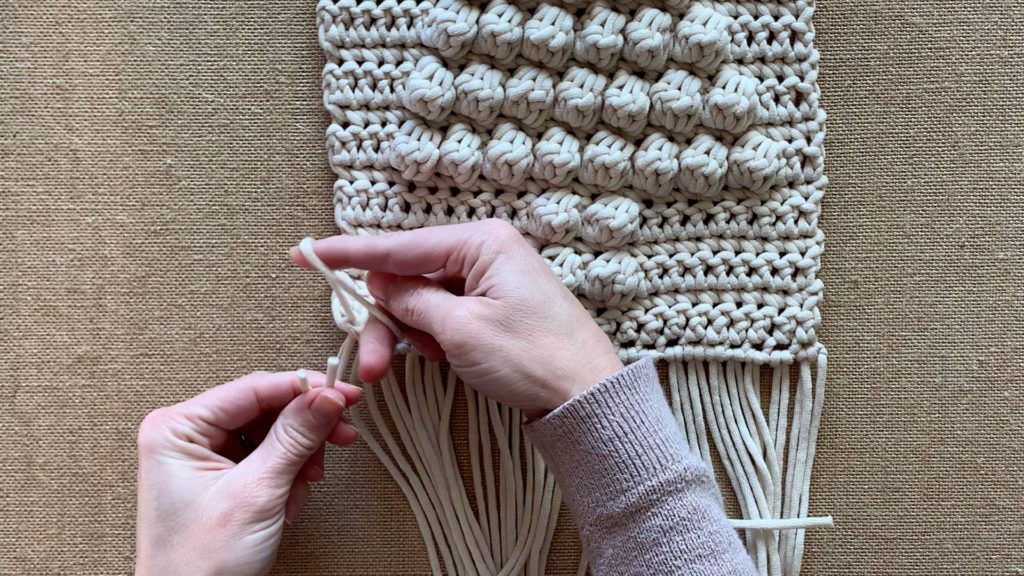
Weave in all ends. Cut 21 pieces of yarn 16 inches long and loop through each stitch in beginning chain.
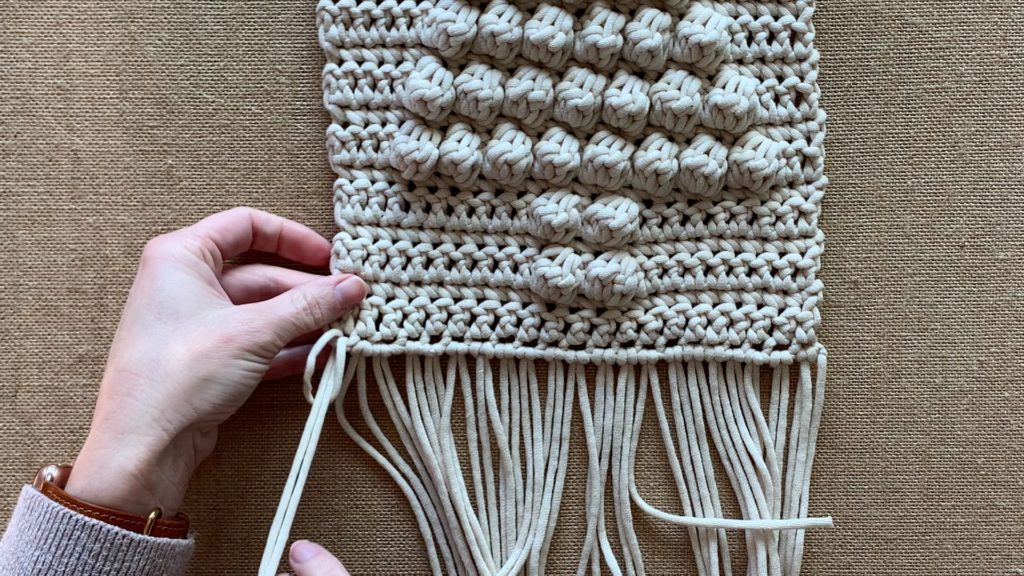
Steam your piece so that the fringe lyes flat, trim fringe if necessary. Cut a piece of twine 22 inches long (or whatever you choose to use) and double knot it around the dowel on each side. Now hang up your piece and admire it!

Can’t seem to fine this yarn. Is there another kind you can use?
Hi Diane-I have noticed this yarn has been going in and out of stock lately. You can go to yarnsub.com and type in Bernat Maker yarn and it will give some suggestions. I would definitely keep your eyes peeled on yarnspirations website. They seem to have been restocking this yarn more frequently than before.
Can items made with this pattern be sold?
As long as pattern credit is given back to me then yes. Thank you for asking!
Hello,
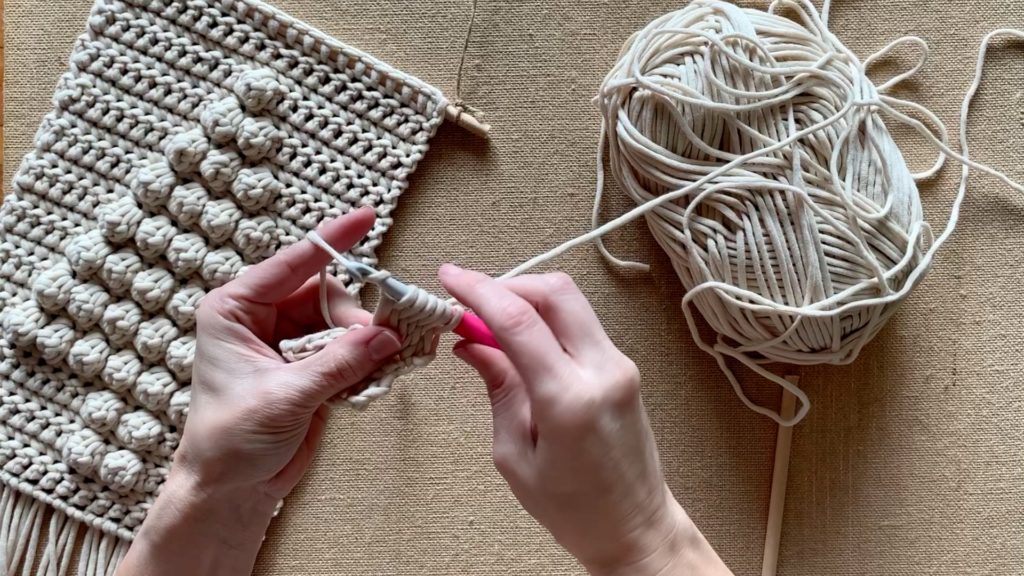
After you work your bobble stitch are you closing it with a stitch or going directly into the next stitch? I hope that makes sense. Thanks for the pattern!
Laurie
Hi Laurie!
Once you have all loops for the bobble on your hook you’ll yarn over and pull through all the loops. There are no other steps to close the bobble you just move onto the next stitch. Hope that helps Laurie!
Help,
Thanks for getting back. As soon as I asked that question I realized
it was an oops on my part. I’m going to try making this with with a worsted weight from my stash but I’m going to look for the Bernat Maker. Thanks again!
Laurie
What diameter dowel do you recommend?
Hi Madeline – I used 5/16 inch but you could use just about anything it depends on what look you are going for. Using sticks/twigs looks really cute too for a more rustic feel.
Is anyone else having the most ridiculous time finding this yarn?! I know I want it. It is one of a kind. I can’t even find anything similar. I found the exact yarn at yarnspirations but for whatever reason my card will not work with them. (I’ve been on the phone with them several times today). Has anyone had any success with a different yarn? I just love how durable it is for home decor.
Oh no! I hate that you are having a hard time securing this yarn…There really isn’t anything out there like it and for the ones I have found the colors are too vibrant. I have always found mine at my local Michaels until recently otherwise have always ordered through Yarnspirations. There have been people who have held 2 strands together using worsted weight yarn and it still comes out with the same look. I stopped designing with this yarn due to lack of availability even though it is one of my favorites!
Hello! I can’t wait to make this project 🙂 I was wondering how many skeins of yarn it took to make this?
If you use the yarn that I linked in the post it will take a little less than half of a skein.
Laurie, thank you so much for sharing your pattern. My husband and I just redecorated our son’s bedroom and there was a blank wall that we wanted to put something on, right above the tv, and this pattern worked up in no time. Thank you so much for sharing! Merry Christmas!
I’ve just made two of these and love them. I used a medium weight acrylic yarn from Hobby Lobby. It turned out great. Thank you for the pattern 👍🏼
Awesome! I am so glad you like the pattern! If you are on social media make sure to tag me @freshknack
Is it just me or is Row 3 in the pattern on this page telling me to make 2 bobbles for the first row of the tree – surely this should be 10 dc, bo, 10 dc or the top of the tree will not have a point?
Hello the tree is worked from the bottom up. So you are working the “trunk” in row 3 which consists of 2 bobble stitches.