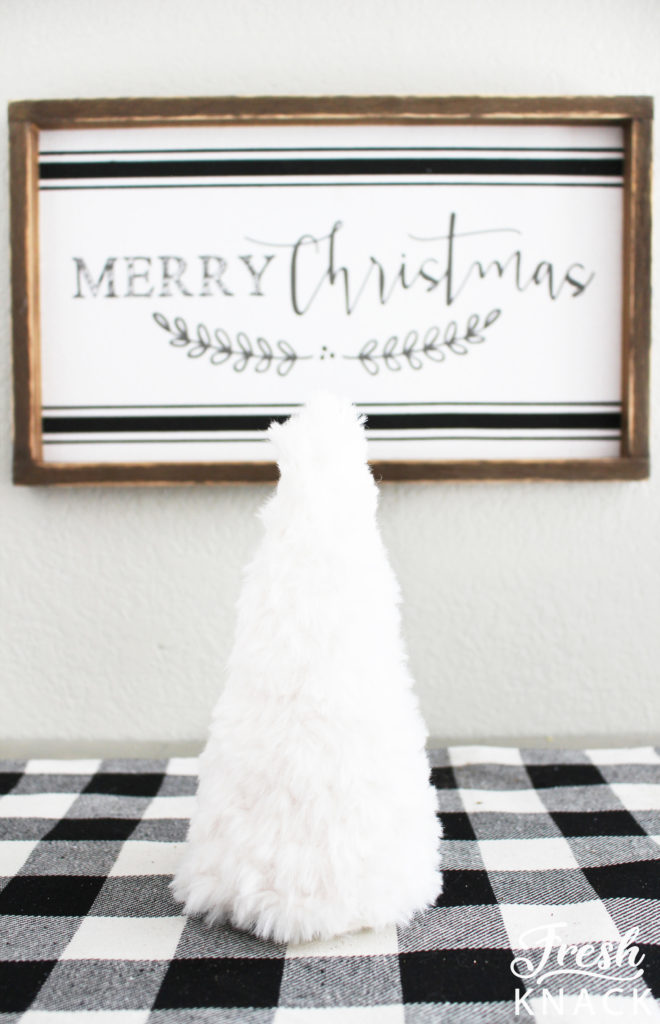
Hey all! Hope you are all doing great! We are continuing the fight with sickness over here and currently I would say the sickness is winning. I currently sound like I have a man’s voice so that’s real sexy…..it reminds me of that episode of Friends where Phoebe has a cold and likes the way she sounds when she sings and tries to keep her cold. Anyhow crochet faux fur trees…..
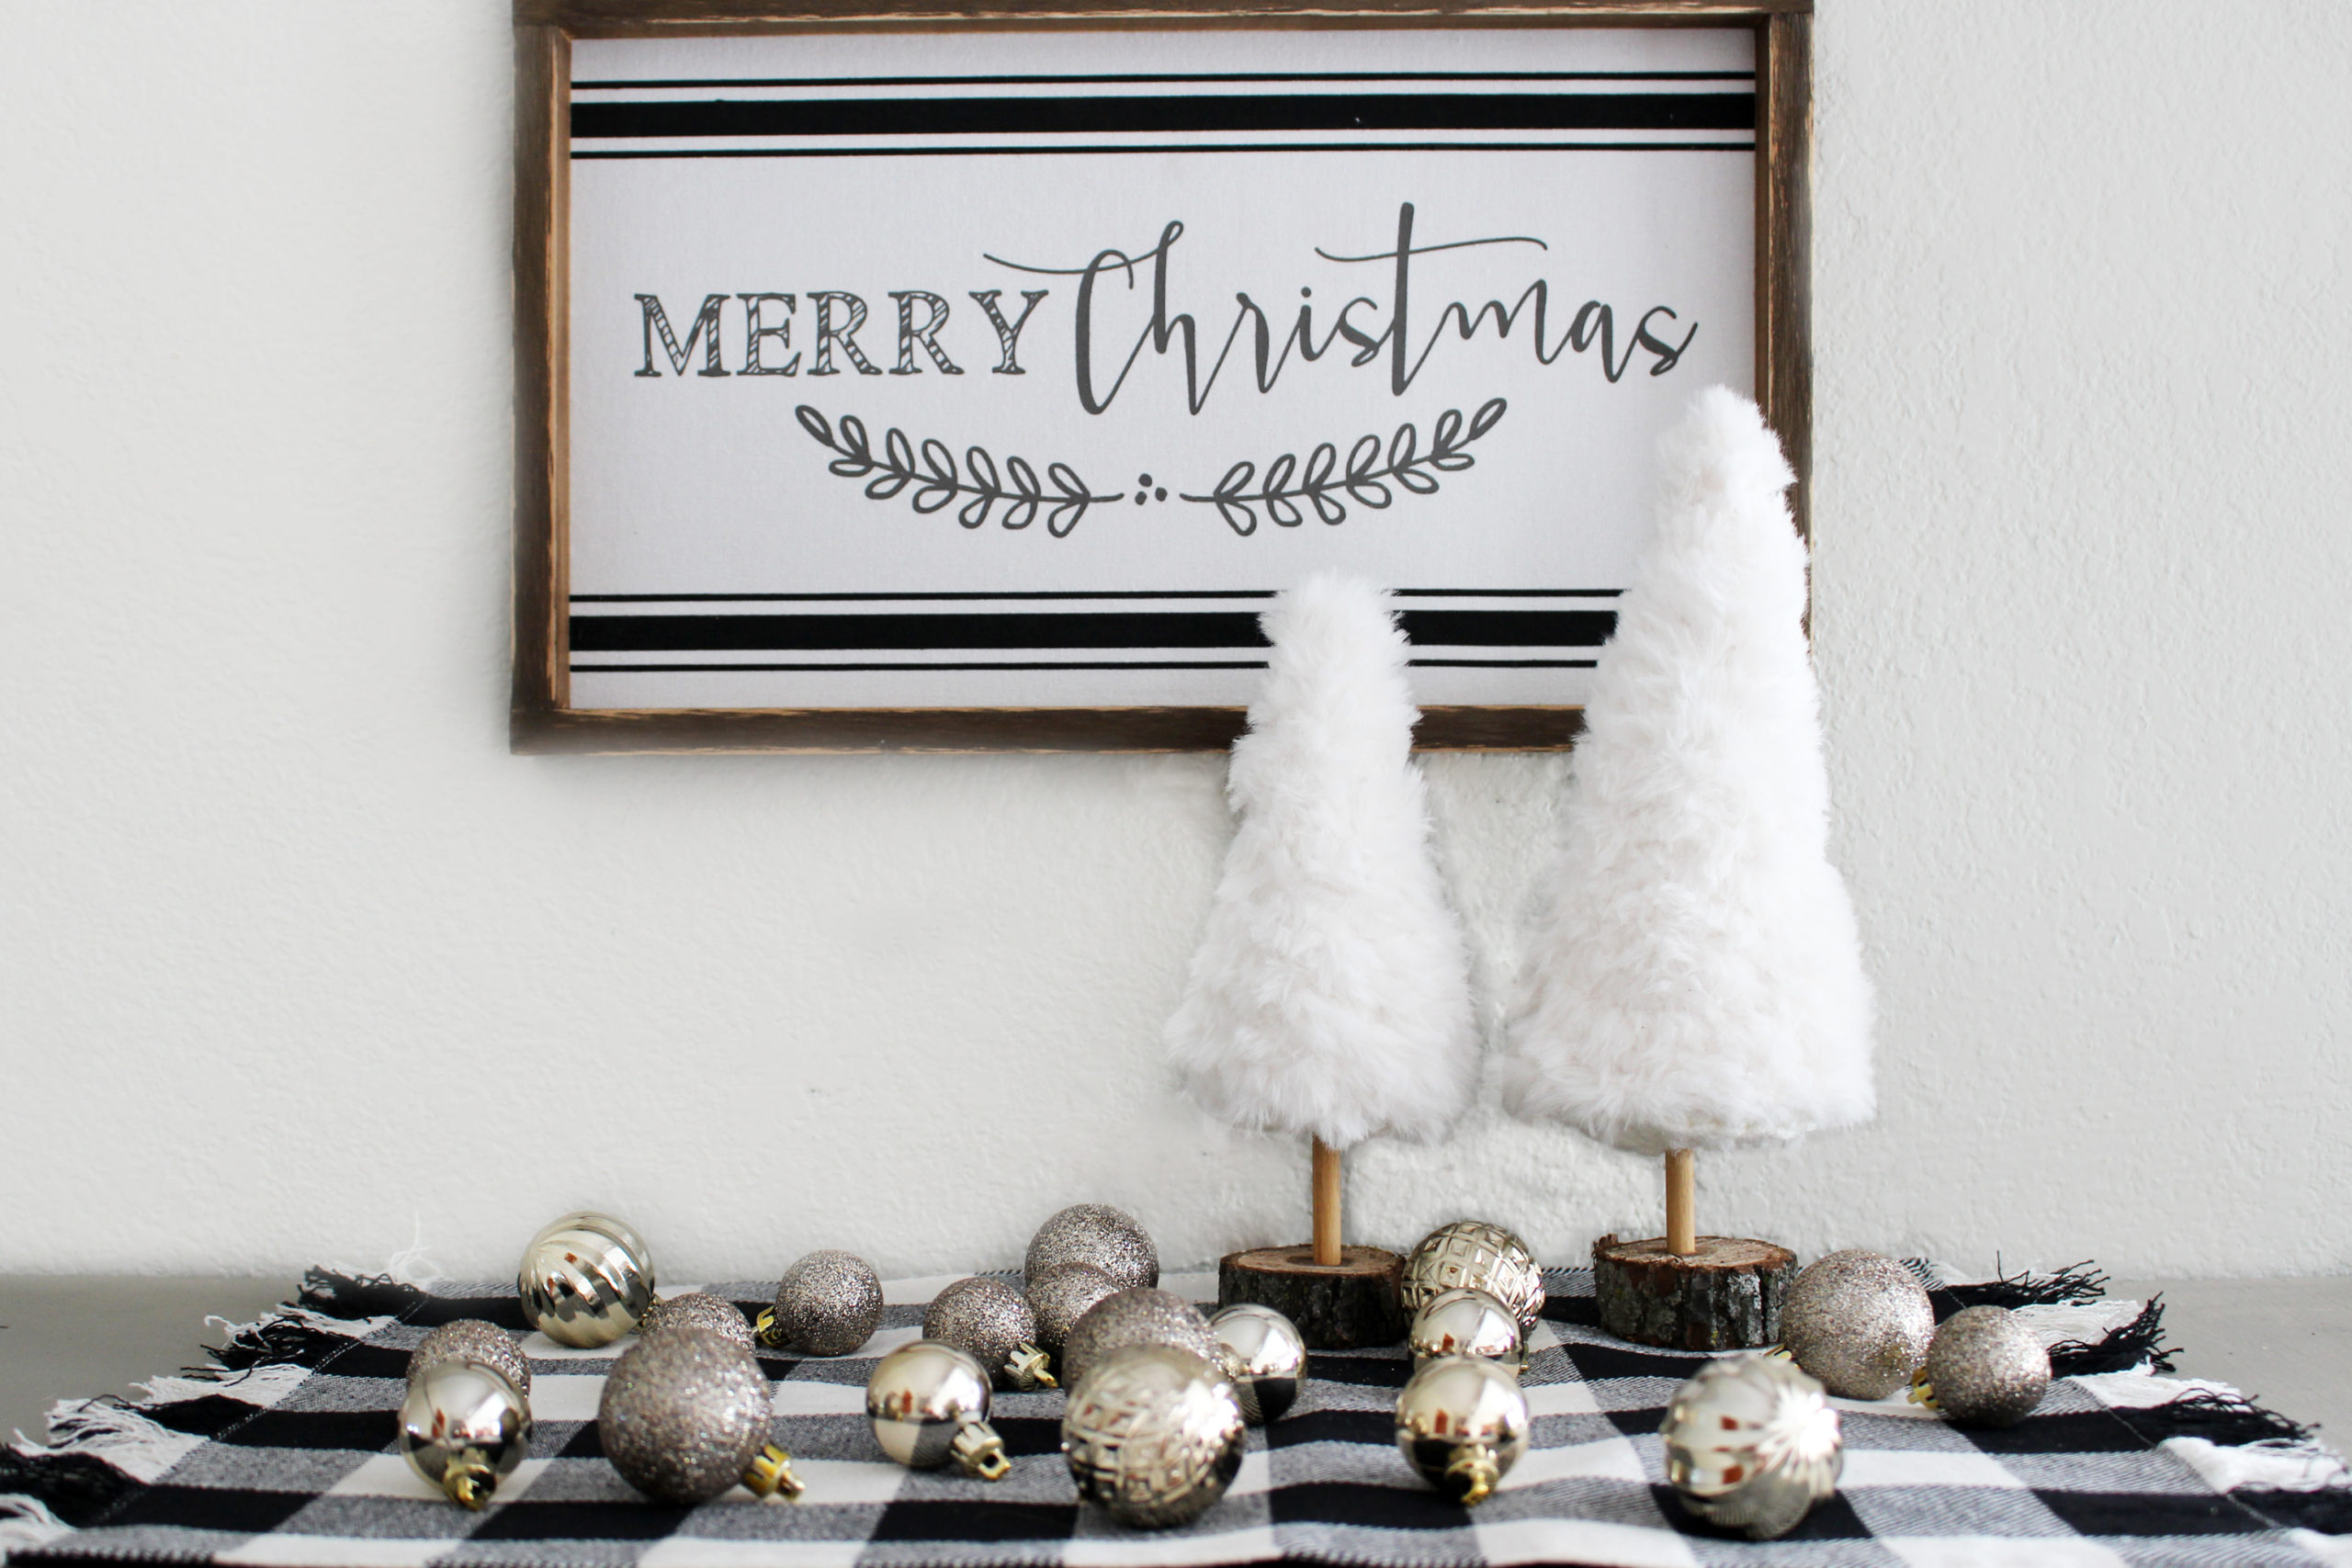
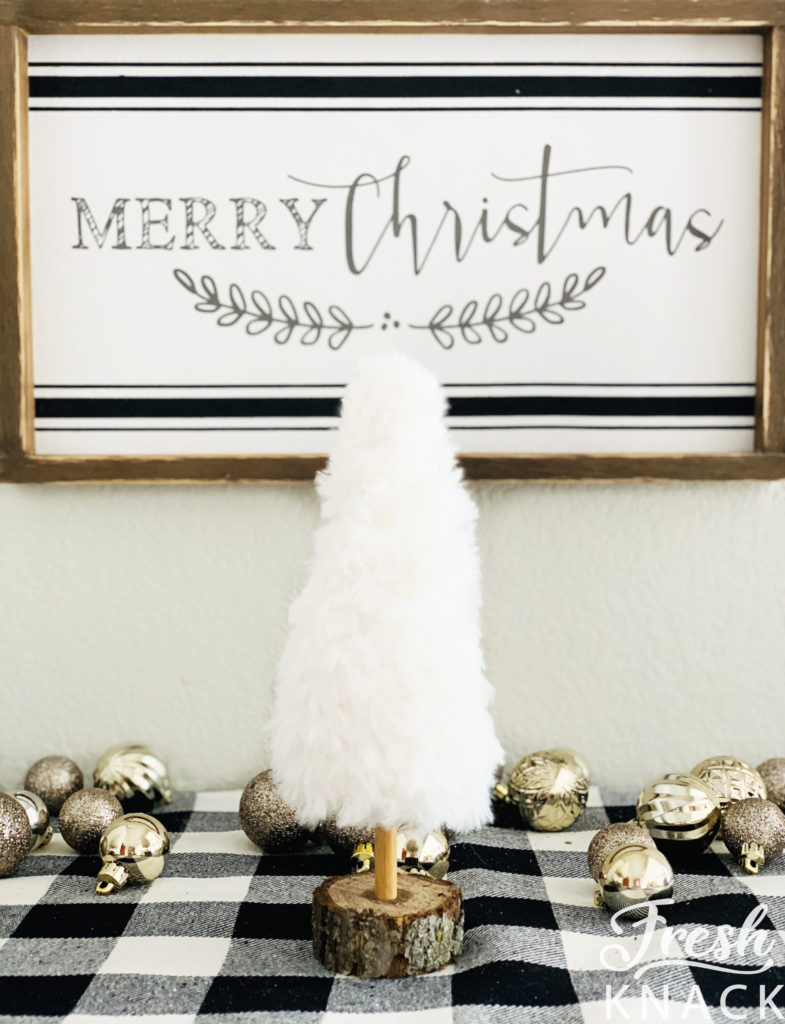
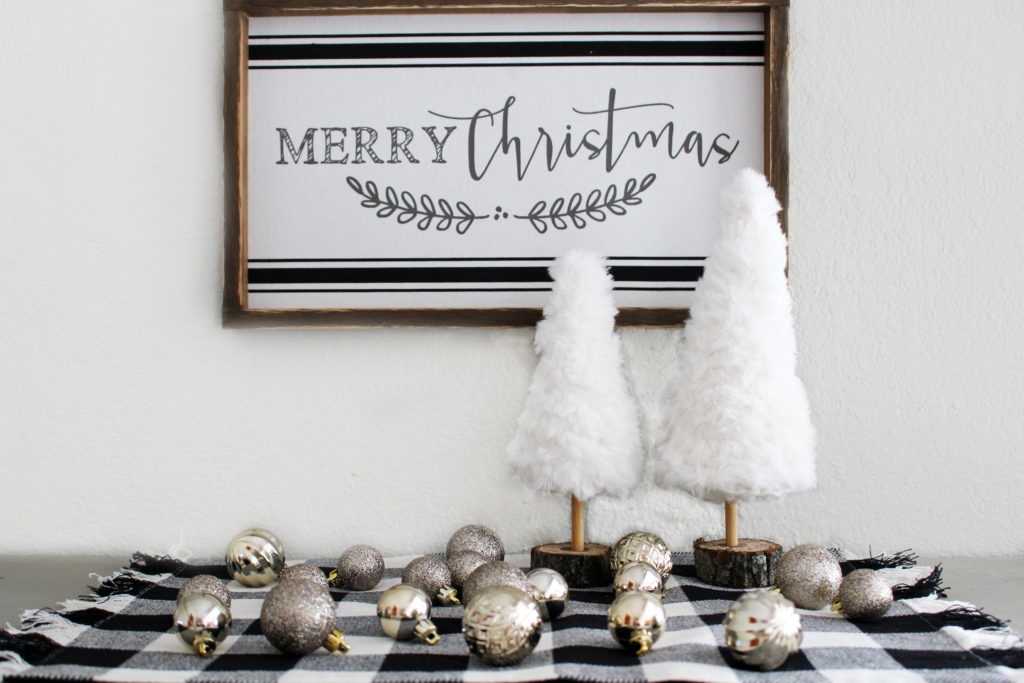
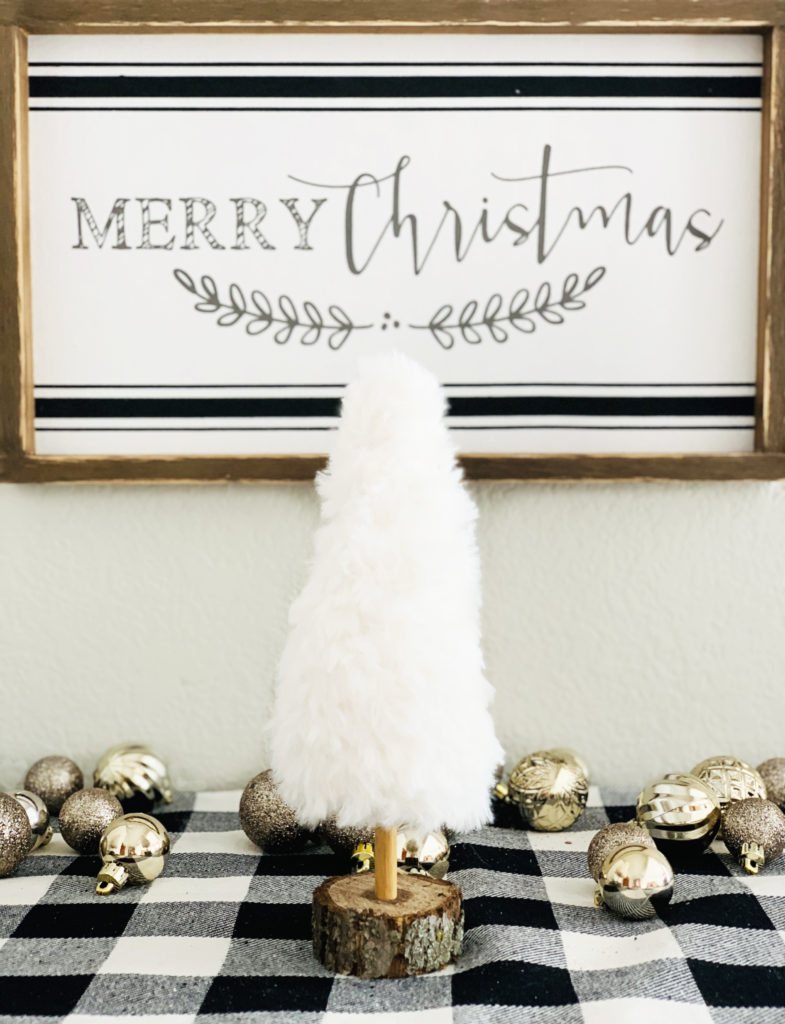
If you haven’t figured it out yet faux fur is ALL THE RAGE, so why not a faux fur tree! I finally caved and bought some faux fur yarn, then I didn’t know what to do with it UNTIL I saw these white decorative Christmas trees at Hobby Lobby. Then of course the maker in me was like “oh I can make that”……so I did. And it worked……not to say I didn’t come across some real questionable perhaps a bit inappropriate trees along the design process but I finally figured it out.

Materials
- For Tree: Yarn Bee Fur the Moment – Cream – 1 skein will make both trees
- For Tree Base: Lion Brand Color Made Easy – Birch
- Stitch marker
- Yarn Needle
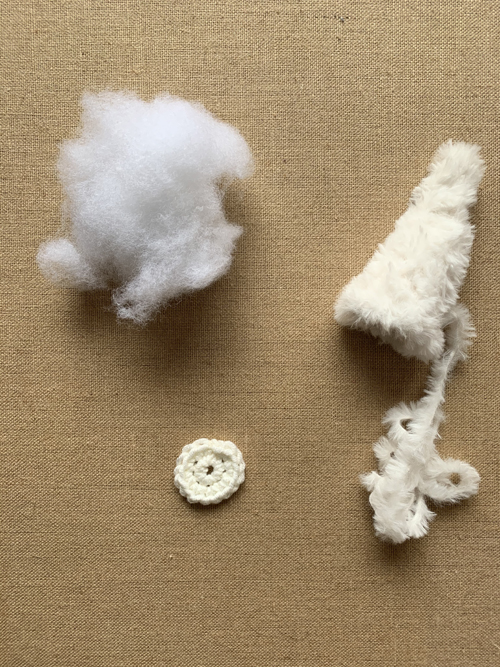
- Poly Fil
- Wood Slice (Optional) Note: I cut my own 2” wide by 1” tall. You could stack these and hot glue together for the same look.
- 5 inch Wood Dowel (Optional) Note: I cut mine 5 inches long
Pattern Notes
The tree is worked in continuous unjoined rounds. Make sure to place a stitch marker at the beginning of each round. There is also no ch1 at the beginning of each round, work continuously with sc only.
Abbreviations
- sc single crochet
st slip stitch - st(s) stitch(es)
- * or ** repeat whatever follows the * or **
Gauge
Gauge is not critical for the outcome of this pattern
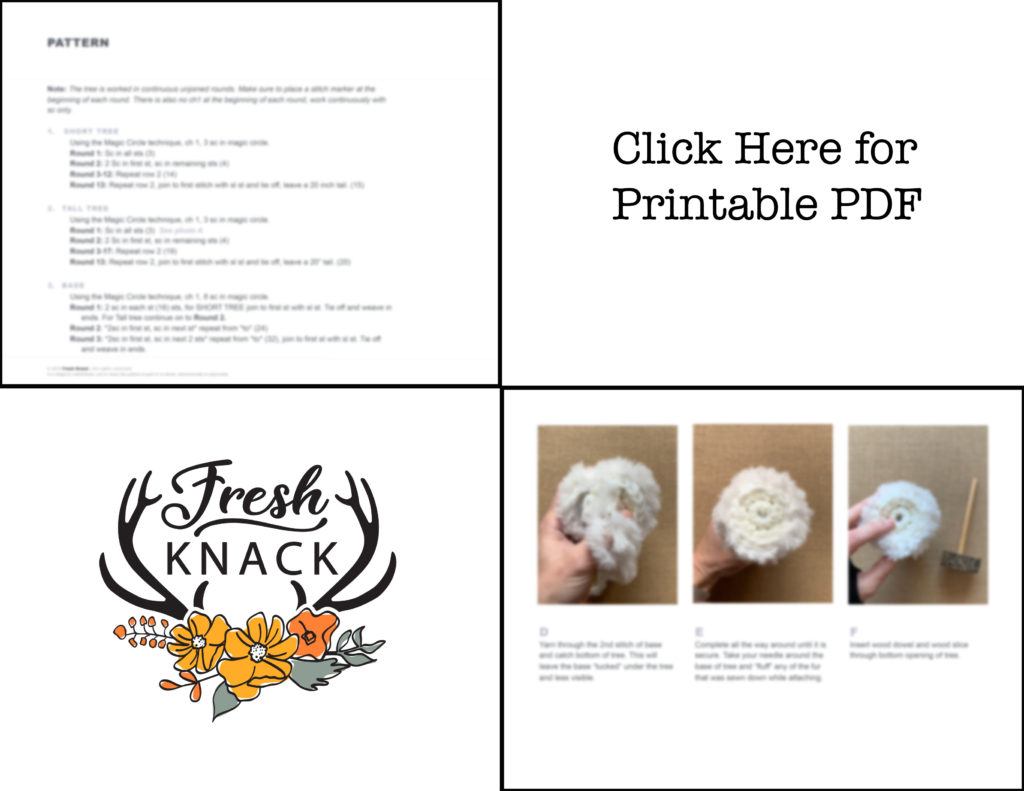
Pattern
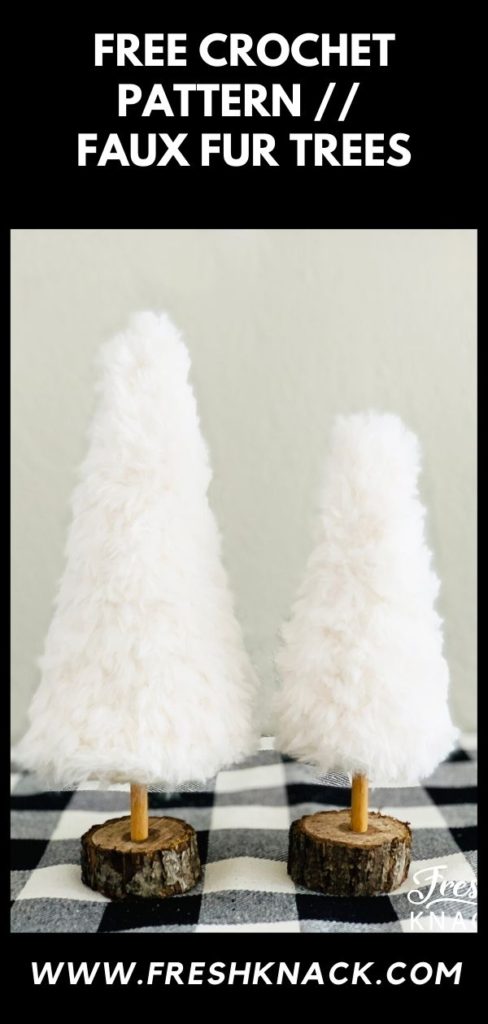
- You can purchase the ad-free printable pdf here
- PIN this pattern for later to your Pinterest board here
- Add this pattern to your Ravelry queue here
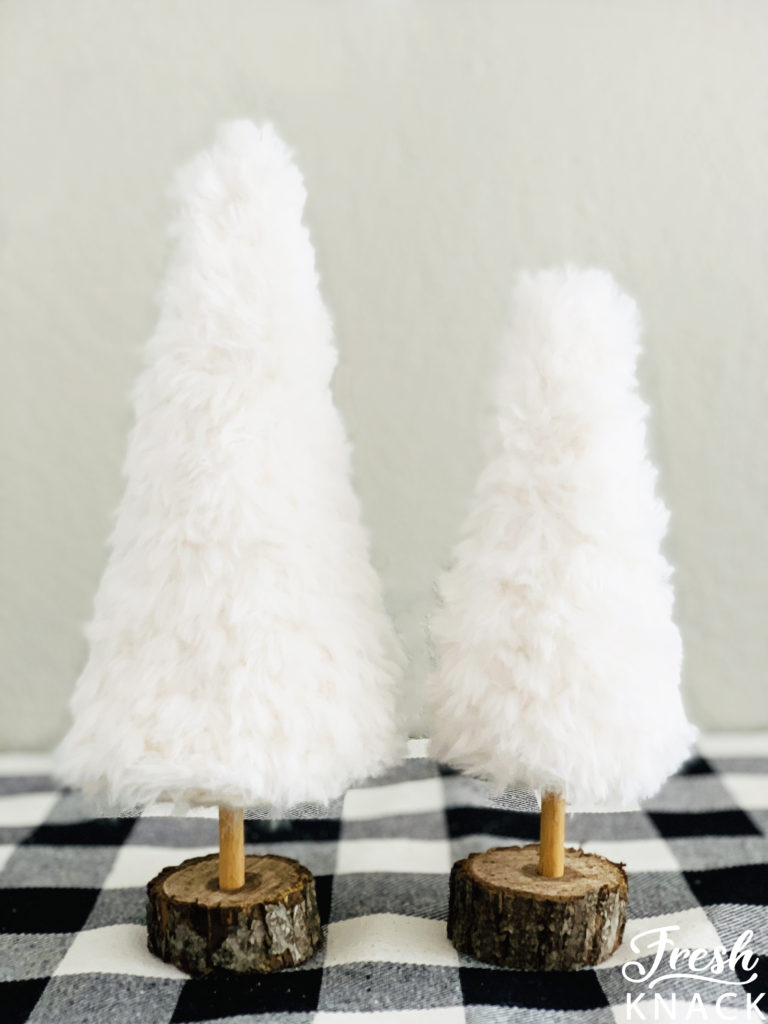
Short Tree (6 inches tall)
Using the Magic Circle technique, ch 1, 3 sc in magic circle.
Round 1: Sc in all sts (3)
Round 2: 2 Sc in first st, sc in remaining sts (4)
Round 3-12: Repeat row 2 (14)
Round 13: Repeat row 2, join to first stitch with sl st and tie off, leave a 20 inch tail. (15)
Tall tree (8 inches tall)
Using the Magic Circle technique, ch 1, 3 sc in magic circle.
Round 1: Sc in all sts (3)
Round 2: 2 Sc in first st, sc in remaining sts (4)
Round 3-17: Repeat row 2 (19)
Round 13: Repeat row 2, join to first stitch with sl st and tie off, leave a 20” tail. (20)
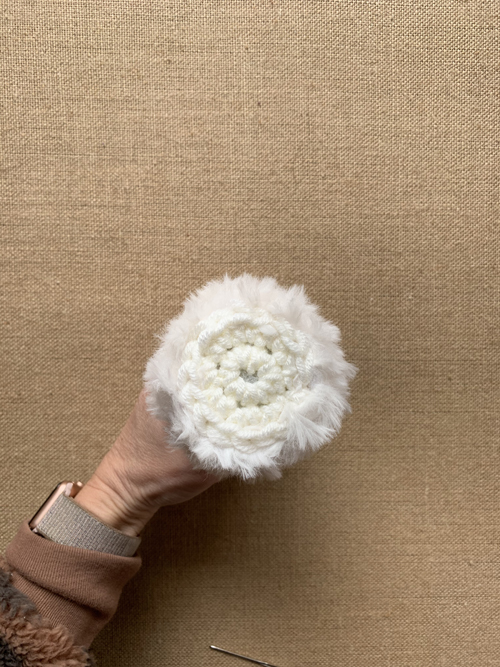
Tree Base – Switch to Color Made Easy Yarn
Using the Magic Circle technique, ch 1, 8 sc in magic circle.
Round 1: 2 sc in each st (16) sts, for SHORT TREE join to first st with sl st. Tie off and weave in ends. For Tall tree continue on to Round 2.
Round 2: *2sc in first st, sc in next st* repeat from *to* (24)
Round 3: *2sc in first st, sc in next 2 sts* repeat from *to* (32), join to first st with sl st. Tie off and weave in ends.
Finish
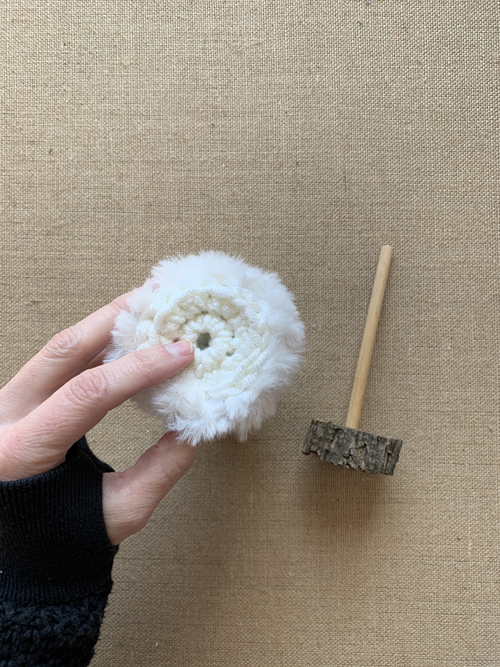
Stuff trees with poly-fil until firm at the top, don’t over stuff the bottom.
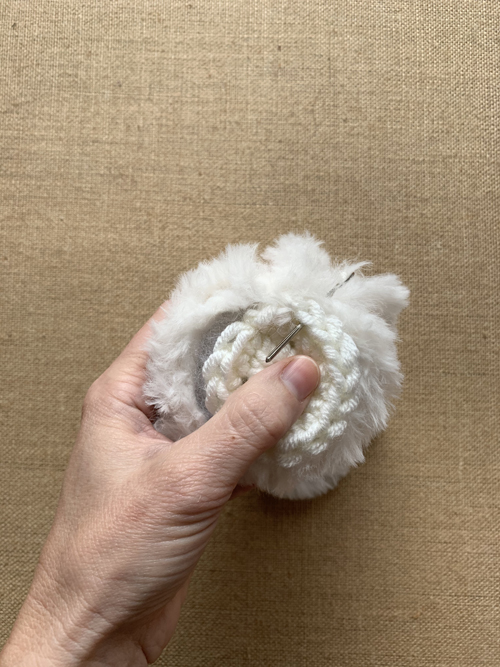
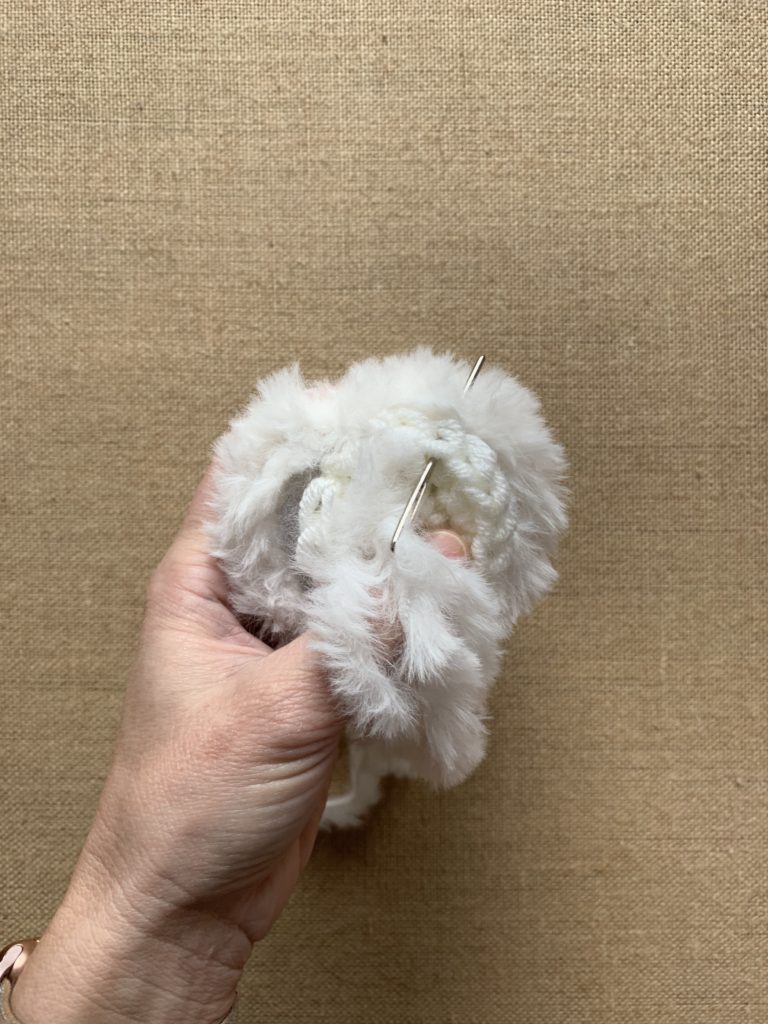
Place base at the bottom of tree, thread faux fur yarn tail and sew to bottom of tree
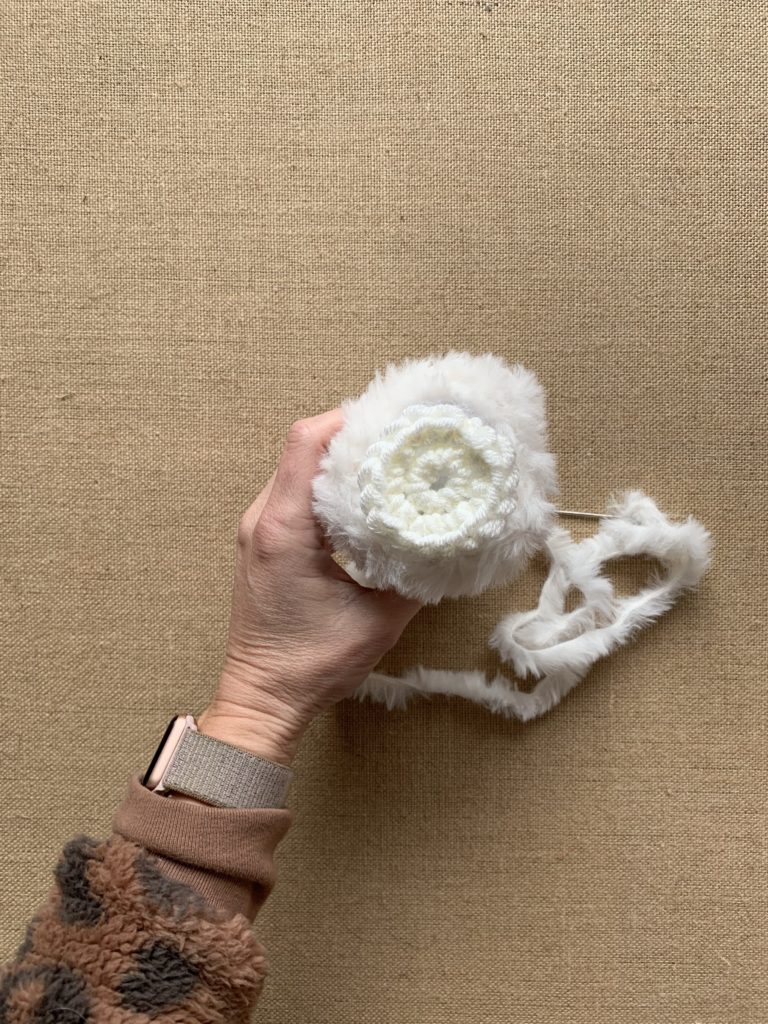
Sew in and out around tree base. Start from the outside of tree and catch the first stitch of base. Yarn through the 2nd stitch of base and catch bottom of tree. This will leave the base “tucked” under the tree and less visible. Complete all the way around until it is secure. Take your needle around the base of tree and “fluff” any of the fur that was sewn down while attaching.
Base Option 1
No additional Base added.
Base Option 2
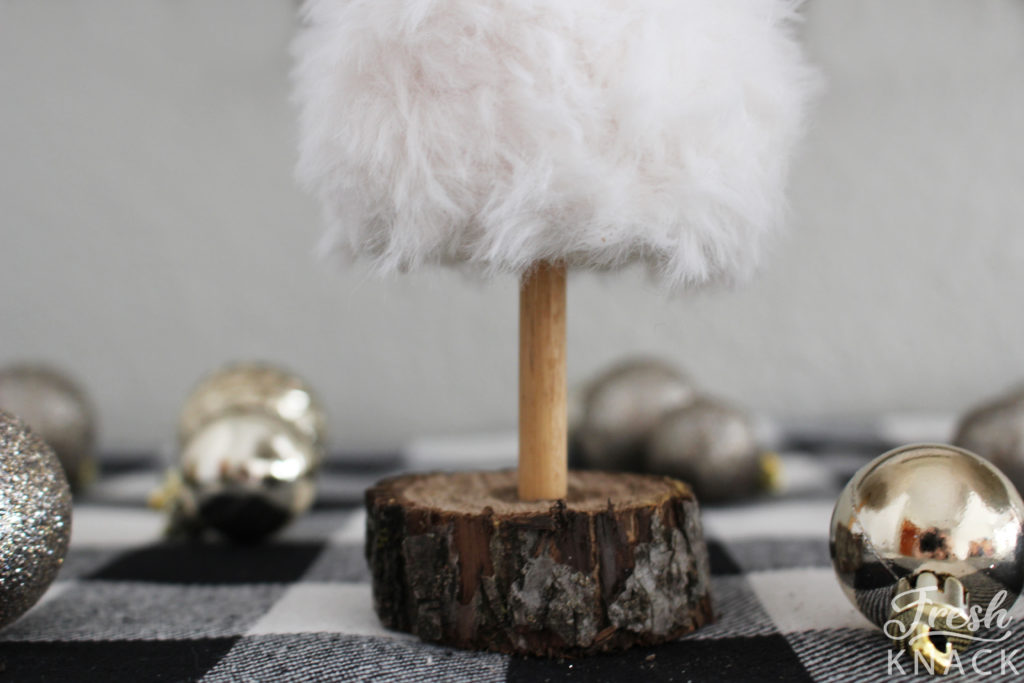
You can stand (or glue) the tree on top of a wood slice. I cut my own wood slices, I found some linked here. You could hot glue 2 of them together for a similar look.

Base Option 3
You can stand the tree on a wood dowel attached to the wood slice. Follow suggestion under Base Option 2 above for wood slice. In addition you will cut a 5/16 wood dowel 5 inches long (linked here). You will then drill a hole through the middle of your wood slice slightly bigger than your wood dowel. Only drill halfway through your wood slice. Place wood dowel in your wood slice (use hot glue if it feels loose) and then place the wood dowel through the opening at the bottom of your tree.


2 thoughts on “Free Crochet Pattern // Faux Fur Trees”