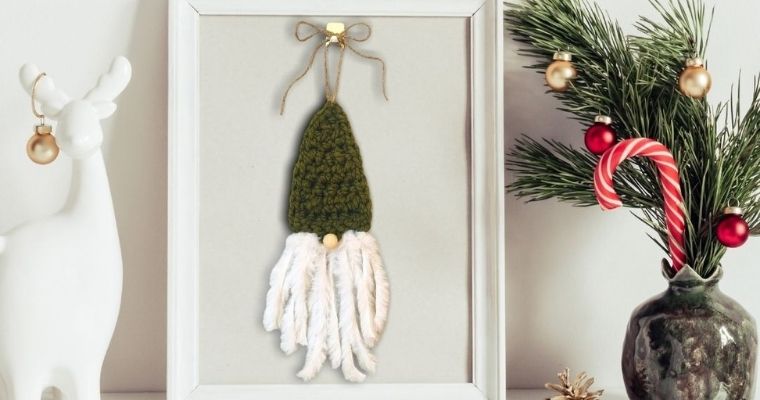
Happy holiday season! If you are like me at this point of the year, you are looking at your stash wondering what quick gifts you can make, well, I have one for you. The Scrappy Gnome would make a cute little addition for a hostess gift (pre-COVID)/teacher gift/ or a gift for yourself.
Design Process
Inspiration
The scrappy gnome came from some decor I noticed in a craft store not too long ago. They were like stuffed animals that you could place along your house with your other Christmas decor. I thought they were pretty cute and thought I would try to take a spin on it, ornament style.
The Yarn
Instead of my typical approach of buying yarn for a new project, I decided to see what I had in my stash for this. I wanted a project that would work up quick so I pulled out some Lion Brand Thick and Quick in the color Cilantro. And for the beard I wanted something that would mimic hair….enter faux fur yarn. I had some left over from last year’s Faux Fur Christmas trees, and I also had some leftover wood beads to use for the nose.

Pattern
- Go ahead and Pin it for later HERE
Materials
- 9 mm • US size M/N
- Other smaller hook I used a 6mm • US size J
- Lion Brand Wool-Ease Thick and Quick, Cilantro, 9 grams/6 yards
- Faux Fur yarn 7 – 12 inch pieces
- Scissors
- Darning needle
- Wooden Bead
Gauge
5 rows x 8 sts = 4″
Finished Size
Hat size is 3.75″ at the bottom and 4.75″ tall
Notes
The turning chain(s) do not count as stitches in this pattern.
Begin Leaving a long tail, Ch 8
Row 1 Starting in 3rd ch from hook hdc in back bumps of each ch, ch2, turn. (6)
Row 2 Hdc2tog, hdc 2, hdc2tog, ch2, turn (4)
Row 3 Hdc across, ch2, turn (4)
Row 4 Hdc2tog twice, ch2, turn (2)
Row 5 Hdc across, ch2, turn (2)
Row 6 Hdc2tog, ch2, turn (1)
Tie off. Using a darning needle and beginning yarn tail weave in end towards the center of your hat.
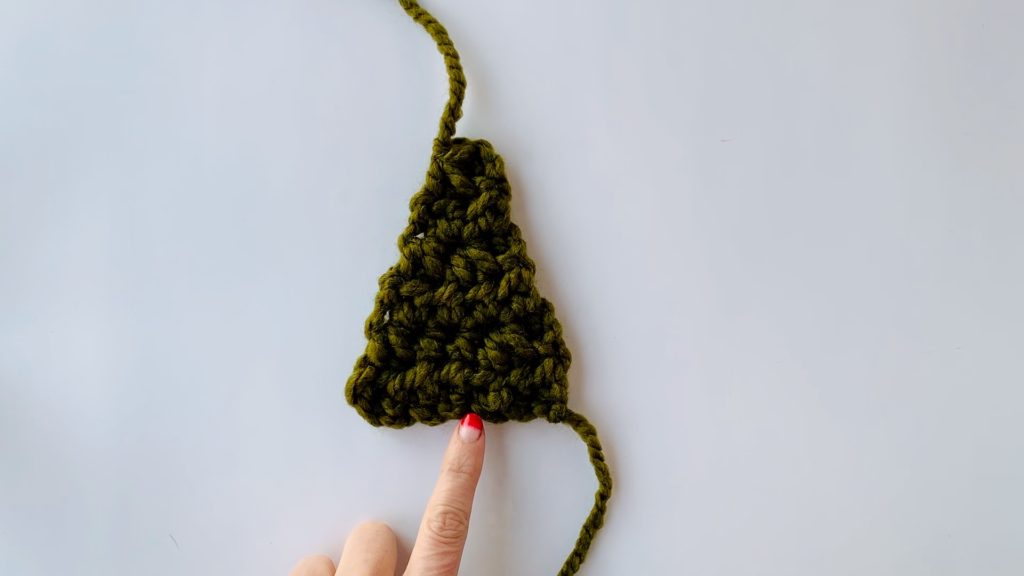
Place bead through darning needle and continue weaving in end until you reach the end, tie off. Weave in all ends.
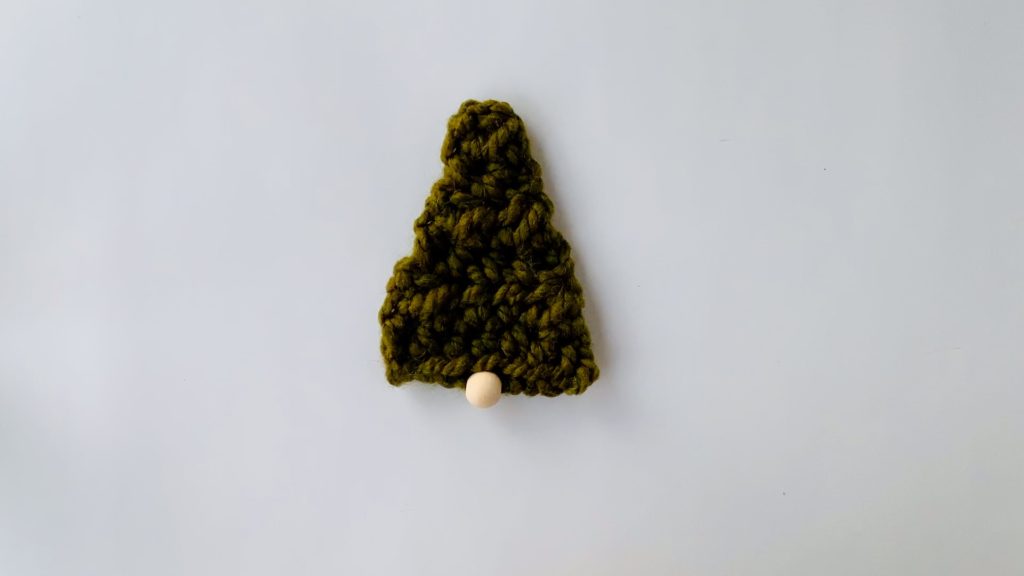
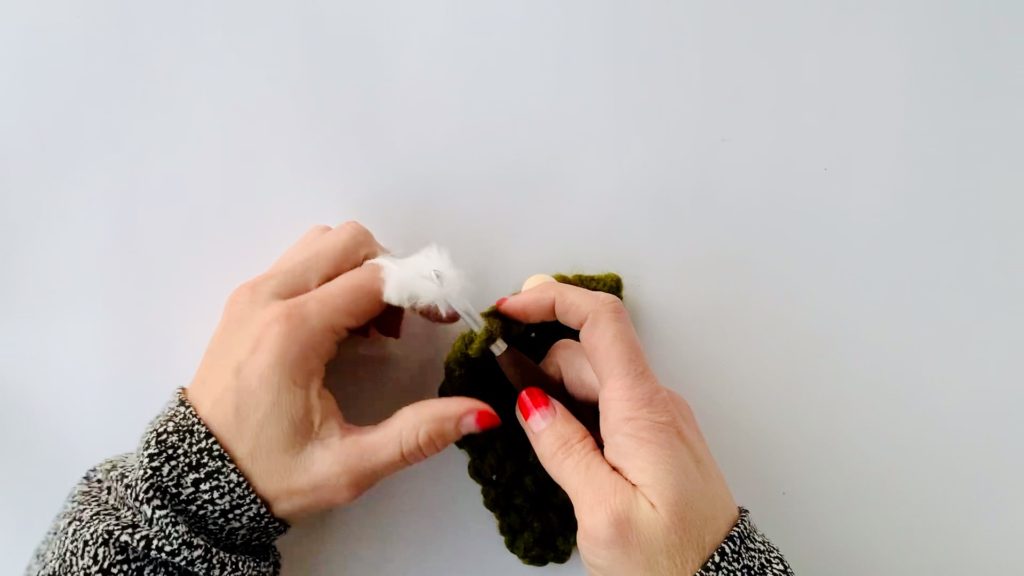
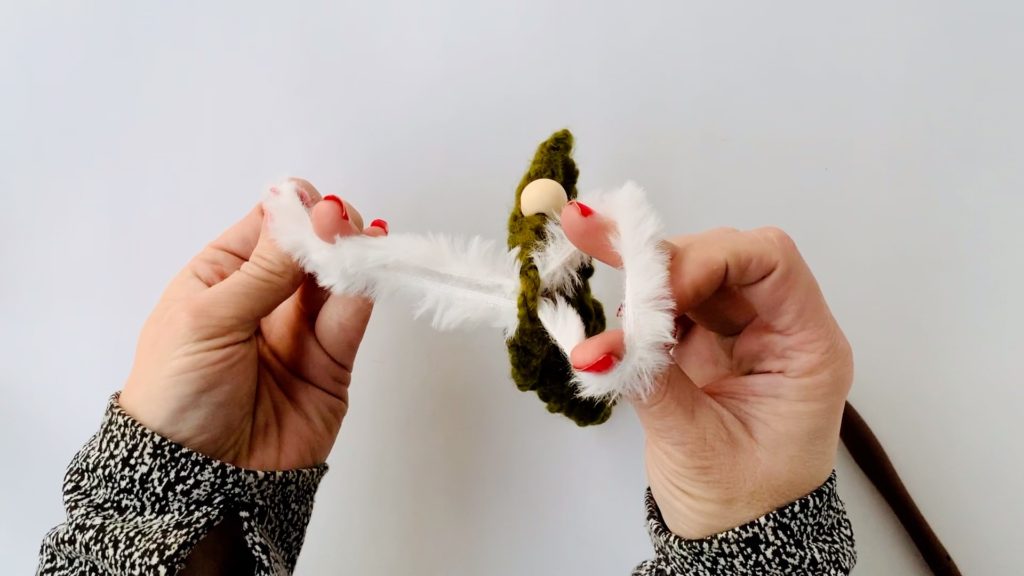
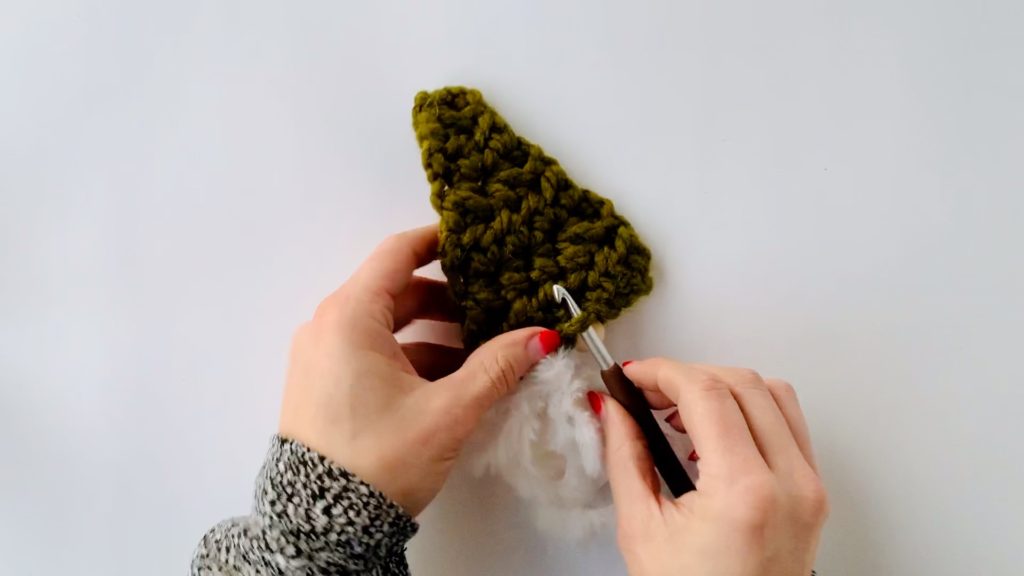
Using the faux fur yarn cut (7) 12 inch pieces. Grab a smaller crochet hook if you have one and fold one faux fur piece in half. Insert hook across the bottom of the hat and pull the loop end through, grab the two tails through the loop and pull tight.
Repeat for the remaining six strands. Be sure to place a strand behind the nose otherwise you will have a gap in the beard.
As an optional finish you can trim the beard. I cut mine at an angle on each side leaving the center of the beard the longest.
And you can finish off by attaching either scrap yarn, twine, or ribbon at the top of the hat. Now you can hang your gnome wherever your heart desires!
Abbreviations
ch – chain
hdc – half double crochet
hdc2tog – half double crochet two together
st(s) – stitch(es)
