
***You can purchase an AD-FREE PDF of this easy crochet mini stocking here. This formatted PDF includes the pattern, link to materials, and step-by-step pictures.
***Save to your Ravelry library here.
So did everyone survive Halloween? Was it a trick or a treat to get your kids dressed up and do all the Halloween things? So we are passed Halloween and it’s November 1st so that means it is officially okay to talk about Christmas right? I’ll be honest I don’t plan ahead for Christmas because I have 4 birthdays starting in October to mid December to worry about before Christmas gets here. I will admit the older I get the more I want to start the decorating thing early. Also it snowed on Monday night so you know that has my senses all Christmas-ed up.
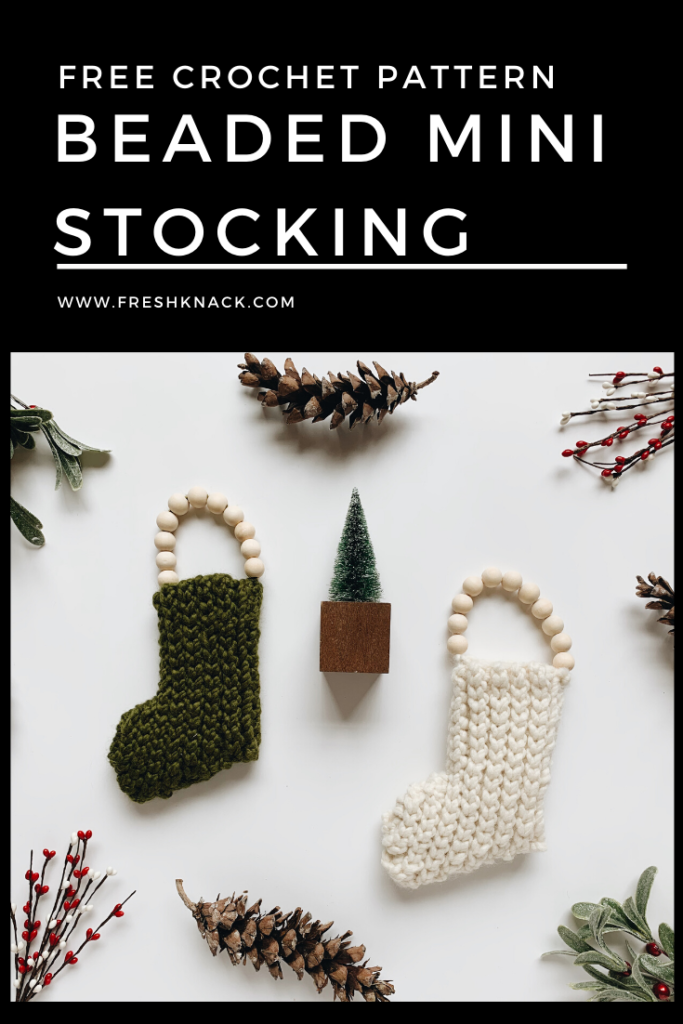
So I have a cute little project to share today an easy crochet mini stocking that is fillable! The Beaded Mini Stocking is a perfect way to add some Christmas decor around the house it would also make the perfect little teacher gift. It is fully functional meaning you can stuff a gift card, candy, chapsticks, and hand sanitizer in it. And once it is handed off it can be hung for display either on the tree or on the wall! These easy crochet mini stockings can be worked up in about 45 minutes so you should have plenty of time over the next month to get some ready to go for the gift giving season!
Materials:
- Lion Brand Wool-Ease Thick & Quick (I used the color Fisherman)
- Size 10mm/N hook
- Wood Beads 16mm
- Yarn Needle
- Scissors
Pattern Notes:
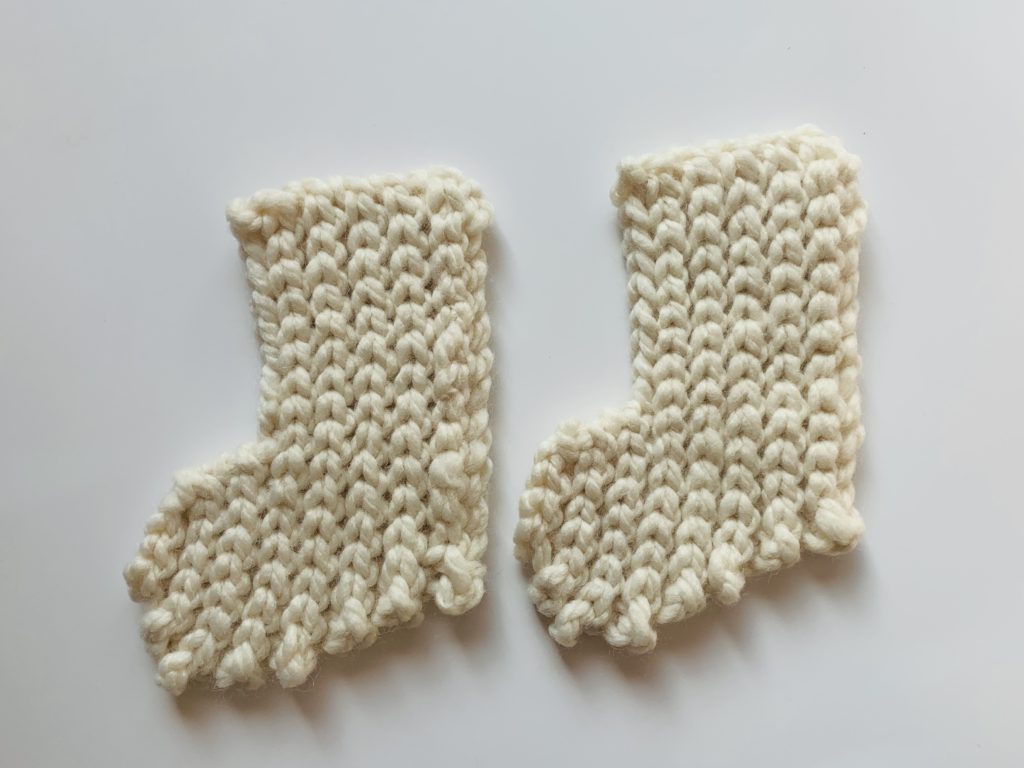
- This stocking is created by making two pieces and seaming them together.
- The turning ch1 at the end of odd rows 1,3,5,7,9 does not count as a stitch.
- The ch2 at the end of rows 2,4,6,8,10 serves as a turning ch and an increase for the following row.
- Gauge is not crucial for the outcome of the project.
- Finished Dimensions are 6.5in x 4.5in
Abbreviations:
- Ch = chain
- st(s) = stitch(es)
- sl st = slip stitch
- blo = back loop only
Pattern:
Make 2
Ch. 14
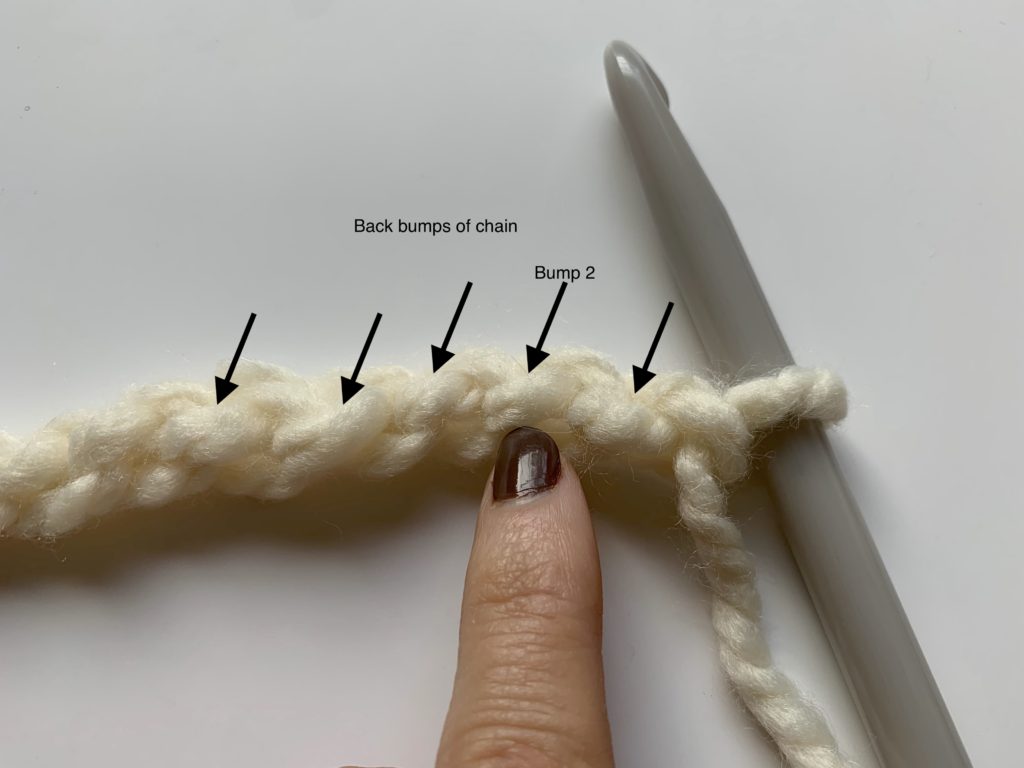
Row 1: Starting in 2nd ch from hook, sl st in back bumps of chain to the end, ch1, turn (13)
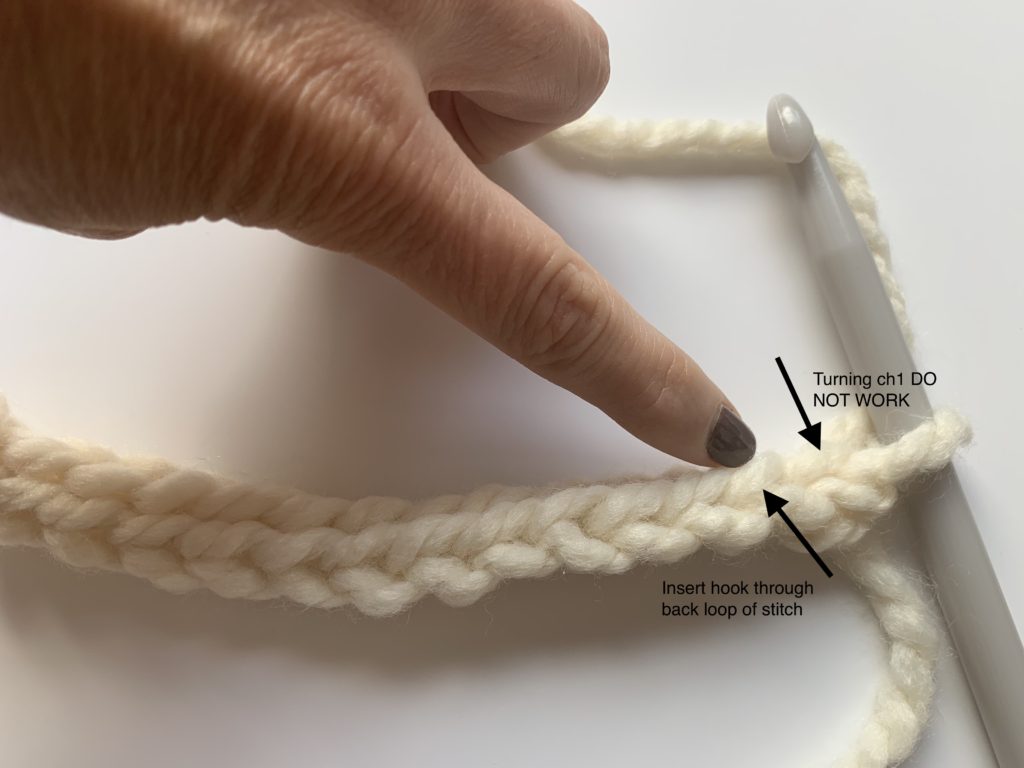
Row 2: Sl st in blo to end, ch2, turn (13)
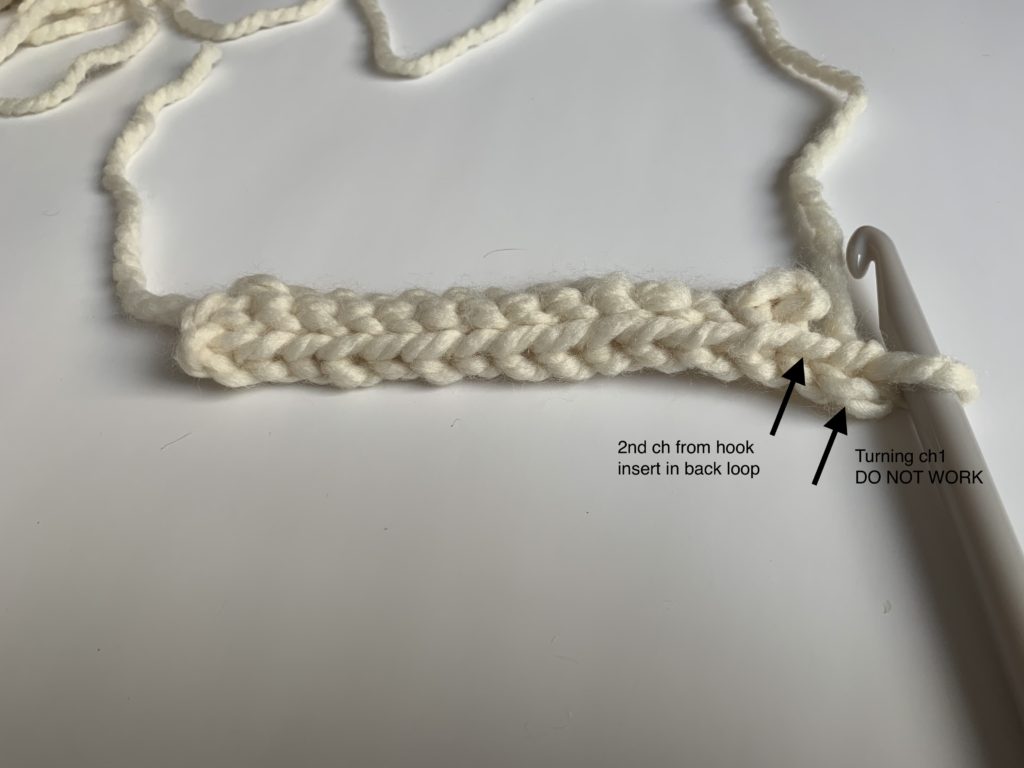
Row 3: Sl st in 2nd ch from hook, sl st in blo across, ch1, turn (14)
Row 4: Sl st in blo to end, ch2, turn (14)
Row 5: Sl st in 2nd ch from hook, sl st in blo across, ch1 turn (15)
Row 6: Sl st in blo to end, ch2, turn (15)
Row 7: Sl st in 2nd ch from hook, sl st in blo across, ch1 turn (16)
Row 8: Sl st in blo to end, ch2, turn (16)
Row 9: Sl st in 2nd ch from hook, sl st in blo across, ch1 turn (17)
Row 10: Sl st in blo to end, ch2, turn (17)
Row 11: Sl st in 2nd ch from hook, sl st blo in next 8 sts, turn (9) (NO TURNING CH1 HERE)
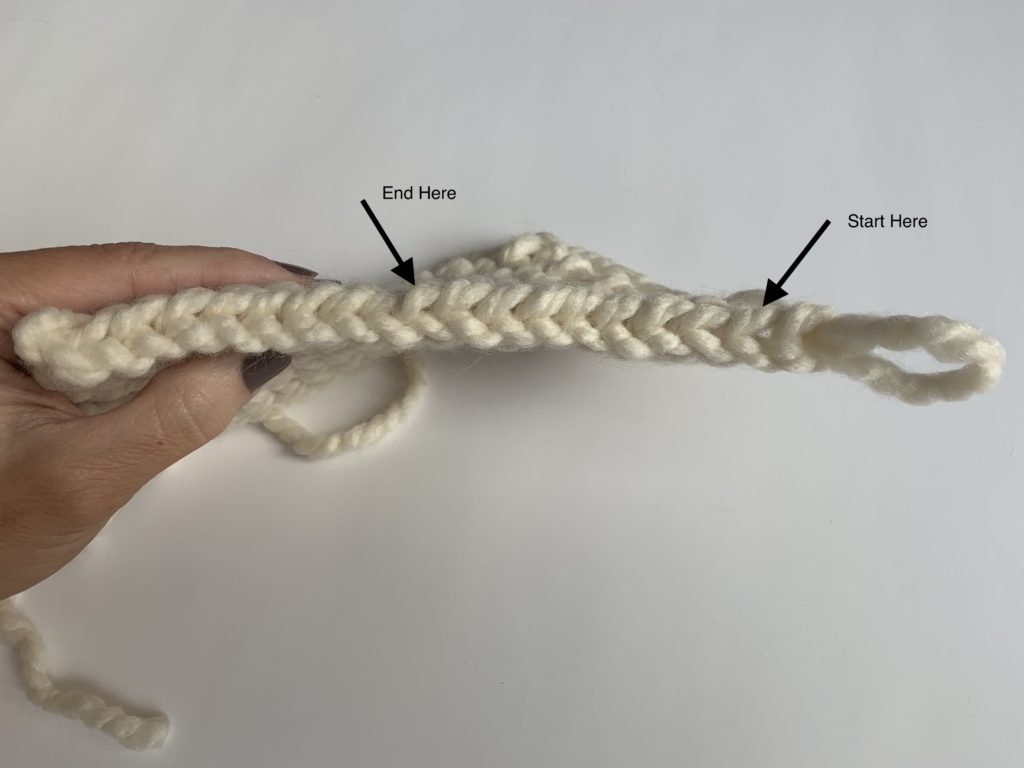
Row 12: Skip 1st st, sl st blo in next 8 sts, turn (NO TURNING CH1 HERE)
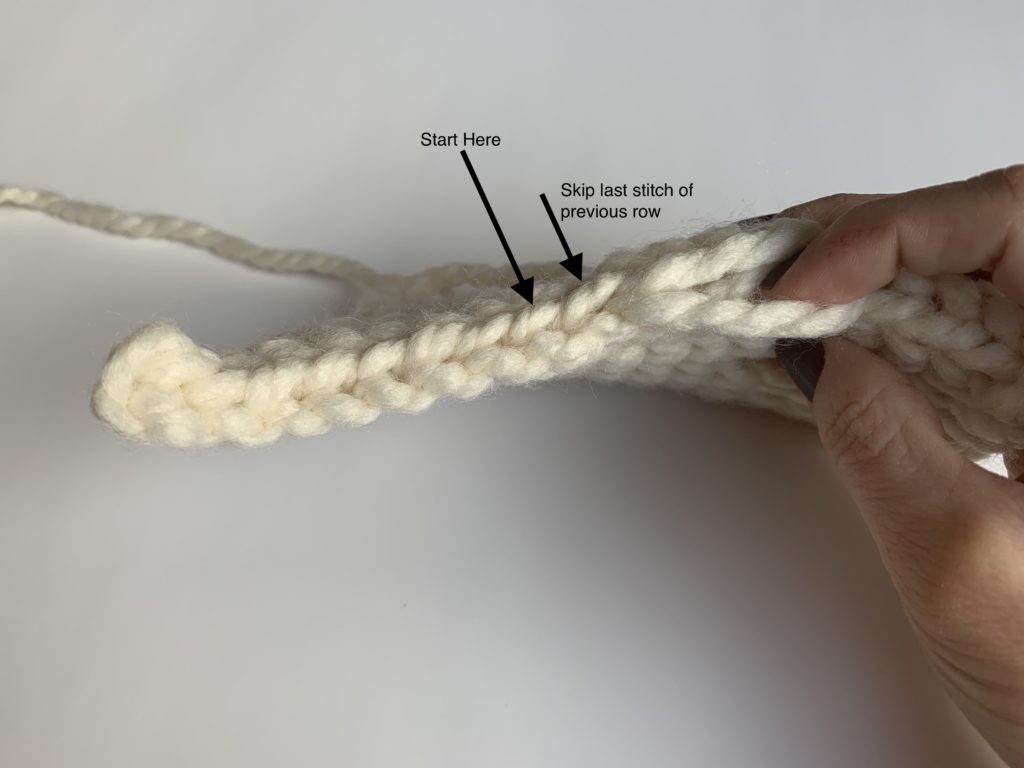
Row 13: Skip 1st st, sl st blo in next 7 sts, turn (NO TURNING CH1 HERE)
Row 14: Skip 1st st, sl st blo in next 5 sts, turn (NO TURNING CH1 HERE)
Row 15: Skip 1st st, sl st blo in next 3 sts, tie off yarn and weave in ends.
Finish:
After you have completed 2 stockings and weaved in the ends you will take a piece of yarn that is 62 inches and thread it through your yarn needle.
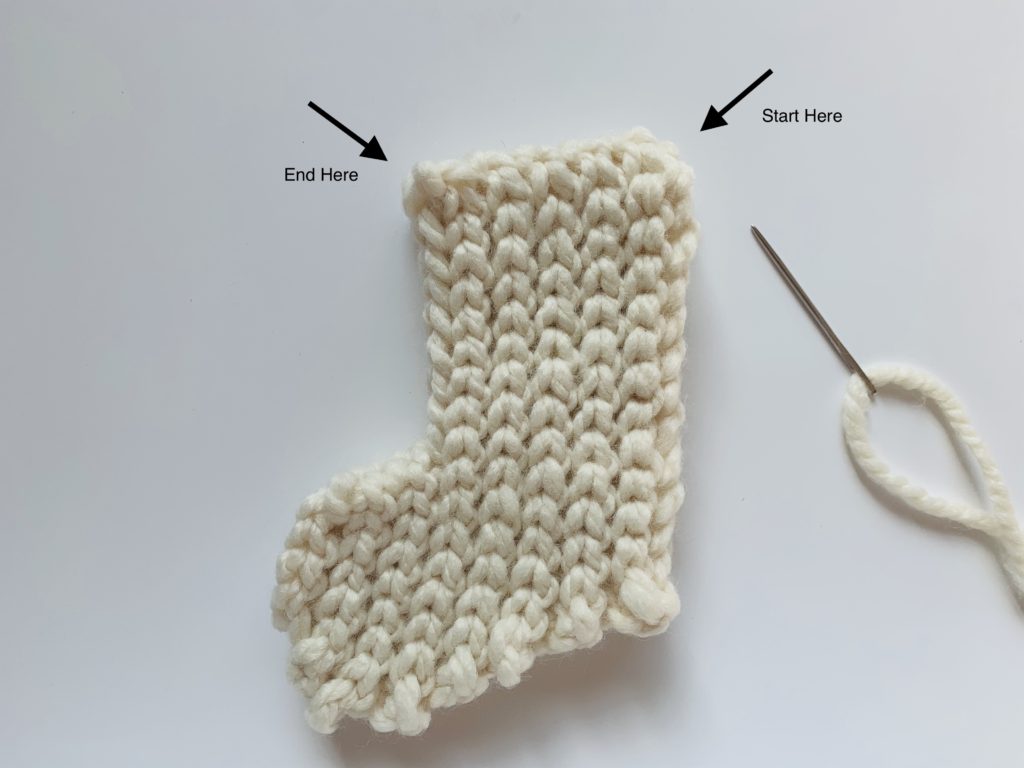
You will whipstitch all the way around the stocking starting at the top back and ending at the top front.
Now you will take your 11 wood beads and thread them through your yarn needle onto your yarn.
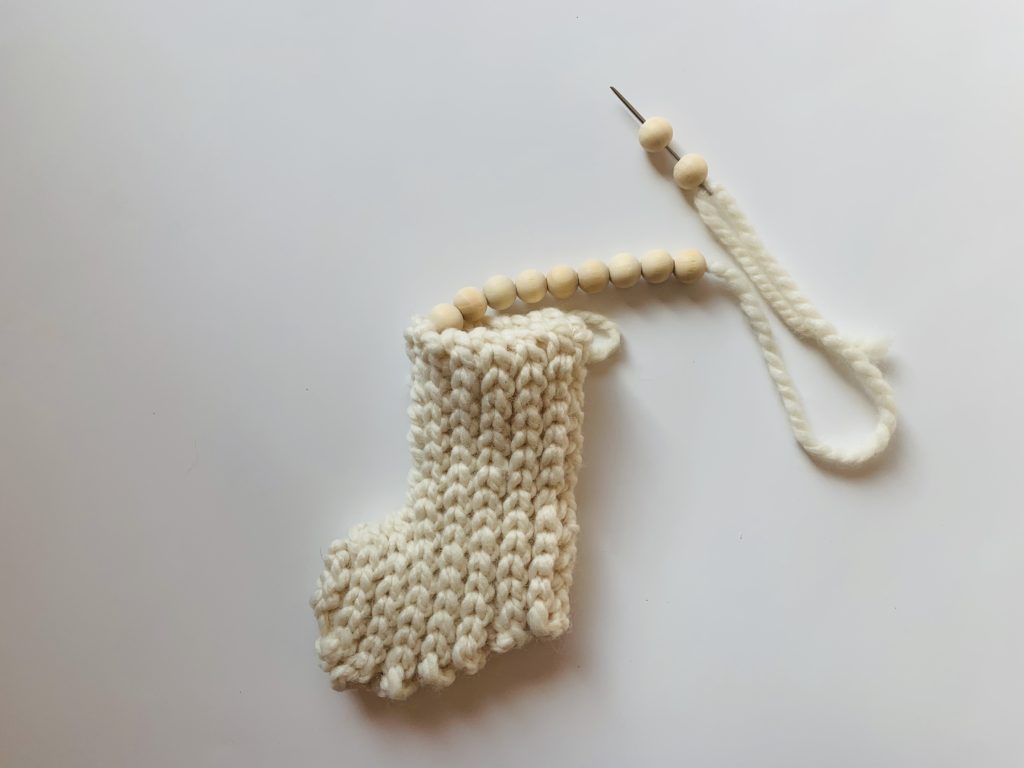
Attach the yarn to the opposite side (where you started seaming), pulling tight so that you don’t have a large space of yarn showing through your beads. Tie off yarn and weave in the ends.


I would like to make these for my grand & great-grands for Christmas. If ou don’t mind. I’ll give you all the credit. Thanks RAE
Sounds great! They are a quick make so you are getting a great head start!