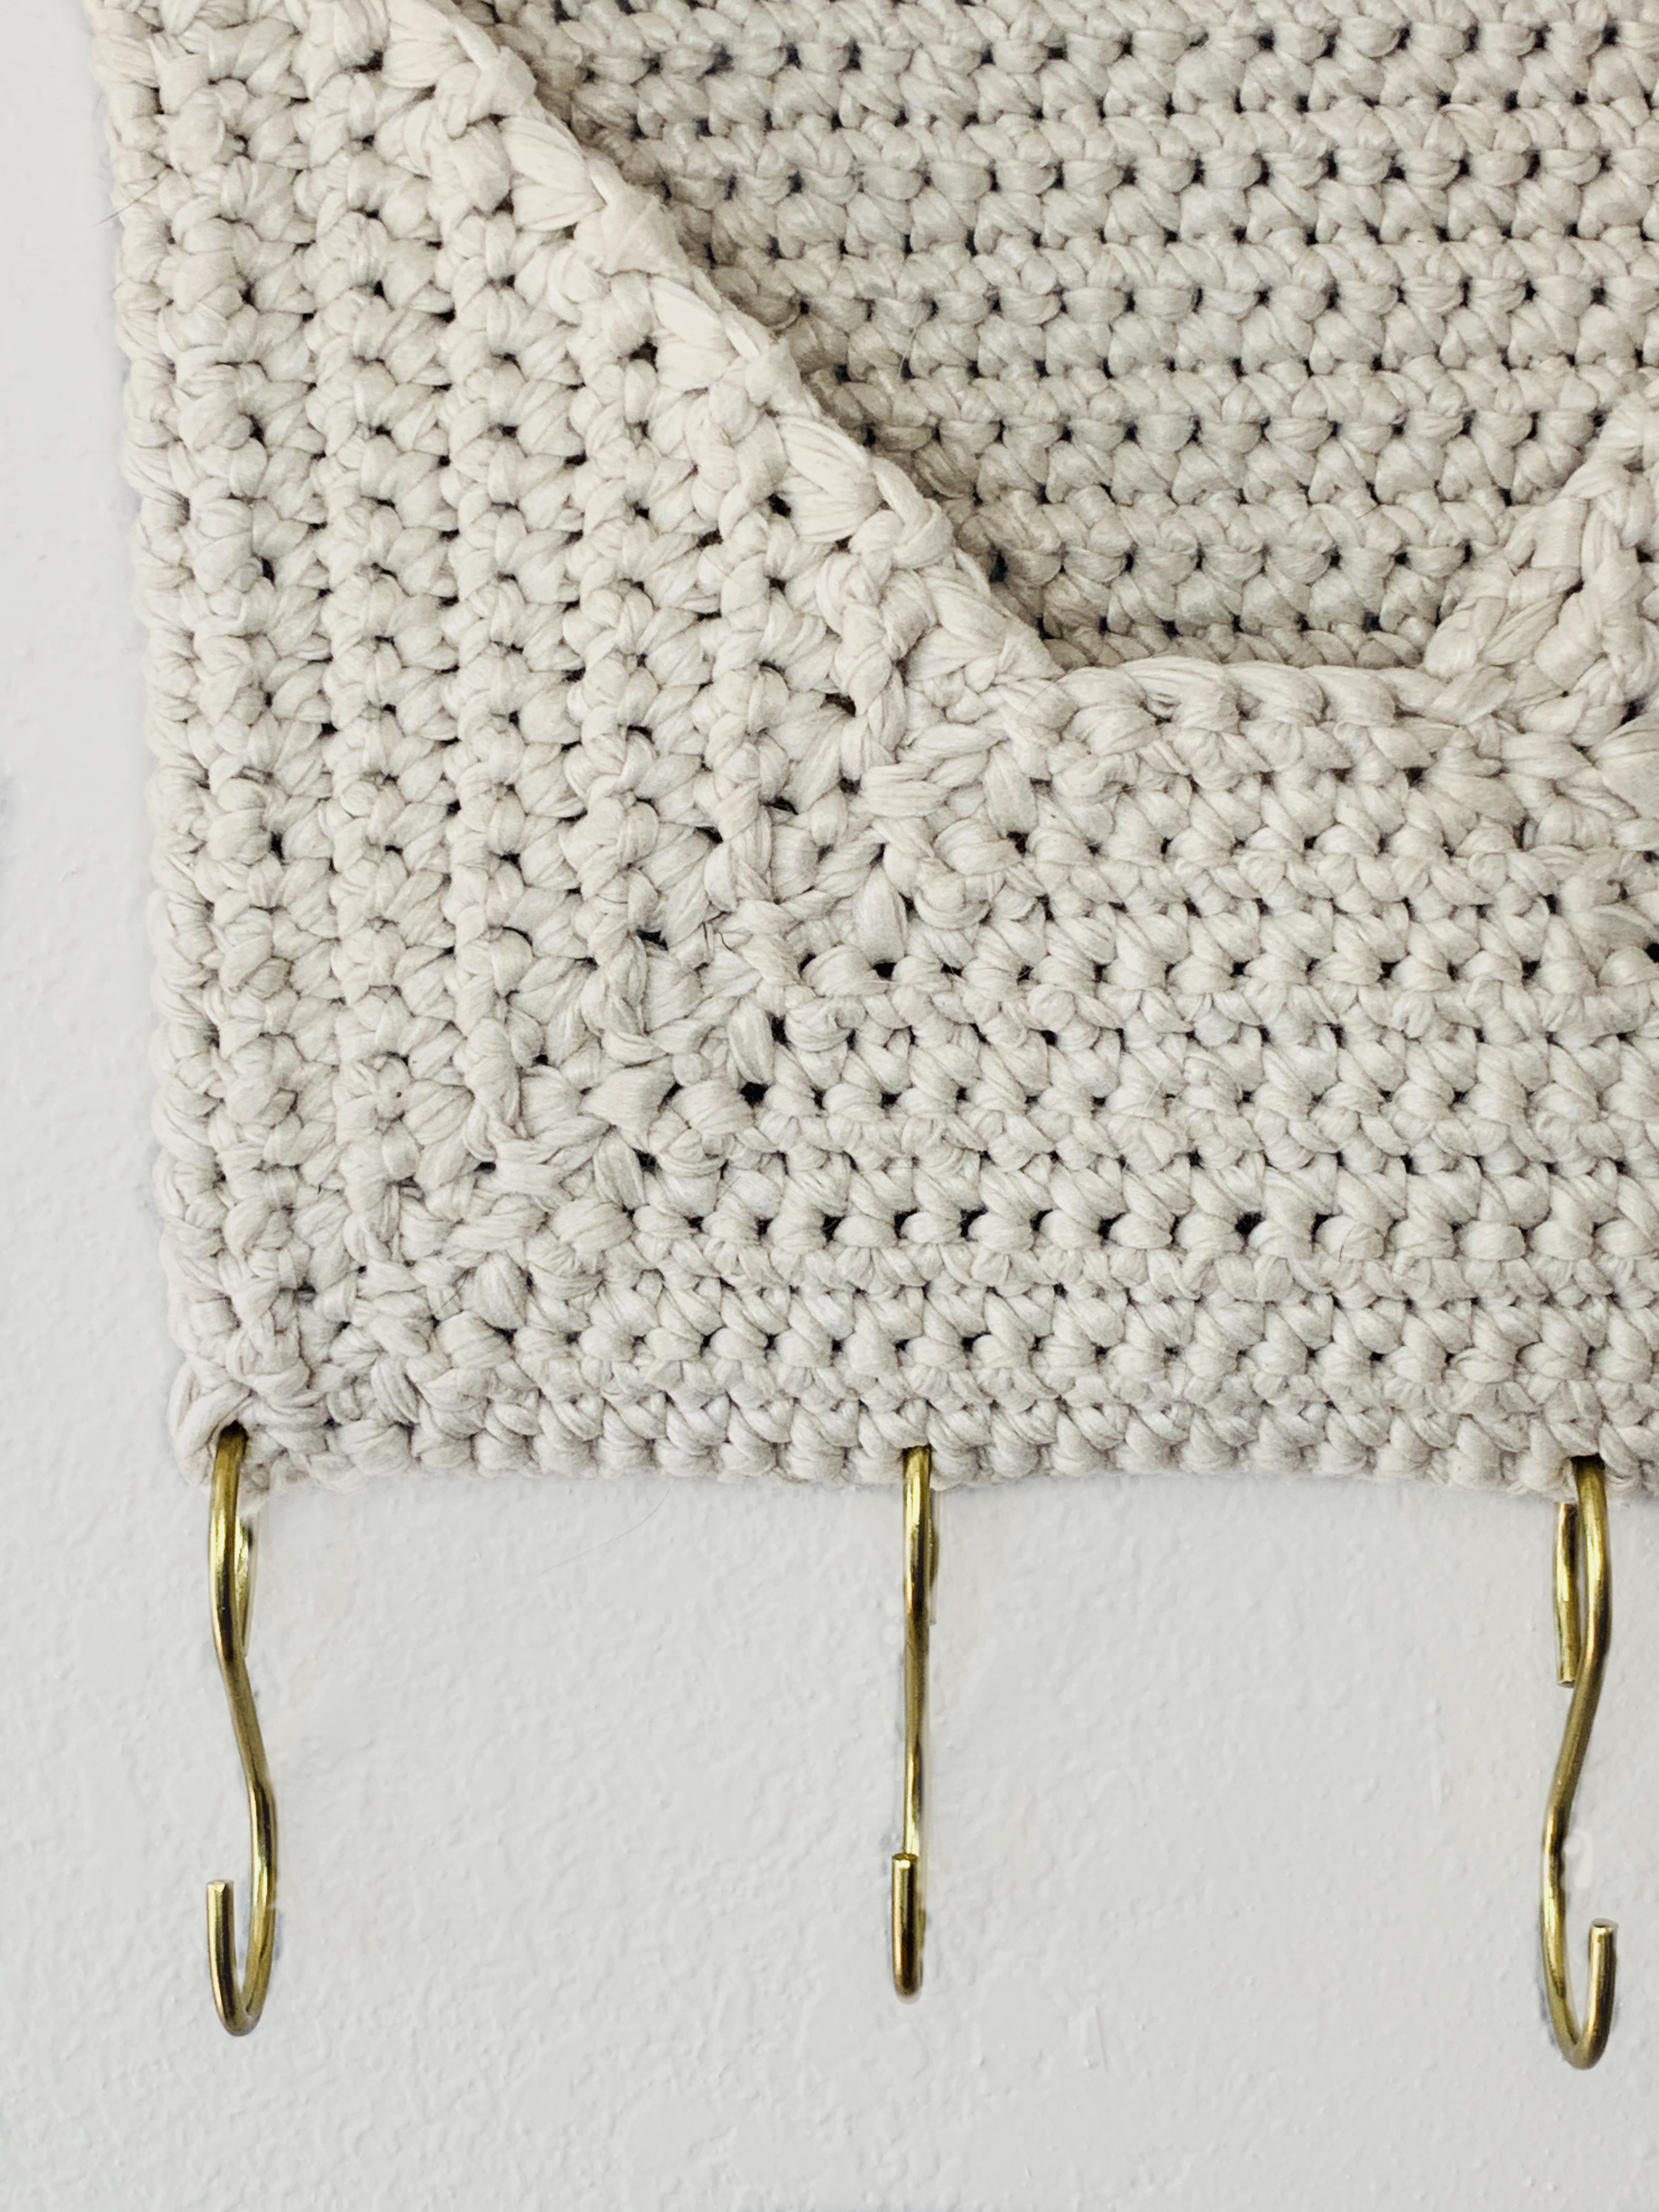
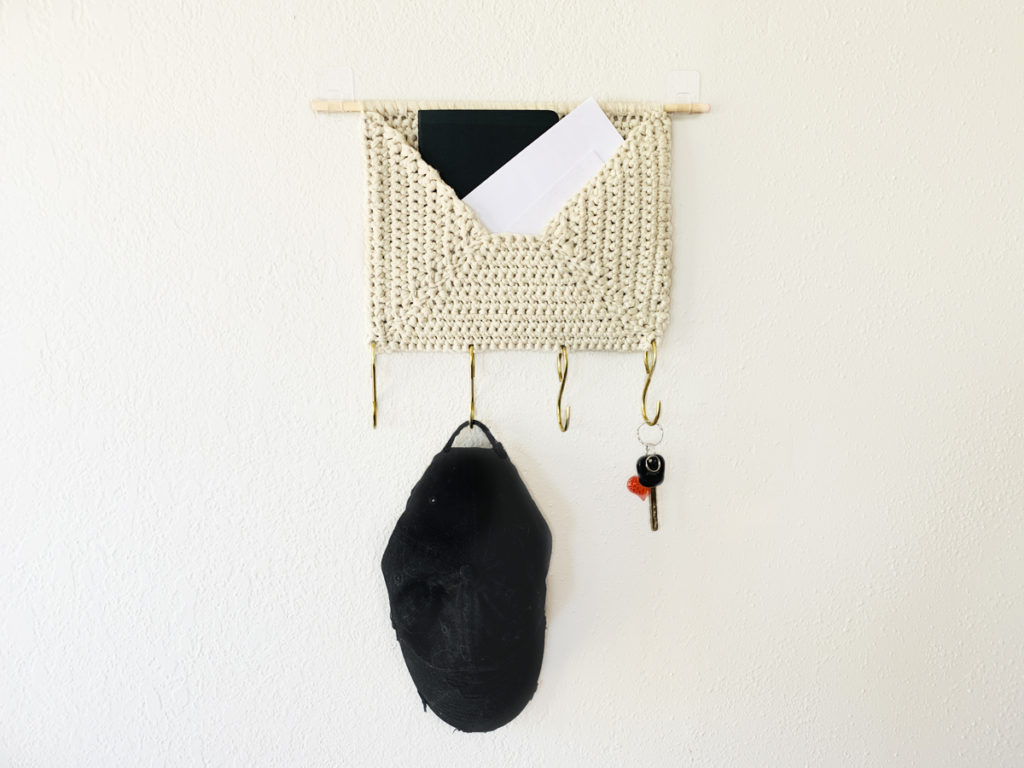
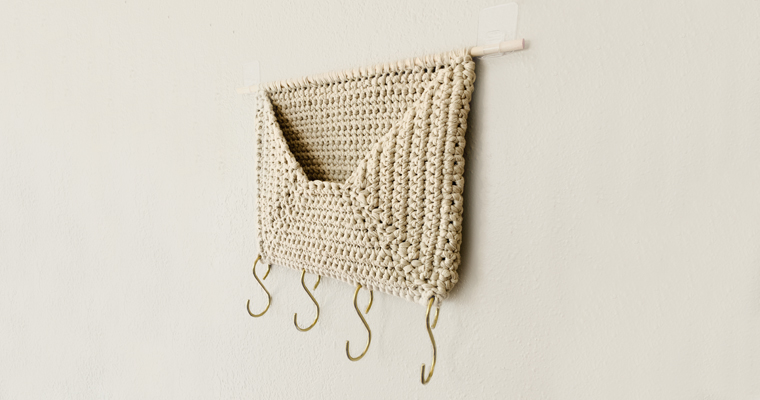
The Wall Pocket Organizer is a simple and easy to construct pattern to give you some added organization to your home or office space.
The Design Process
Inspiration
If you haven’t checked out some of my FK Life posts you may not know that we are building our home. Given this once in a life opportunity to build a home I am about all things home textiles right now and being intentional about what we truly need in the home to help us stay organized and functional. There are two things I typically have in my hands when I walk in the door. Mail and keys….and I always need a place to put them when I walk in the door.
Sure there are other options out there that I could buy and to be honest I did buy one but I don’t like the color of it with the aesthetic I am going for in our mudroom. So being what I am I decided to make my own….
The Yarn
I chose to use Lion Brand’s Rewind Yarn, it has a nice texture and created a good amount of structure for what I was looking for when held double. It is a tape like yarn and is very lightweight so it didn’t create too heavy of a finished product.
Wall Pocket Organizer Pattern
- Find the ad-free printer friendly PDF version HERE
- Add the pattern to your Ravelry queue HERE
- Go ahead and Pin it for later HERE
Materials
- 7 mm
- Lion Brand, Rewind Yarn Weight 5 • 333 yds • Color Elm
- Yarn needle
- Scissors
- 5/16 Wood dowel rod cut to 14 1/2inches
- Hooks (optional)
- 3M Command hook
Gauge (4″x4″)
12sts x 12 rows
Dimensions
8 5/8″ x 11 1/4″ (not including hooks)
Notes
Wall Pocket Organizer
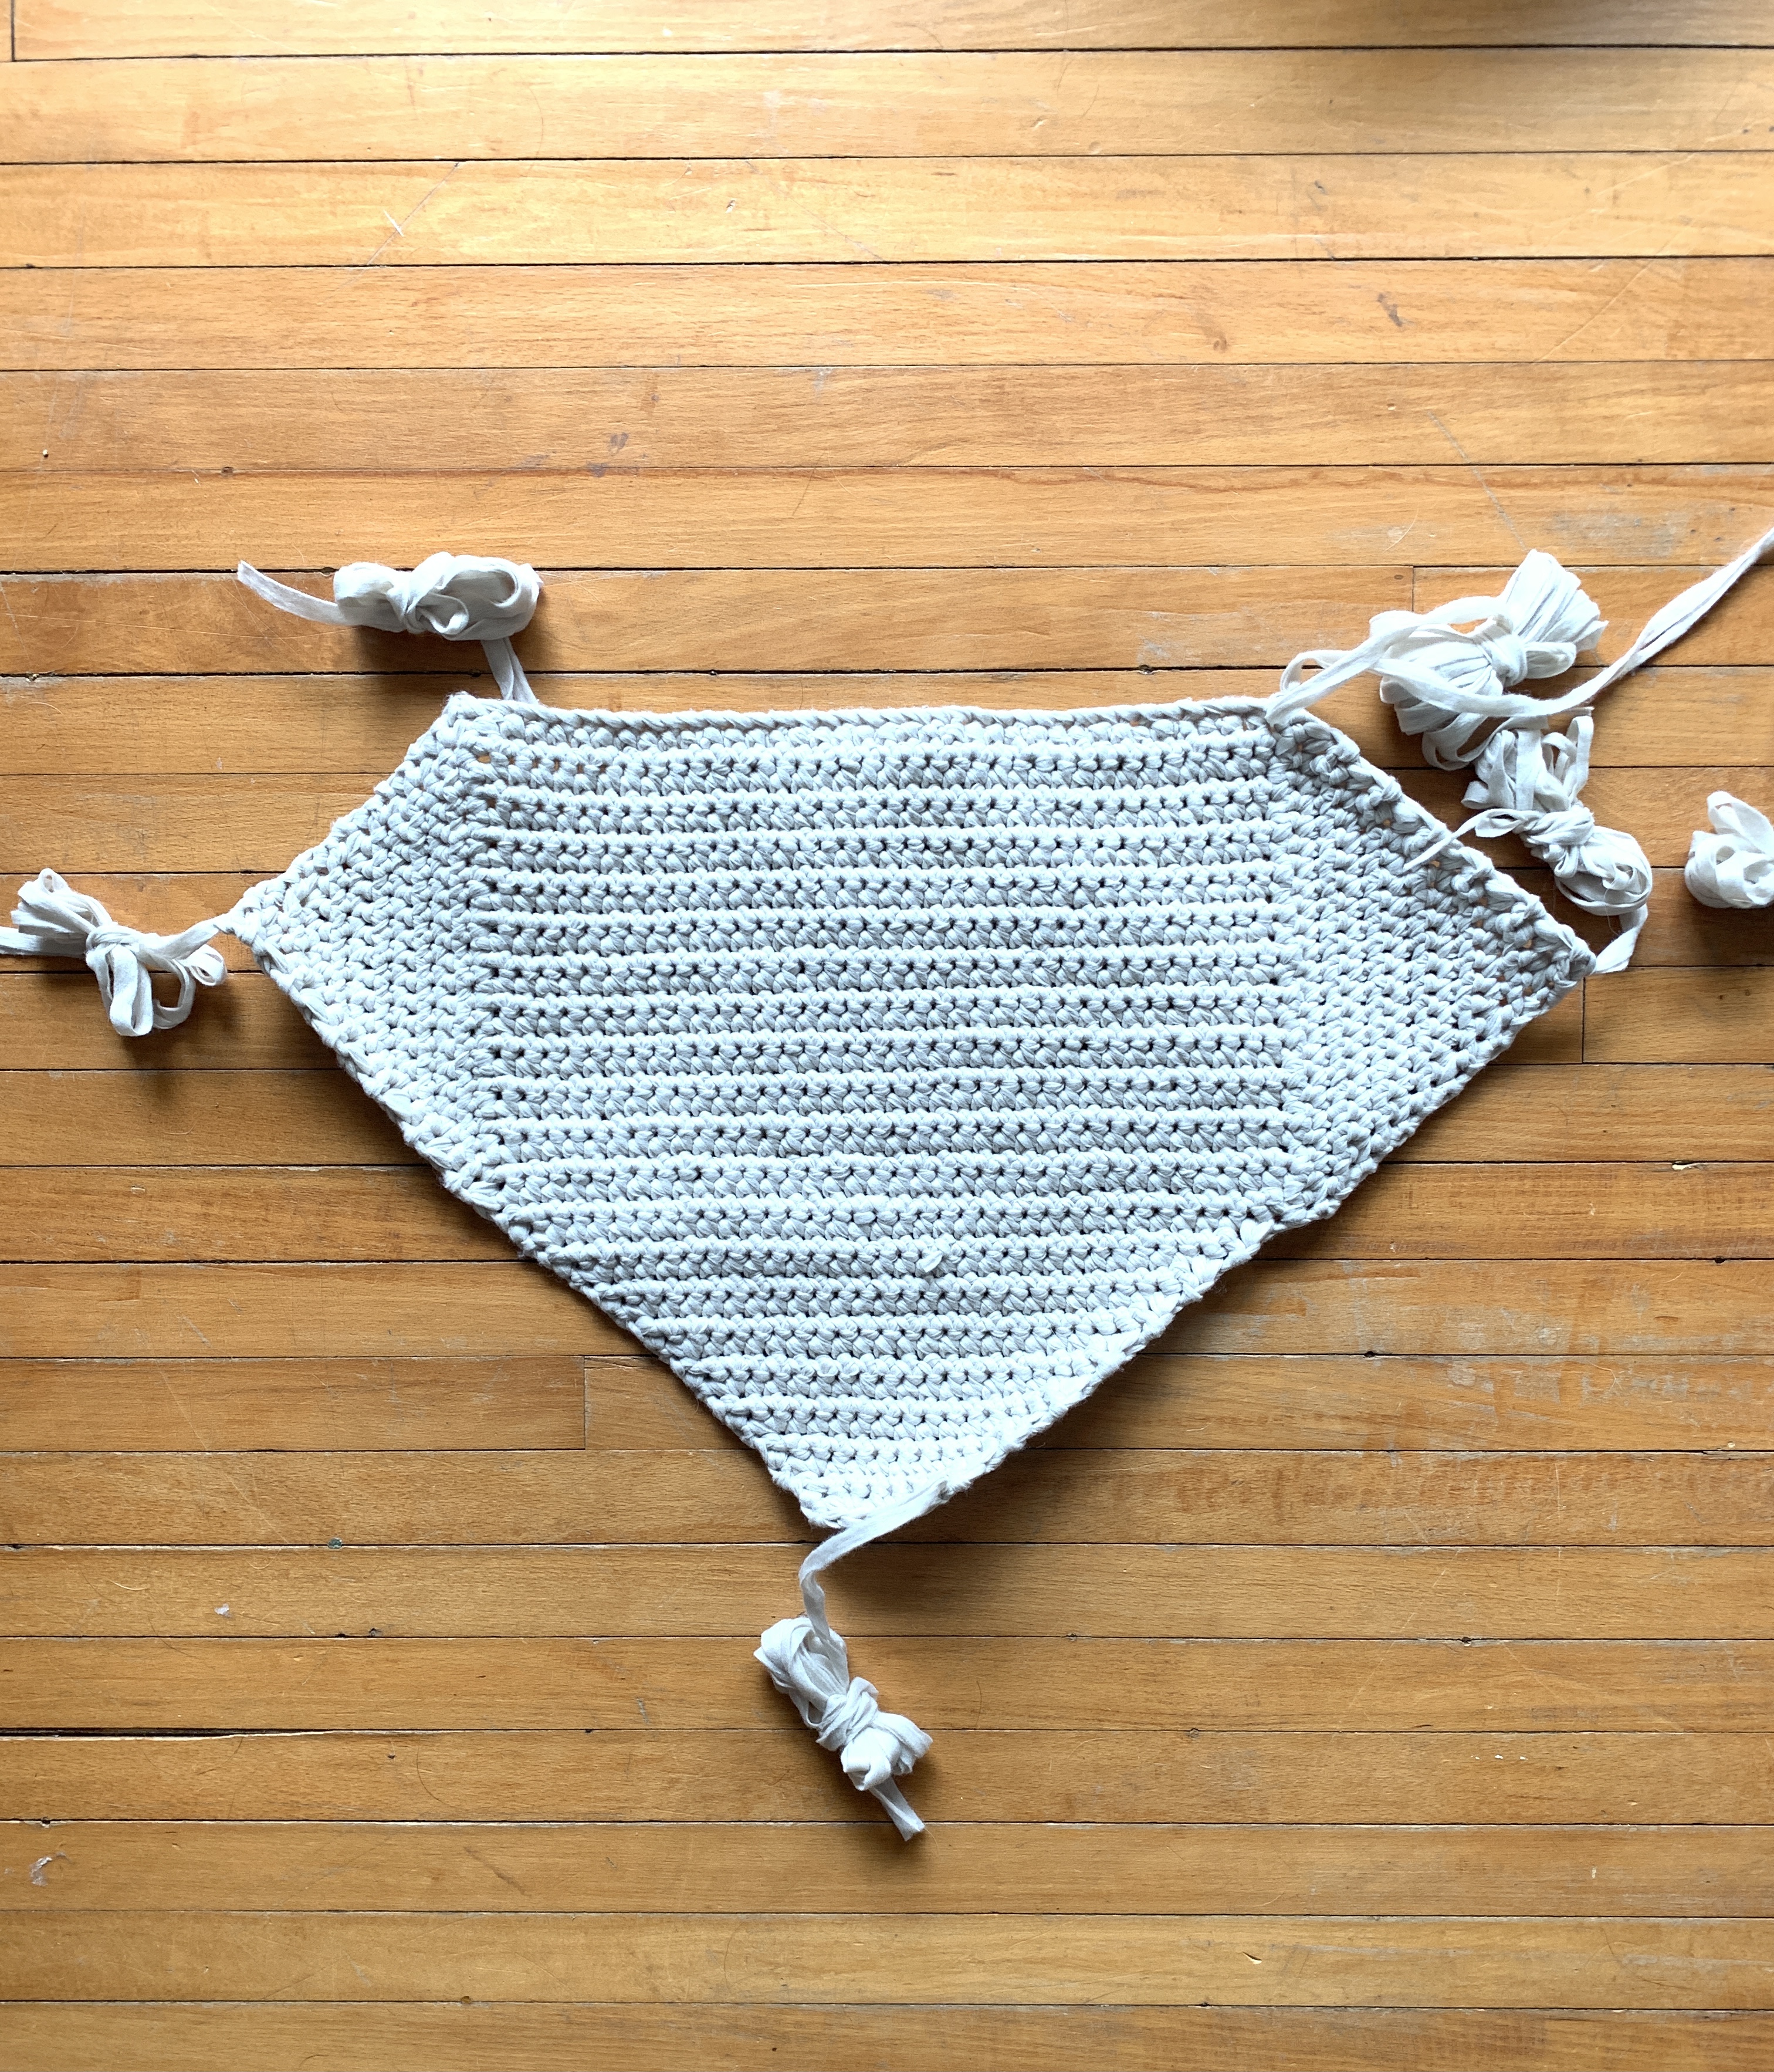
This project is worked up by holding the yarn double throughout. You will crochet a rectangle, and then begin decreasing to create the bottom flap. The yarn is then attached to each side and worked in decreasing rows. The sides and bottom are then seemed together to create the envelope. You will then attach the hanging dowel and hooks to finish the project. Leave extra long yarn tails for seaming. Turning chains are not counted as a stitch.
BACK AND BOTTOM FLAP
Begin Ch 38.
Row 1 Sc in 2nd ch from hook and each ch across, ch1, turn. (37)
Row 2 Sc in each st across, ch1, turn. (37)
Row 3-23 Rep row 2. (37)
Row 24 Sc2tog, sc to last 2 sts, sc2tog, ch1, turn. (35)
Row 25- 39 Repeat row 24 until 5 stitches remain.
Cut yarn and tie off end.
RIGHT SIDE FLAP
Begin Attach yarn to top right corner, ch1.
Row 1 Sc 24 sts evenly down the side, ch1, turn. (24)
Row 2 Sc2tog, sc to last 2 sts, sc2tog, ch1, turn. (22)
Row 3-12 Rep row 2 until 2 sts remain.
Row 13 Sc2tog. (1)
Cut yarn and tie off end.
LEFT SIDE FLAP
Begin Attach yarn to top left corner, ch1.
Row 1 Sc 24 sts evenly down the side, ch1, turn. (24)
Row 2 Sc2tog, sc to last 2 sts, sc2tog, ch1, turn. (22)
Row 3-12 Rep row 2 until 2 sts remain.
Row 13 Sc2tog. (1)
Cut yarn and tie off end.
ASSEMBLY
Step 1 Fold bottom flap up and right side flap in and seam together using the whip stitch.
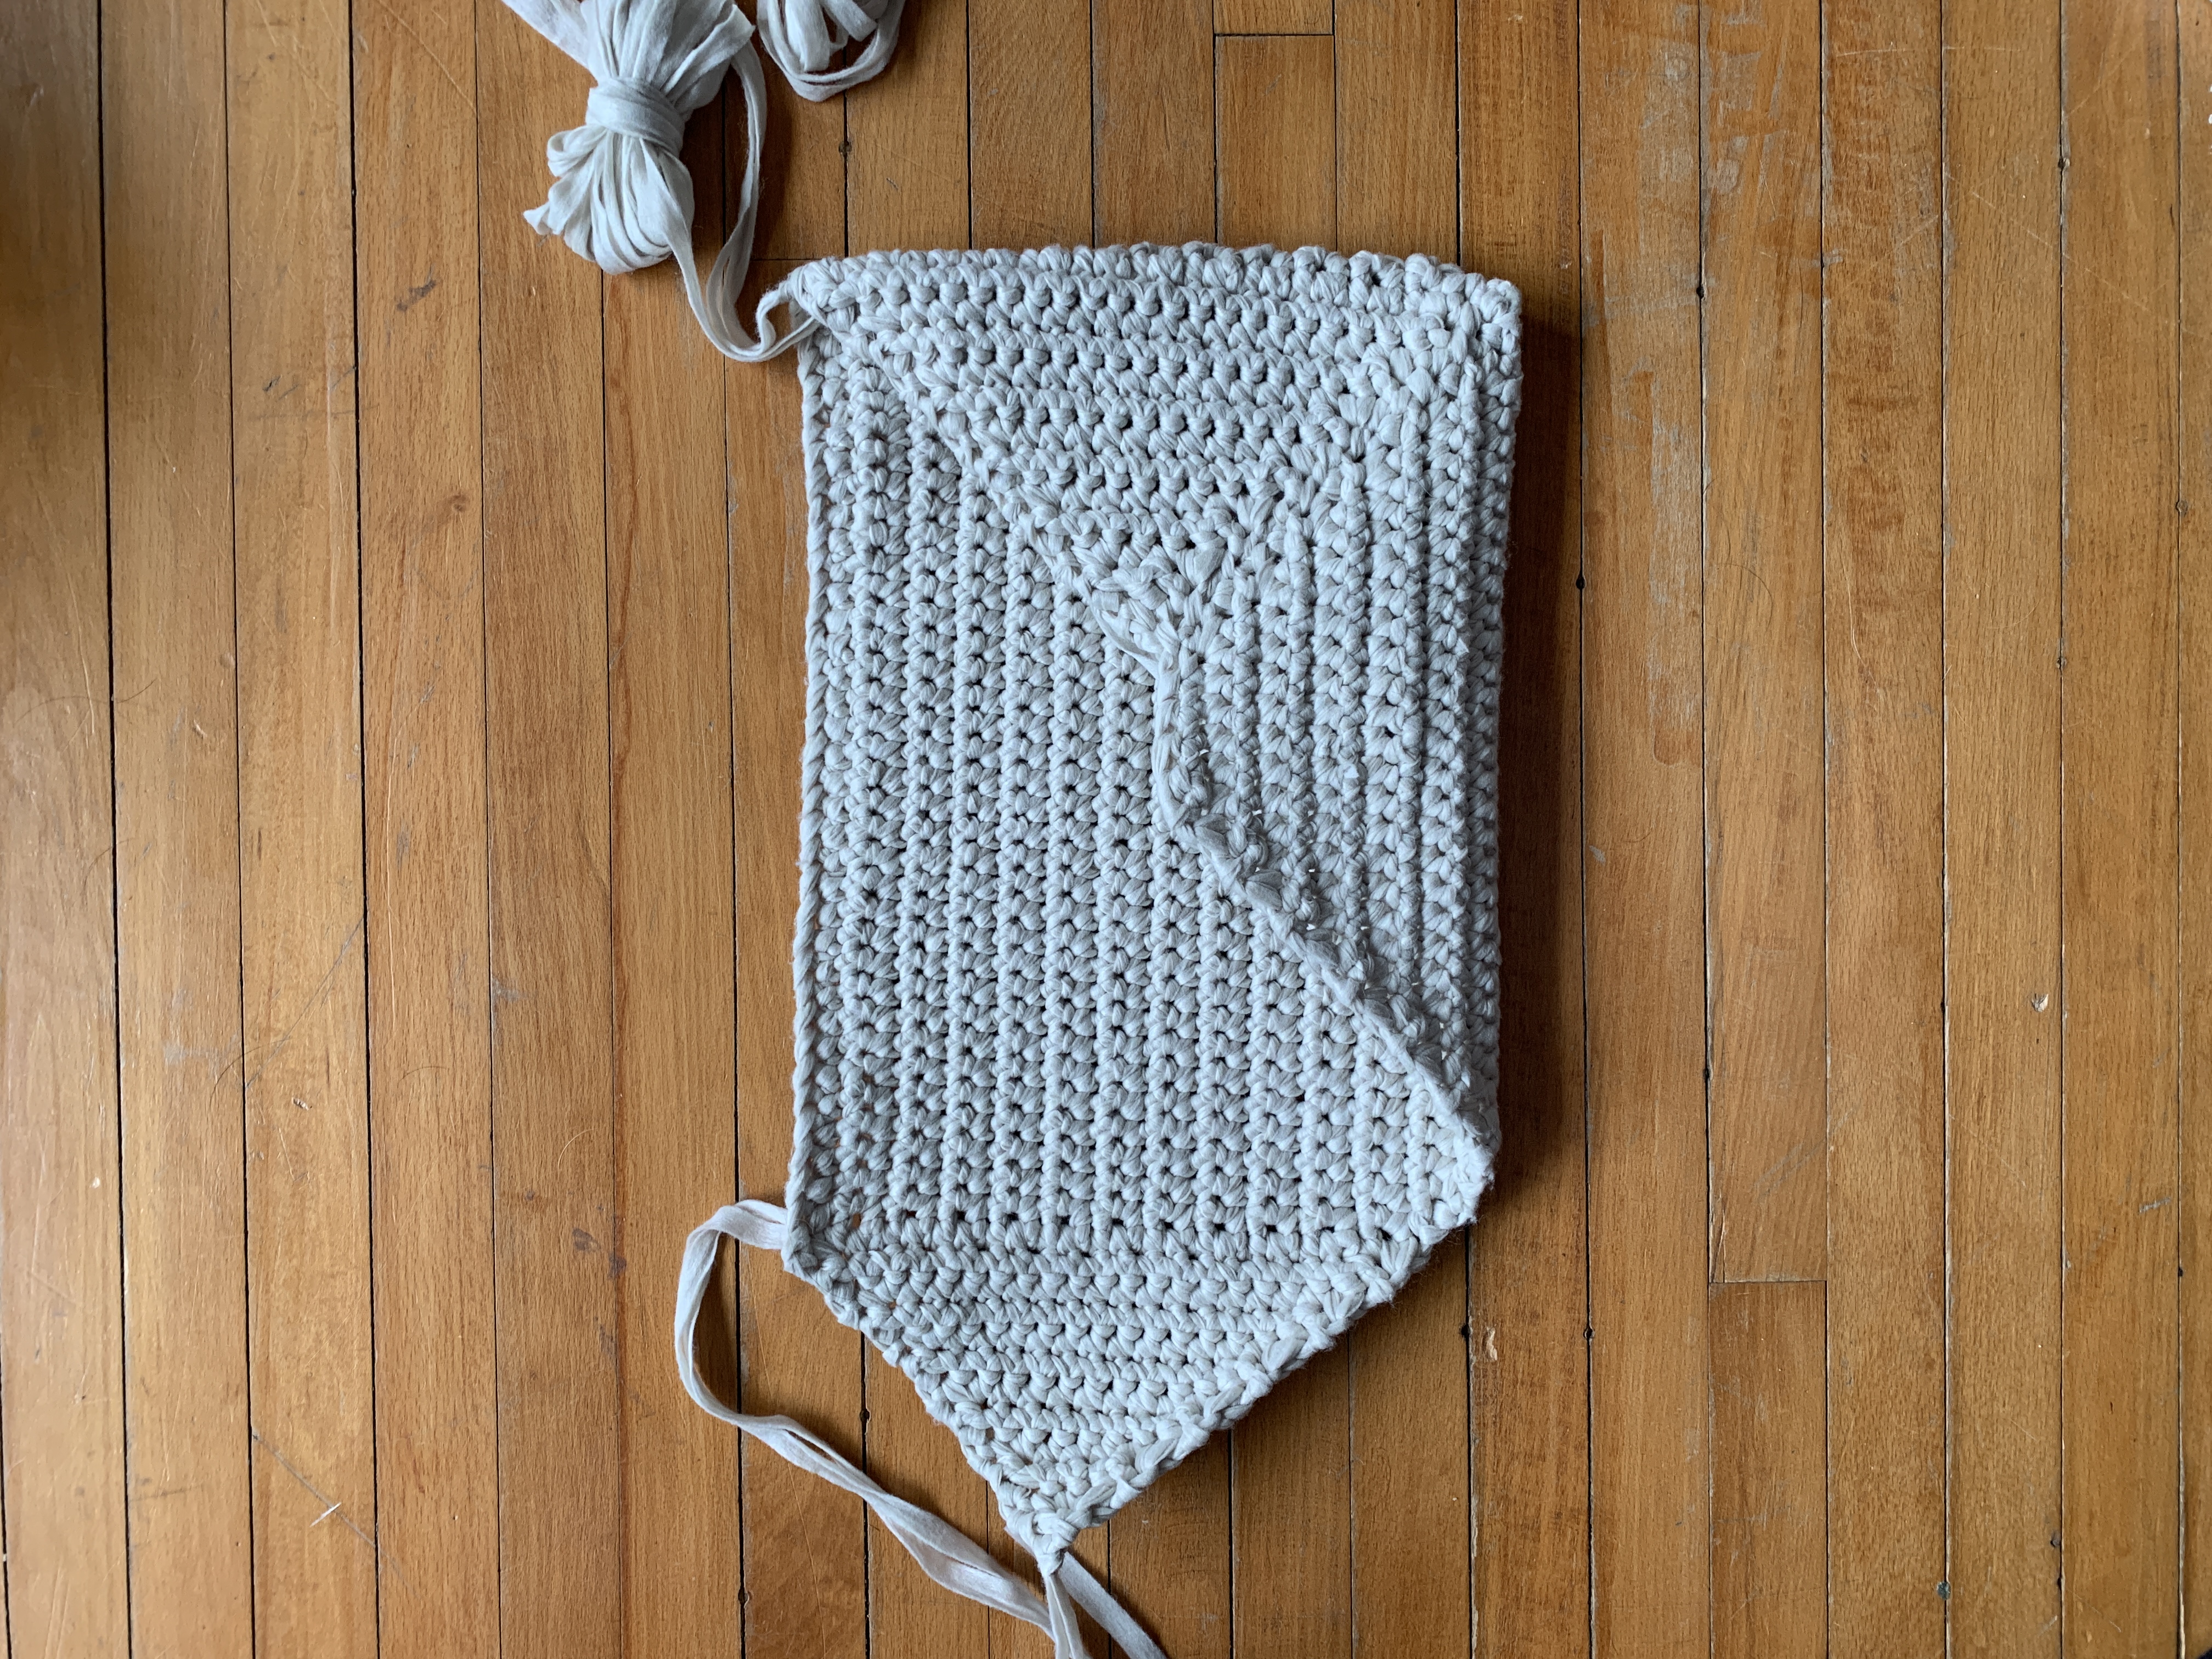
Step 2 Fold left side flap in and seam to bottom flap using the whip stitch.
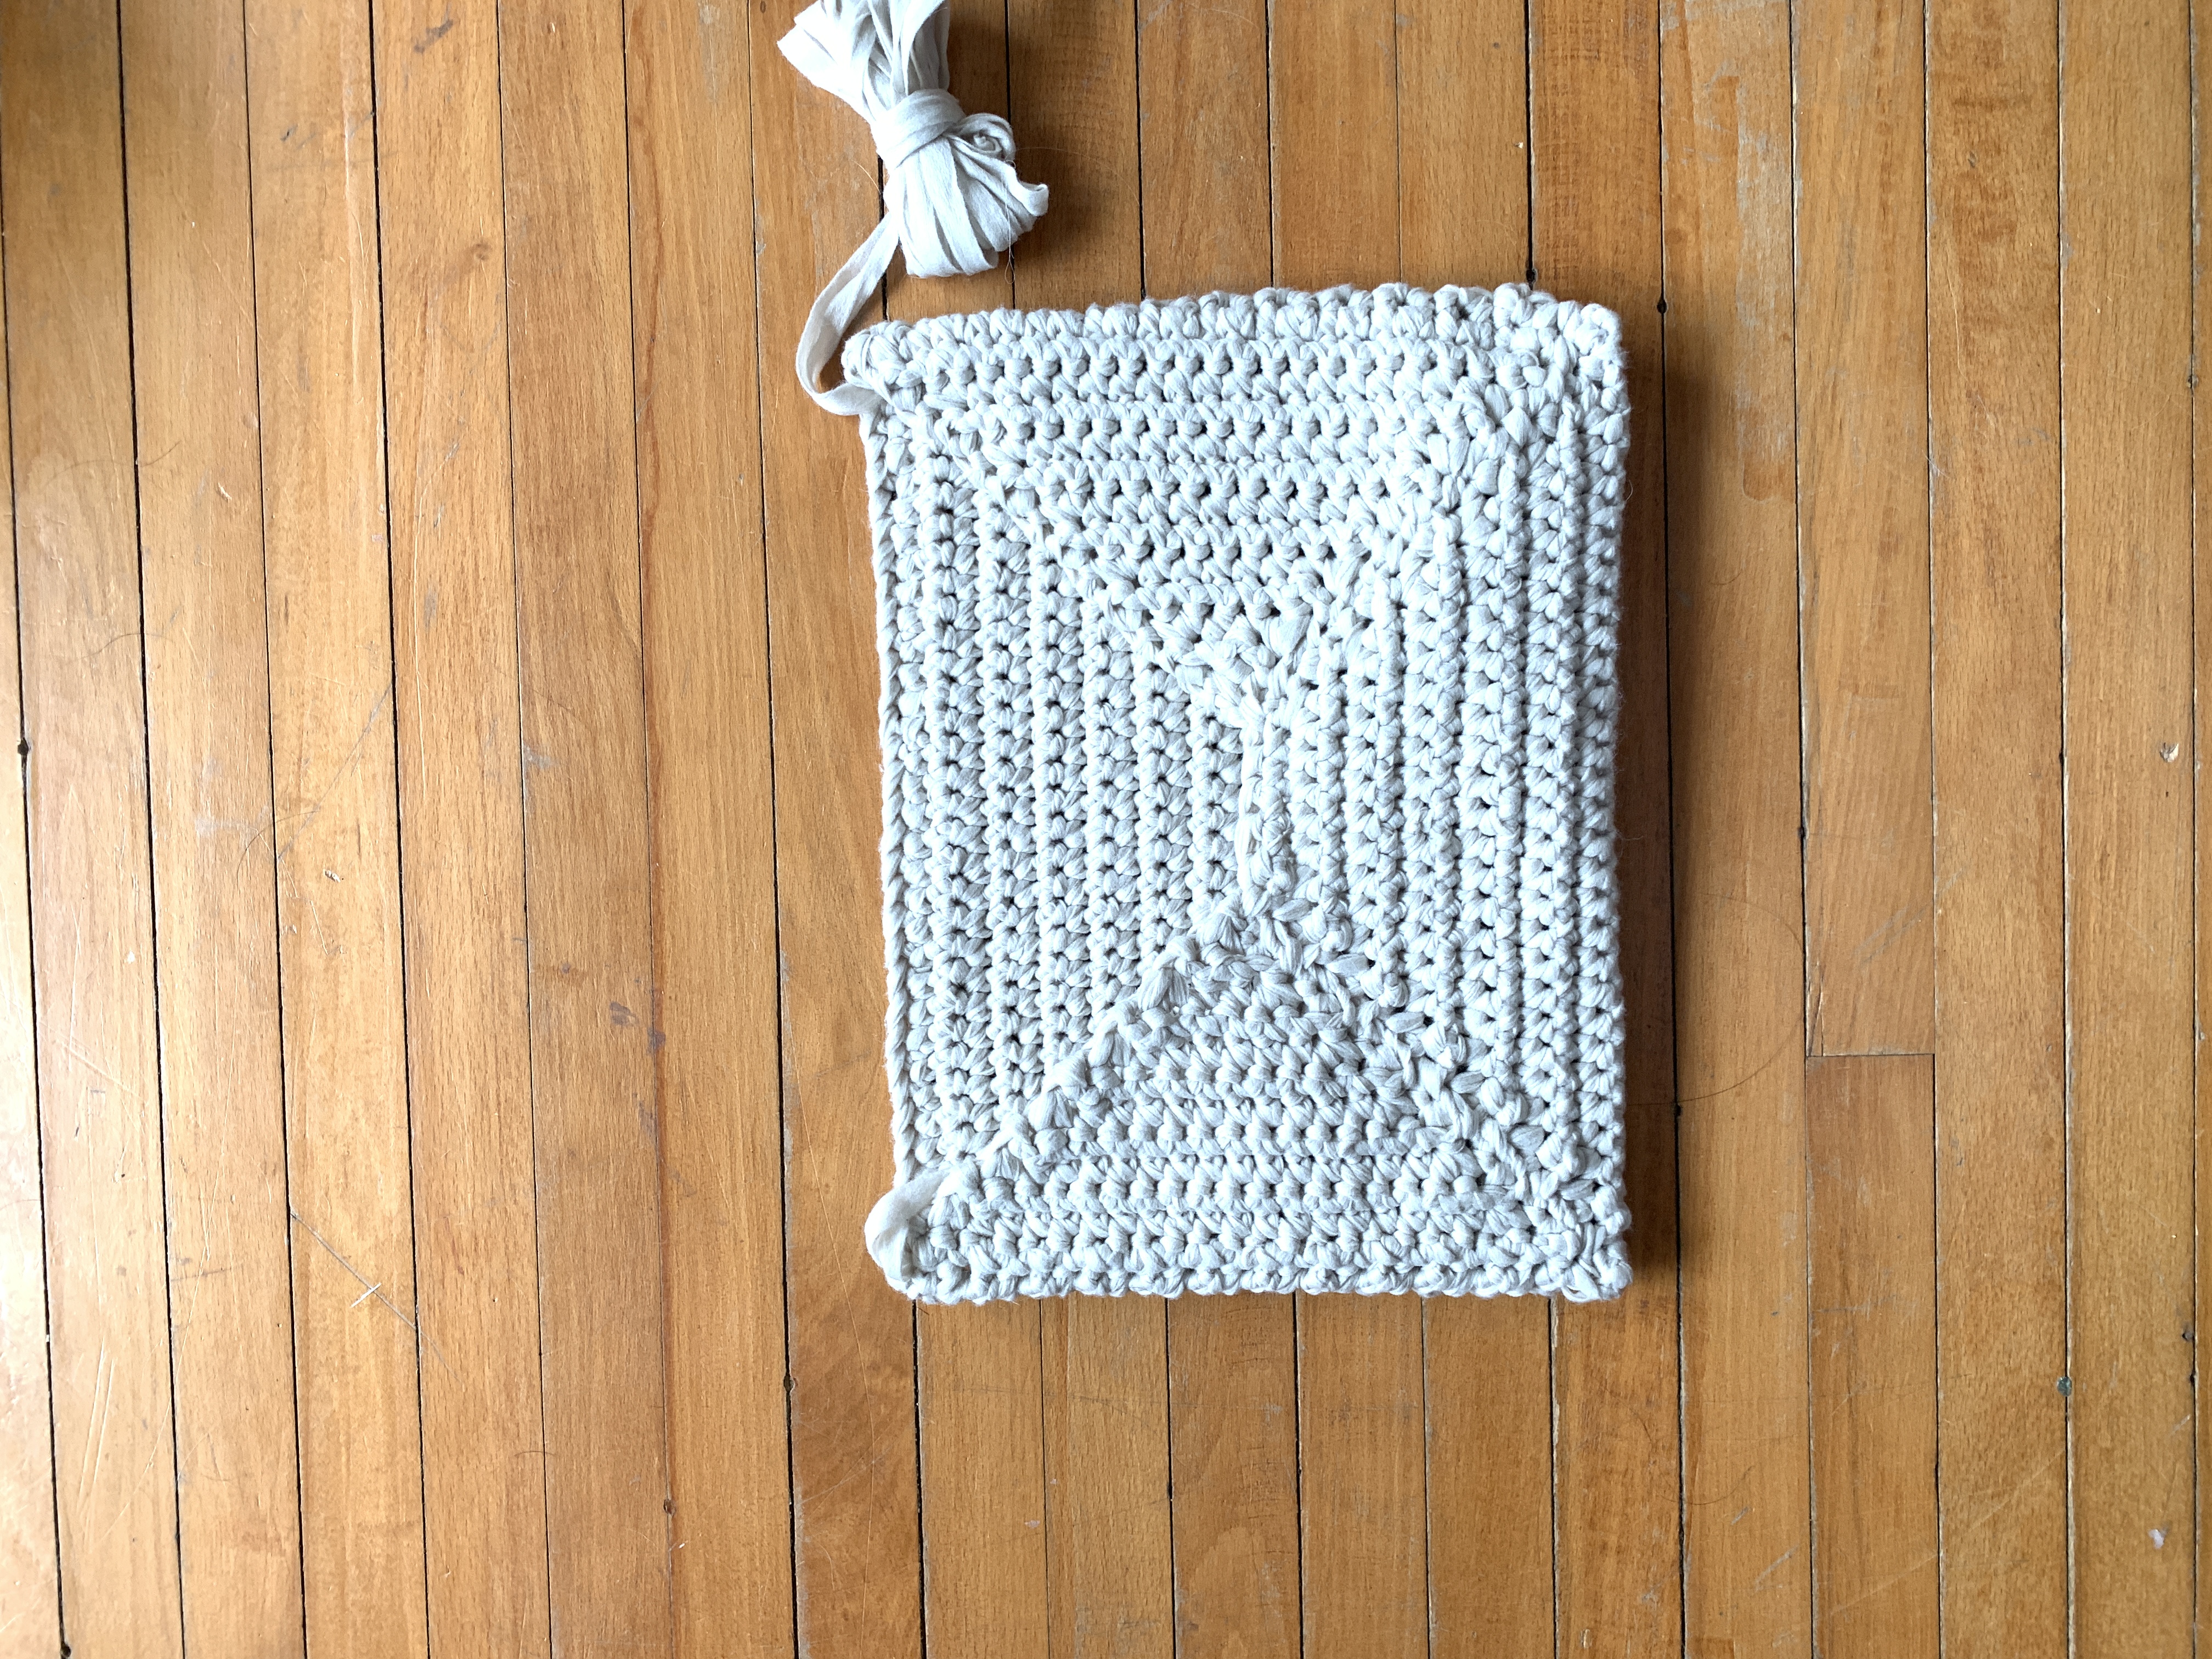
Step 3 Using a yarn needle thread your beginning yarn tail (from the bottom and back flap) to secure the wood dowel rod. Place wood dowel rod on top of row 1, take yarn needle over top of dowel and insert through the stitch below. Repeat across all 37 stitches. Tie off and weave in all ends.
Step 4 (optional) Insert hooks evenly across bottom. Use pliers to close top of hooks.
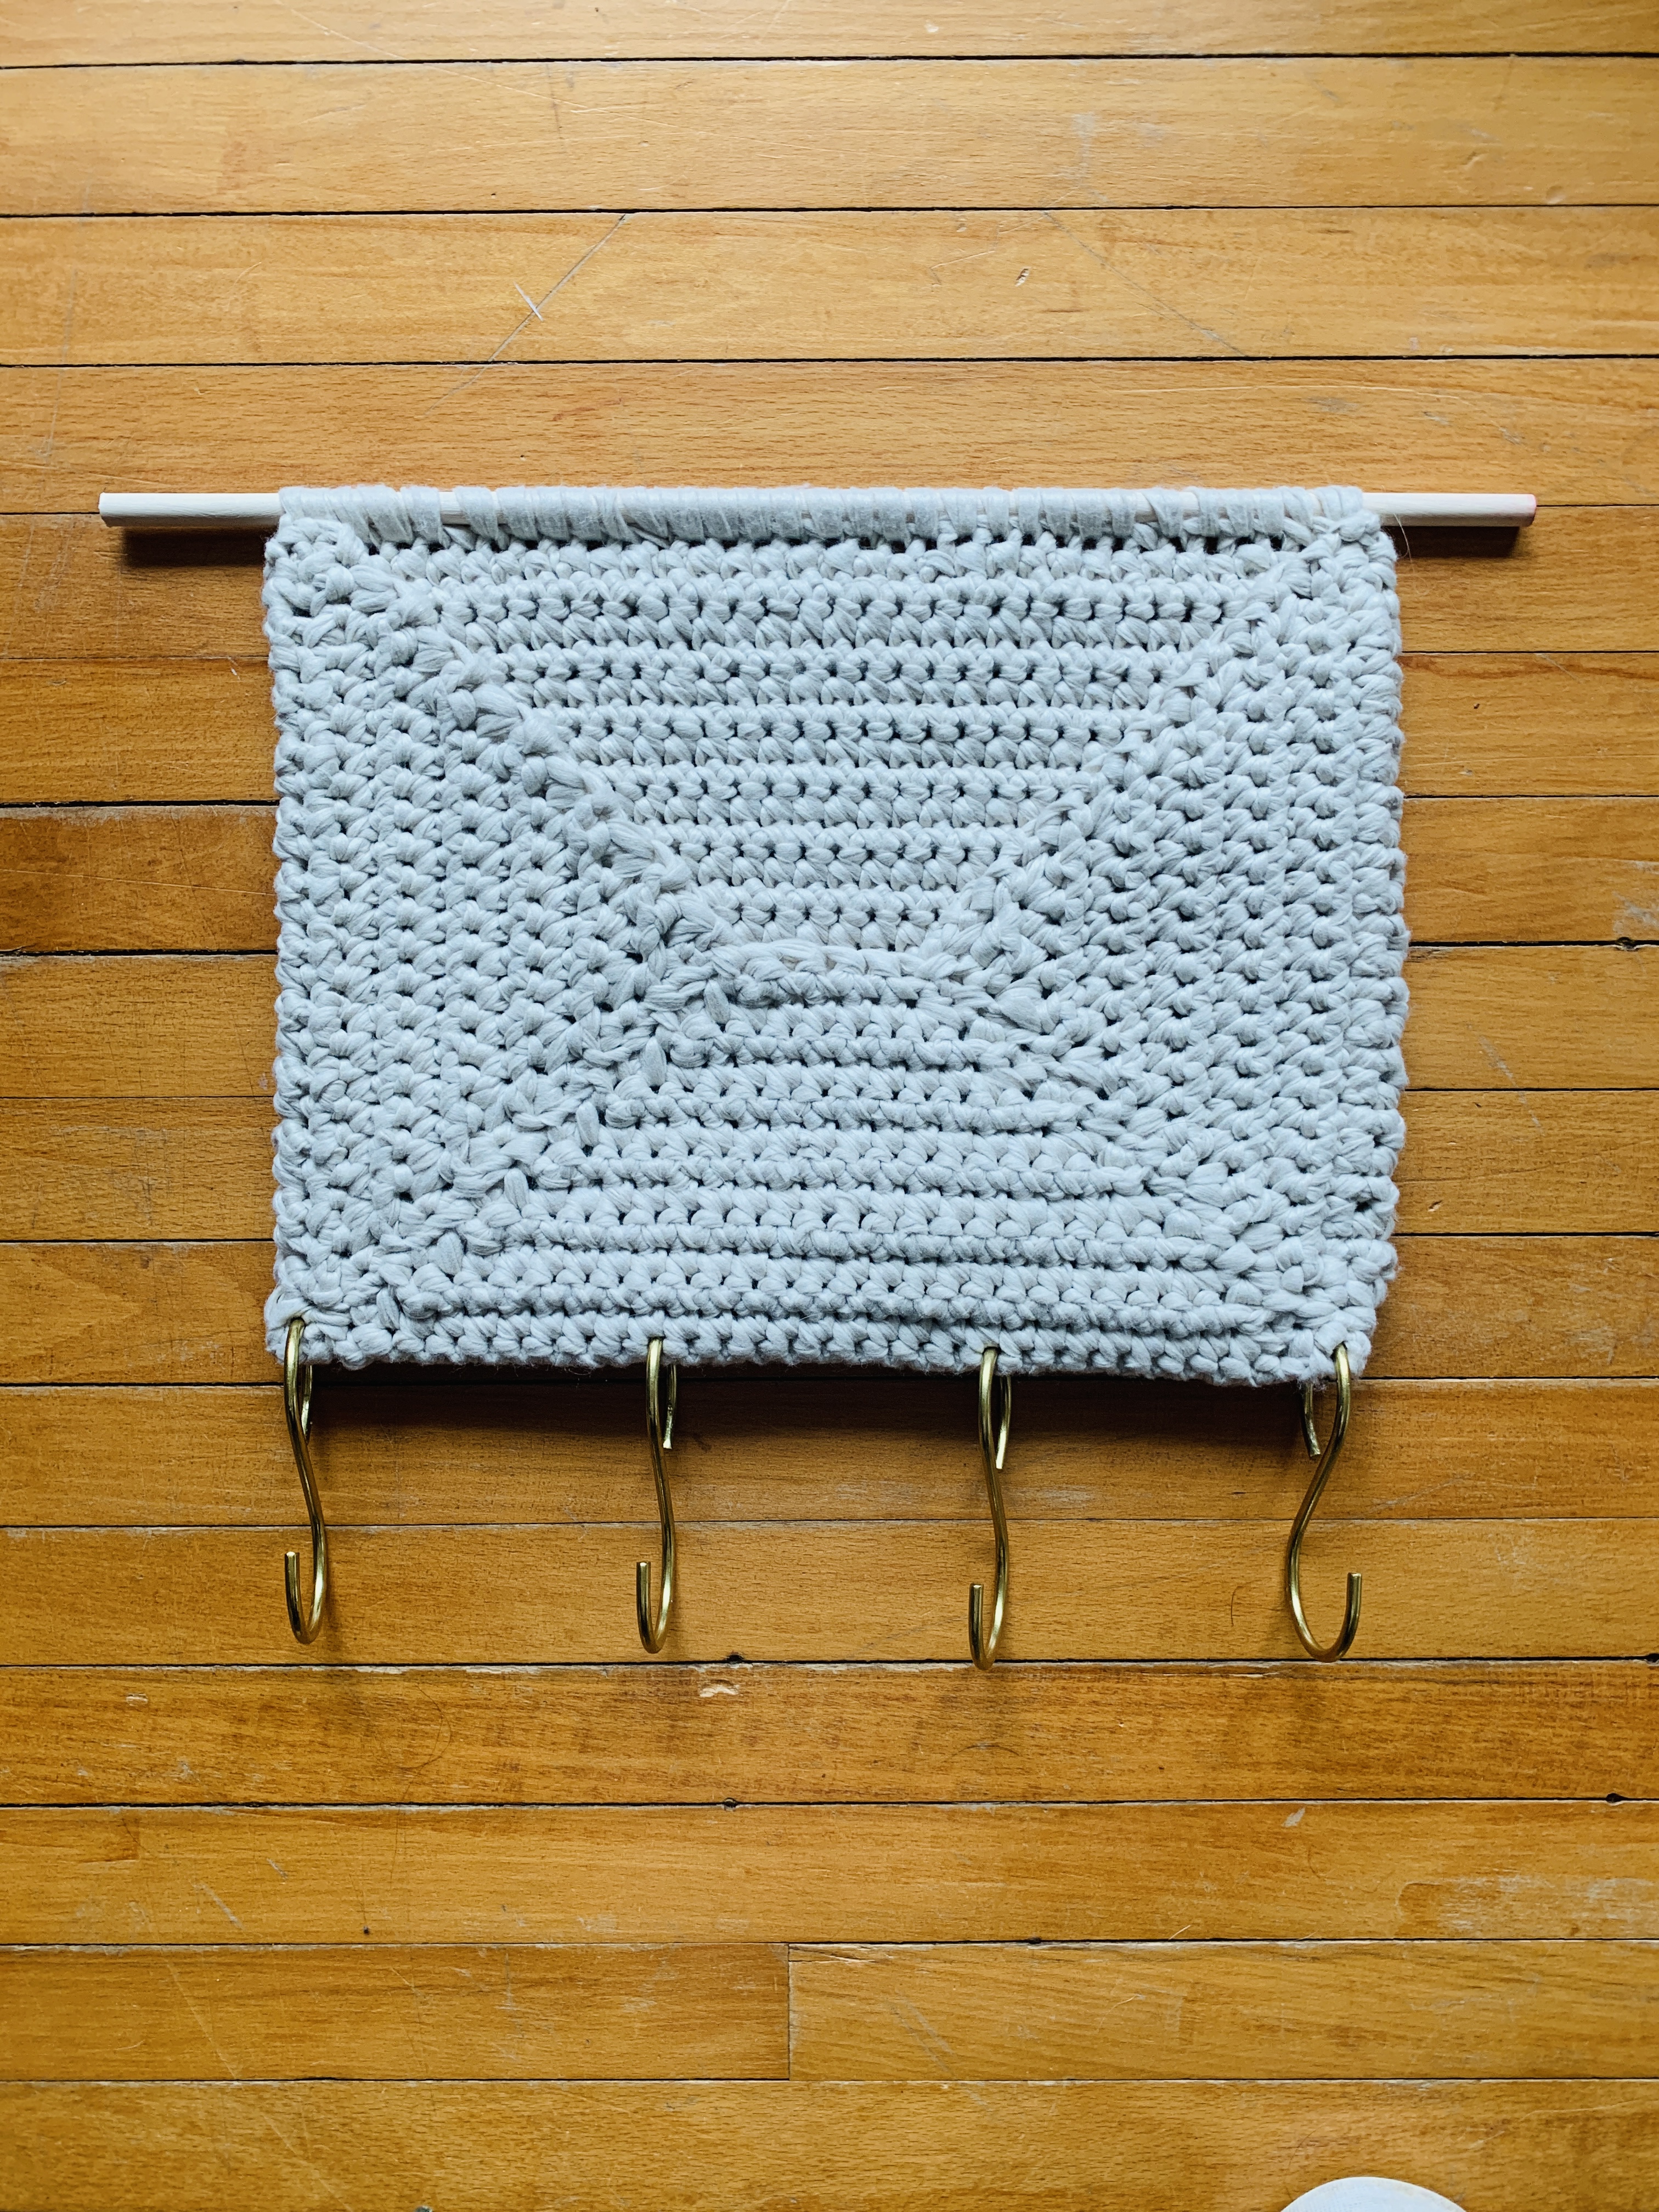
Step 5 Insert dowel into command strips (or other preferred method) to hang your finished piece on the wall.
Abbreviations
ch – chain
dec – decrease
rep – repeat
sc – single crochet
sc2tog – single crochet two stitches together
st(s) – stitches

This is super cool! Hanging things from there hooks doesn’t stretch out the stitches?
Thanks Kimberly! I only hang lightweight items like keys, small wristlet, and hats. No stretching then.
I must make one or 3 of these! Thanks for sharing your design.