***You can purchase an AD-FREE PDF of these easy crochet ear warmers here. This formatted PDF includes the pattern, link to materials, and step-by-step pictures.
Hello friends! I hope everyone is making their way through October successfully. October kicks off our birthday shenanigans for the next three months, not to mention the other holidays spread in there as well. We have a birthday in October, November and two in December.
I have 2 costumes down and one more to go for my kids. We are having a lion, a tiger, and a princess. Which my littlest one is the princess which is no different than what she wears every day of the week so that one was a slam dunk.
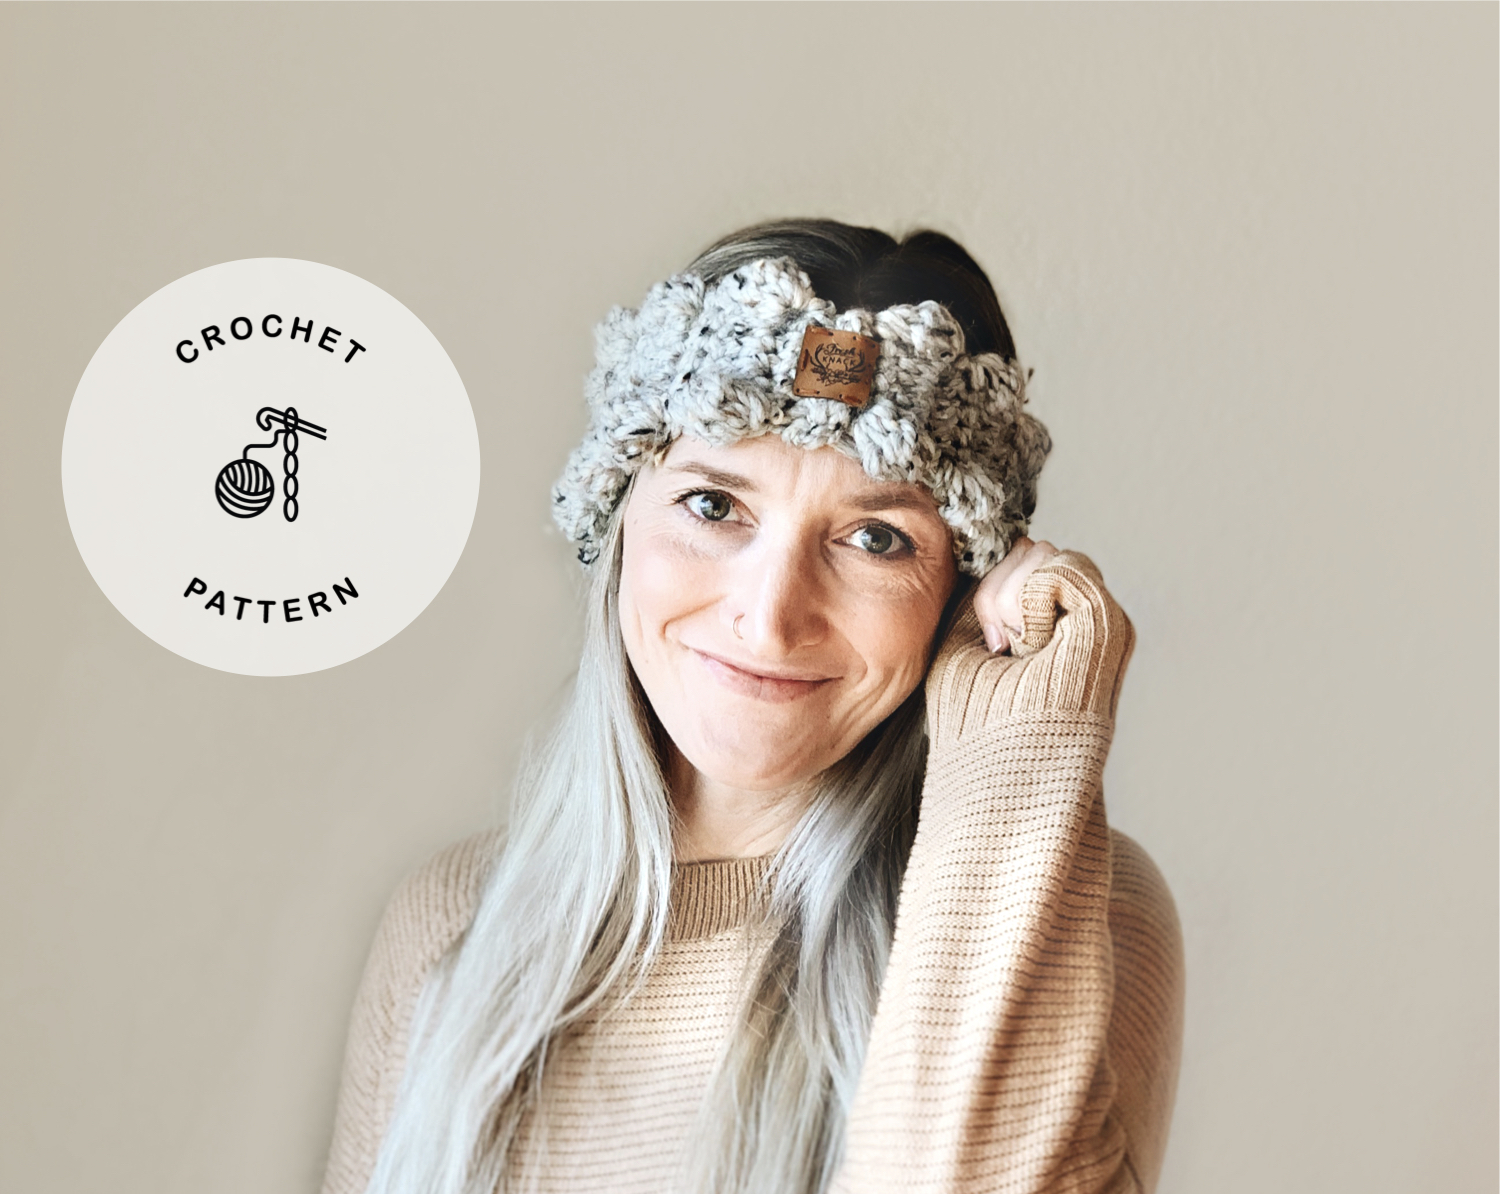
Okay, on to what this post really is about. Last week I released my 2-Way Street Hat and this week is the Double Bobble Ear Warmer. Sometimes a stocking hat is just too hot, it doesn’t let any heat escape through the top of your head. I like to wear ear warmers/headbands when it isn’t really cold but cold enough to need to keep some warmth around my ears without going full on stocking hat mode.
So to be honest there are probably 50 million ways to make ear warmers/headbands out there just go to Pinterest and just search. Mine may not be unique in anyway because my guess is that there is probably one out there like it but to be honest I didn’t see any. My goal here is to create things that maybe I haven’t seen done before so I do a little homework before I put my hook and yarn to work.
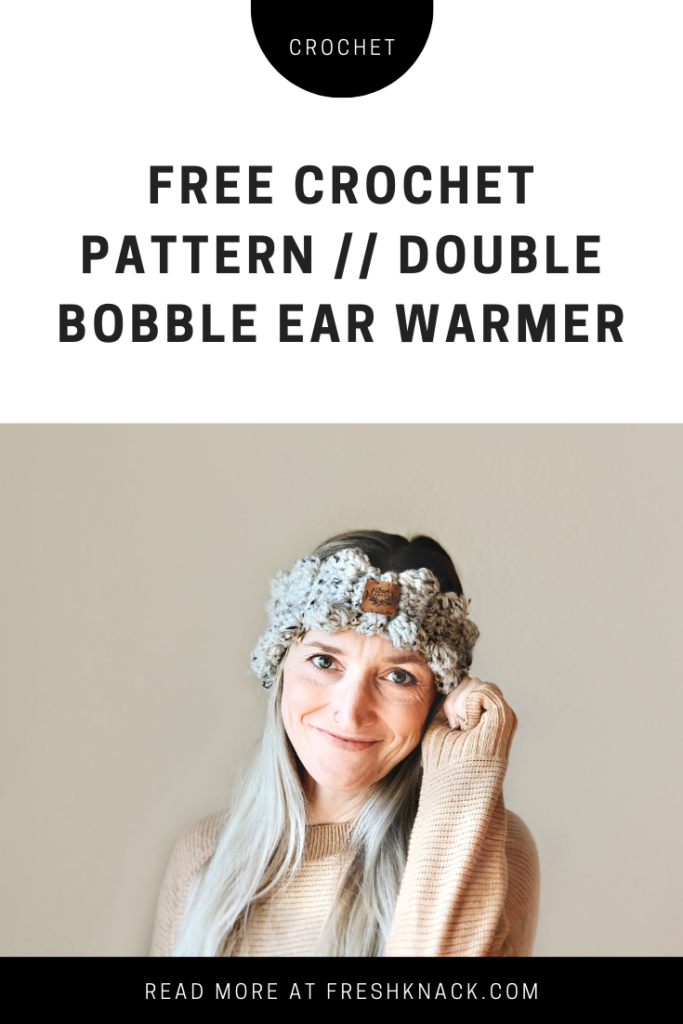
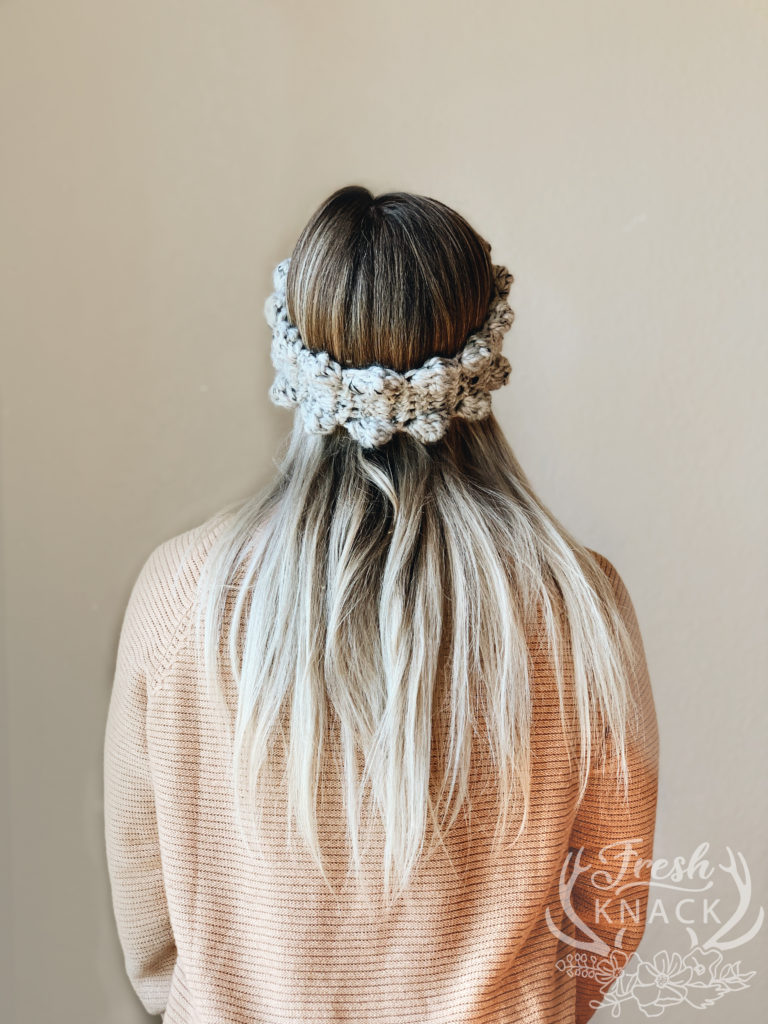
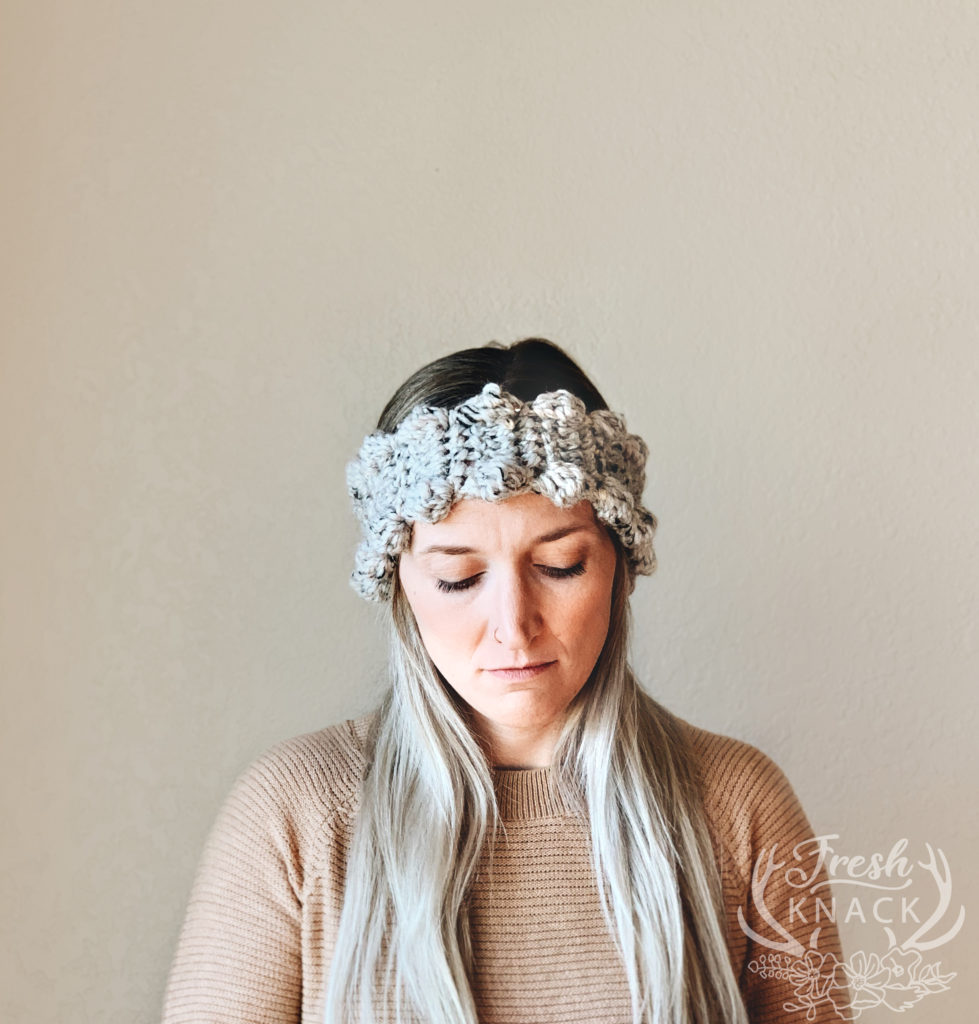
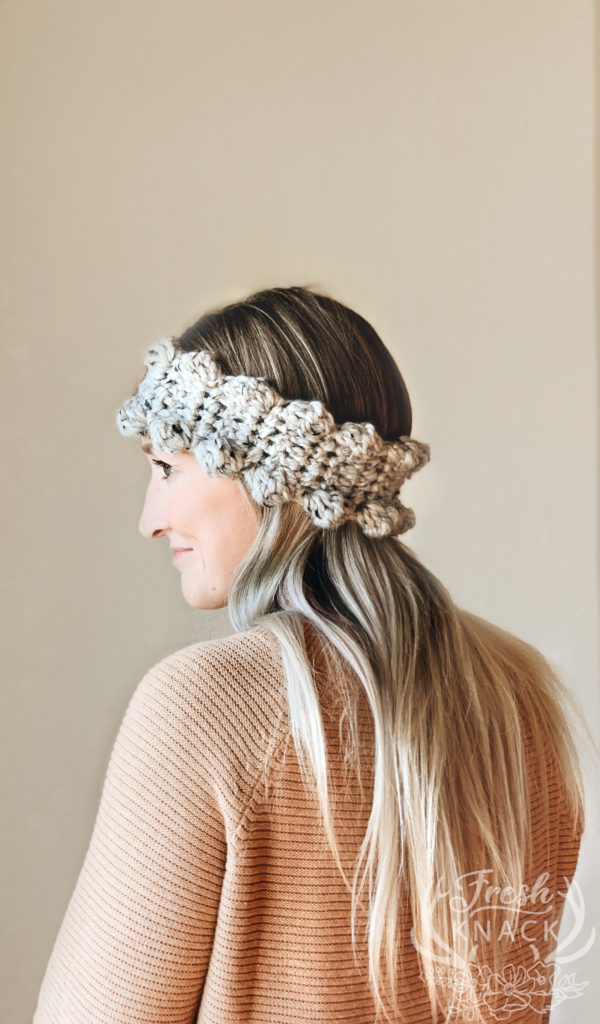
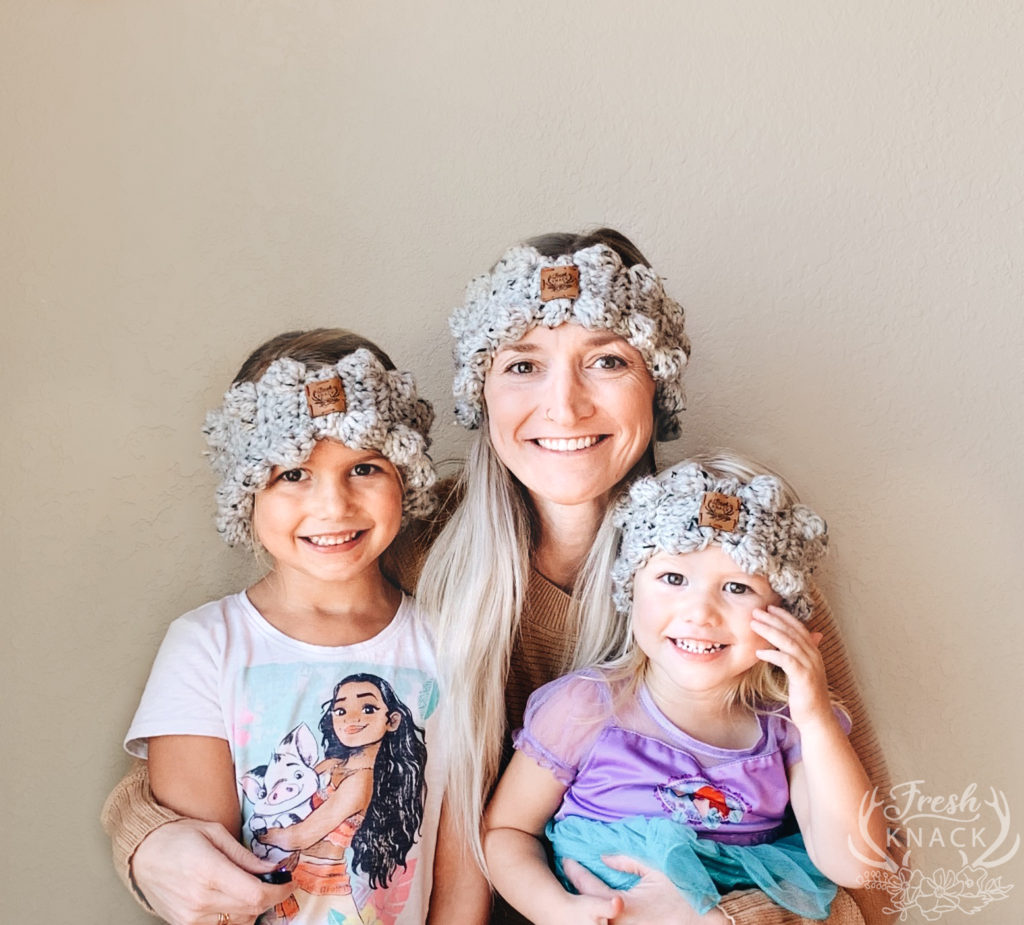
This ear warmer is super simple to work up (hello 30 minutes) and would be great to give as gifts for the upcoming season. I made it in 3 sizes to accommodate toddler, little kids, and adults/teens/bigger kids. So you can expect that my girls and I will be rocking matching ones for sure, well maybe not my littlest one because she refuses to think summer has gone and still insists on wearing sleeveless dresses and throws a fit when it is time to go outside with pants, coat, and socks. Okay on to the pattern…..or you can pin this image for later.
Materials:
Pattern Notes:
The turning ch1 does not count as a stitch at the beginning of the rows. These are meant to feel snug around the head but will stretch once worn. If the sizing given below is not working out you can either subtract or add rows as necessary just make sure you end on an even (bobble) row.
Gauge:
6 rows in established pattern = 4in
Abbreviations:
ch=chain
sc=single crochet
dc=double crochet
bo=bobble stitch
st(s)=stitch(es)
yo=yarn over
Pattern:
ADULT SIZE (adults/teens/big kids)
Chain 7
Row 1: Starting in second ch from hook, sc across, ch1, turn (6)
Row 2: Bobble in first sc, dc in next four sts, bobble in last st, ch1, turn (6)
Row 3: Sc across all sts, ch1, turn (6)
Row 4-25: Repeat rows 2 and 3
Row 26: Repeat row 2
Finish: Align your first and last rows together and slip stitch across all 6 stitches to seam together. Secure yarn tail and weave in ends.
LITTLE KID SIZE (kids 4-8 years old)
Chain 7
Row 1: Starting in second ch from hook, sc across, ch1, turn (6)
Row 2: Bobble in first sc, dc in next four sts, bobble in last st, ch1, turn (6)
Row 3: Sc across all sts, ch1, turn (6)
Row 4-23: Repeat rows 2 and 3
Row 24: Repeat row 2
Finish: Align your first and last rows together and slip stitch across all 6 stitches to seam together. Secure yarn tail and weave in ends.
TODDLER SIZE (kids 1-3 years old)
Chain 7
Row 1: Starting in second ch from hook, sc across, ch1, turn (6)
Row 2: Bobble in first sc, dc in next four sts, bobble in last st, ch1, turn (6)
Row 3: Sc across all sts, ch1, turn (6)
Row 4-21: Repeat rows 2 and 3
Row 22: Repeat row 2
Finish: Align your first and last rows together and slip stitch across all 6 stitches to seam together. Secure yarn tail and weave in ends.
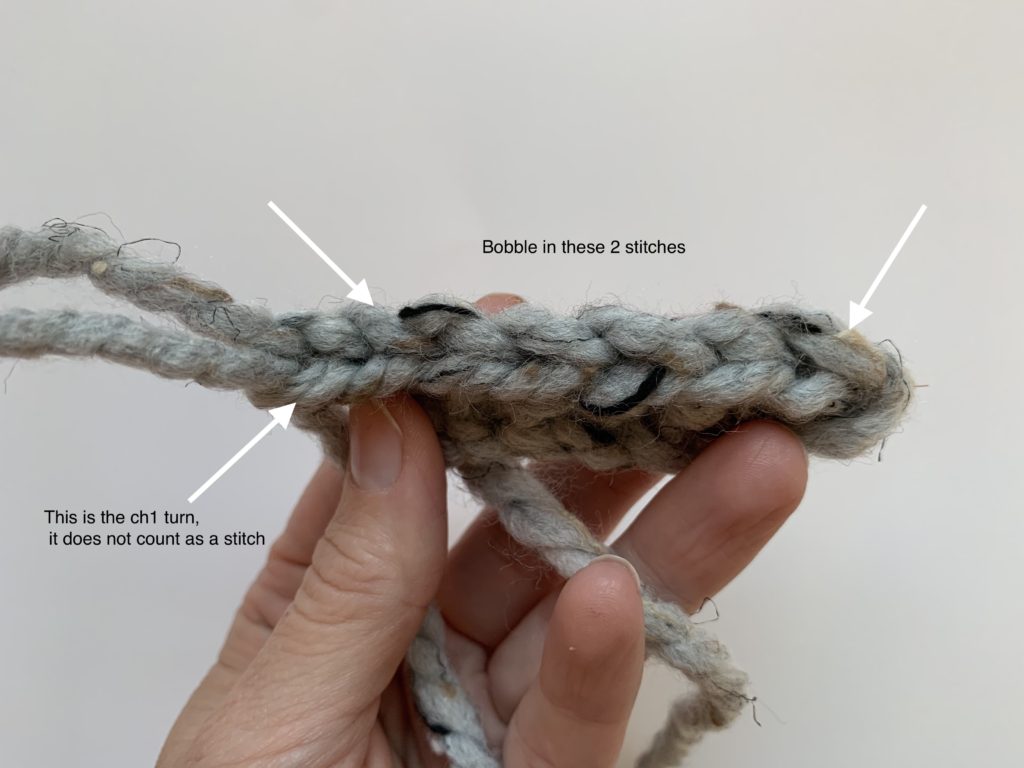
For row 2 you will bobble in the stitches indicated below and double crochet the 4 stitches in between. The turning Ch.1 does not count as a stitch. If you bobble in the turning ch.1 your bobble stitches will not line up.
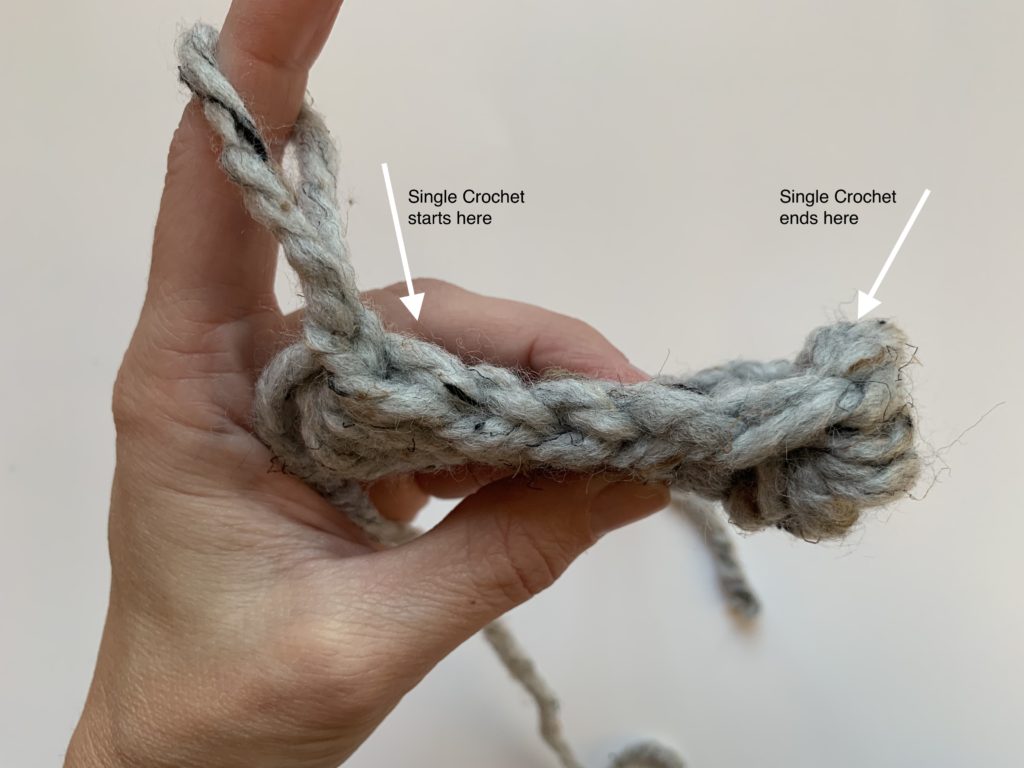
After you have completed row 2 containing your bobble stitches you will single crochet in the stitches indicated. Again the turning ch1 does not count as a stitch.
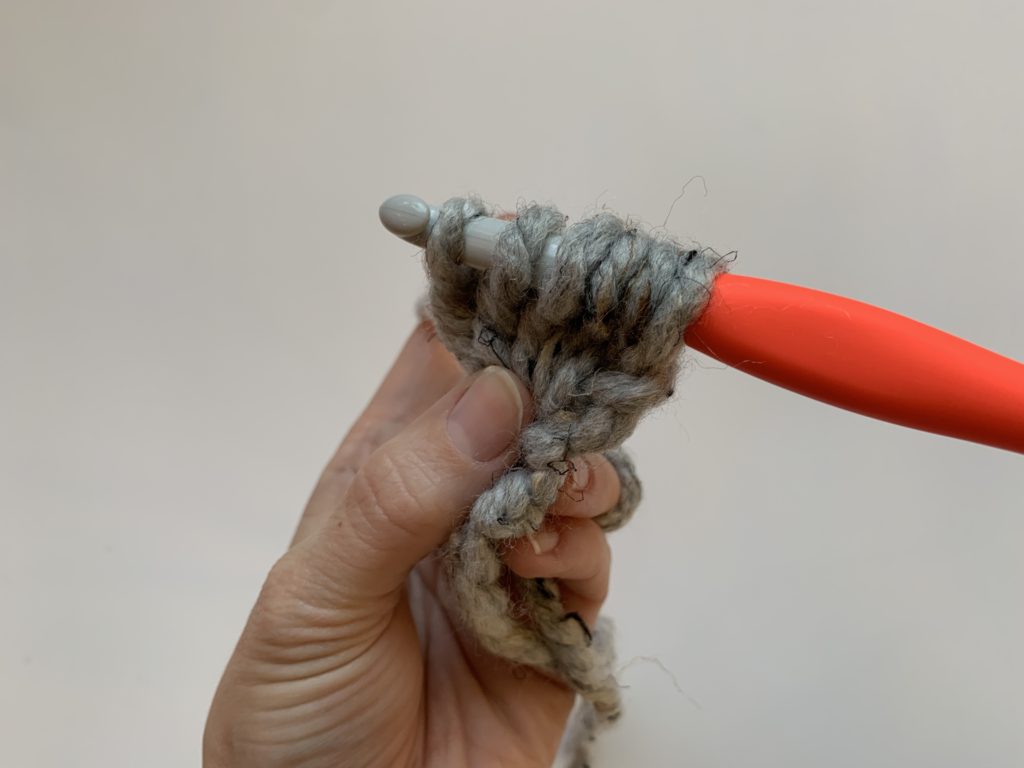
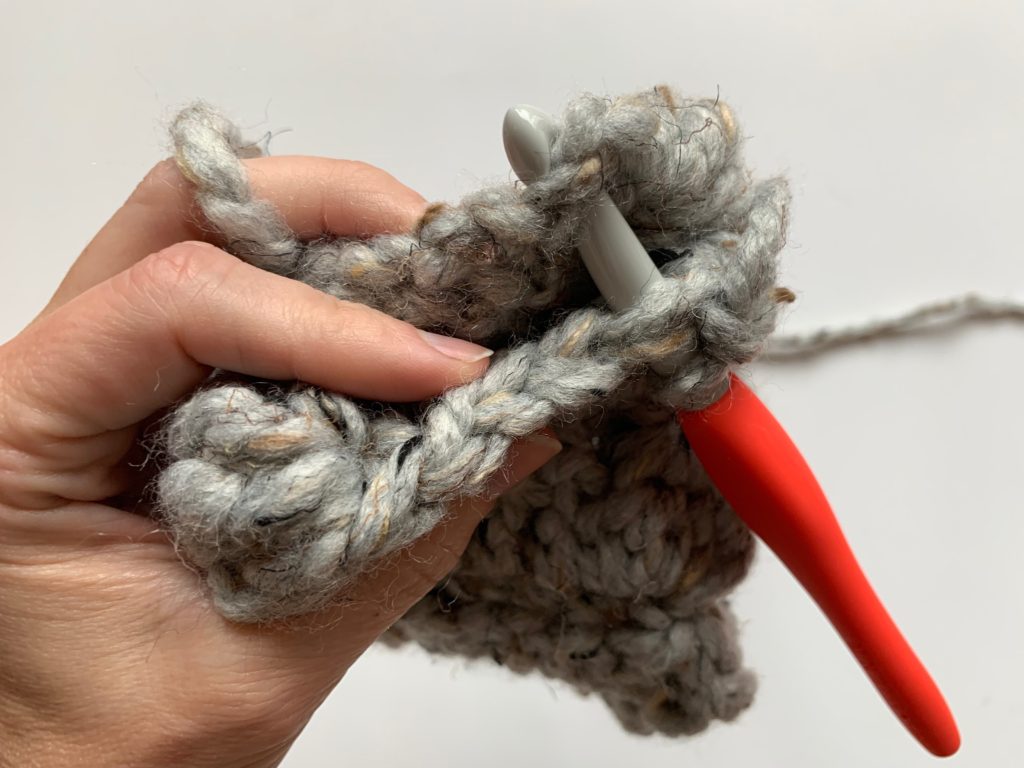
The bobble stitch creates beautiful texture. To complete the bobble stitch you will yo insert hook in stitch, yo pull through two loops (2 loops remain on hook), *yo insert hook in same stitch and pull through, yo and pull through 2 loops* (3 loops on hook), repeat from *to* until six loops on hook (as pictured below). Yarn over and pull through all 6 loops.
On your last row you should have ended with a ch1. Now you will input your hook into the last bobble stitch completed in your last row, then insert into the first sc in row 1. Yo and slip stitch together. Repeat over the next 5 stitches, tie off yarn and weave in your ends!
There you have it a quick and simple project to keep those ears warm during this transitional season! I hope you enjoyed this pattern!

4 thoughts on “Free Crochet Pattern // Double Bobble Ear Warmer”